



Marked by a spectacular return with New Skill Infernity Revival, Infernity has officially revived into a formidable fire-powered combo machine in Duel Links. Still retains its risky handless identity but brings enormous advantage, this deck now possesses tremendous sweeping power: an extremely tough board with dozens of negate points when playing first, and completely clears the battlefield for instant knockout when playing second

Sections covered in this guide:
Skill
<|start|>
Infernity Revival (Skill Card) (100%)


To use the most important effects of this Skill, your main deck must contain 10 or more Infernity monsters. This Skill provides three extremely powerful groups of effects that affect both defense and combo potential of the deck. *The first group of effects are passive conditions applied throughout the match. When using this Skill, all effect damage (burn damage) you deal to opponents will be reduced to 0, and you can only Special Summon up to 1 monster with Base Level 9 or higher from your hand each turn. However, in exchange for those limitations, you receive a huge privilege: once per turn, you may activate one Infernity Trap immediately on the turn it was flipped onto the field. This mechanism perfectly combines with Infernity Suppression, giving you a negate effect to counter opponent's hand traps right on Turn 1.* *The second activation effect of this Skill (can be used only once per battle) turns any Infernity cards in hand into starting points for combos. You can banish up to 3 cards from your hand (including Infernity monsters or This Creepy Little Punk) to your Graveyard. In return, you send the corresponding number of Infernity monsters from your hand directly to the Graveyard, then continue drawing 1 Infernity monster from your hand. Thanks to this card-draw and resource setup in the perfect graveyard, you almost never worry about getting "bricked" (stuck without cards).* *The third activation effect (also only once per battle) is the ultimate weapon for the later part of the game (from Turn 2 onward). This Skill allows you to directly Summon 3 Infernity monsters (specifically one Level 2, one Level 3, and one Level 4) from your hand or from the field placed face-up in defensive mode. Although locked, you can only Special Summon Synchro from your Extra Deck as long as these monsters remain face-up on the field, but this is the perfect launchpad to call out Black Rose Dragon cleanly, or Trishula, Dragon of the Ice Barrier to clear the board and exile opponent's cards.* **Note:** If you use the third ability of Skill, if you get disrupted and cannot clear the Infernity summoned by this effect, you will be completely stuck and lose immediately. For example: Summon Black Rose 7-star = Wildcard 3-star + Archfiend 4-star; BlackRose gets negated -> doesn't activate -> Left with Sage 2-star on field = Skill (Now if we have nothing to clear like Droplet, General to tribute, etc., we will be stuck and lose)
The cards in the main deck
Infernity Archfiend (two times)

Recall Infernity, it cannot be missed Infernity Archfiend - the heart and main search machine of the entire deck.When you have no cards in hand and draw this card (or revive it from the Grave), it will immediately allow you to search any Infernity card from the deck.
Although extremely powerful, but 2 copies are the perfect ratio. Playing 1 card is too few and can easily be broken by opponents (with hand traps such as D.D. Crow or Bystial exiting from the Grave), while playing 3 cards again is too many and can cause a brick because itself is not the best starter at the beginning of the game.
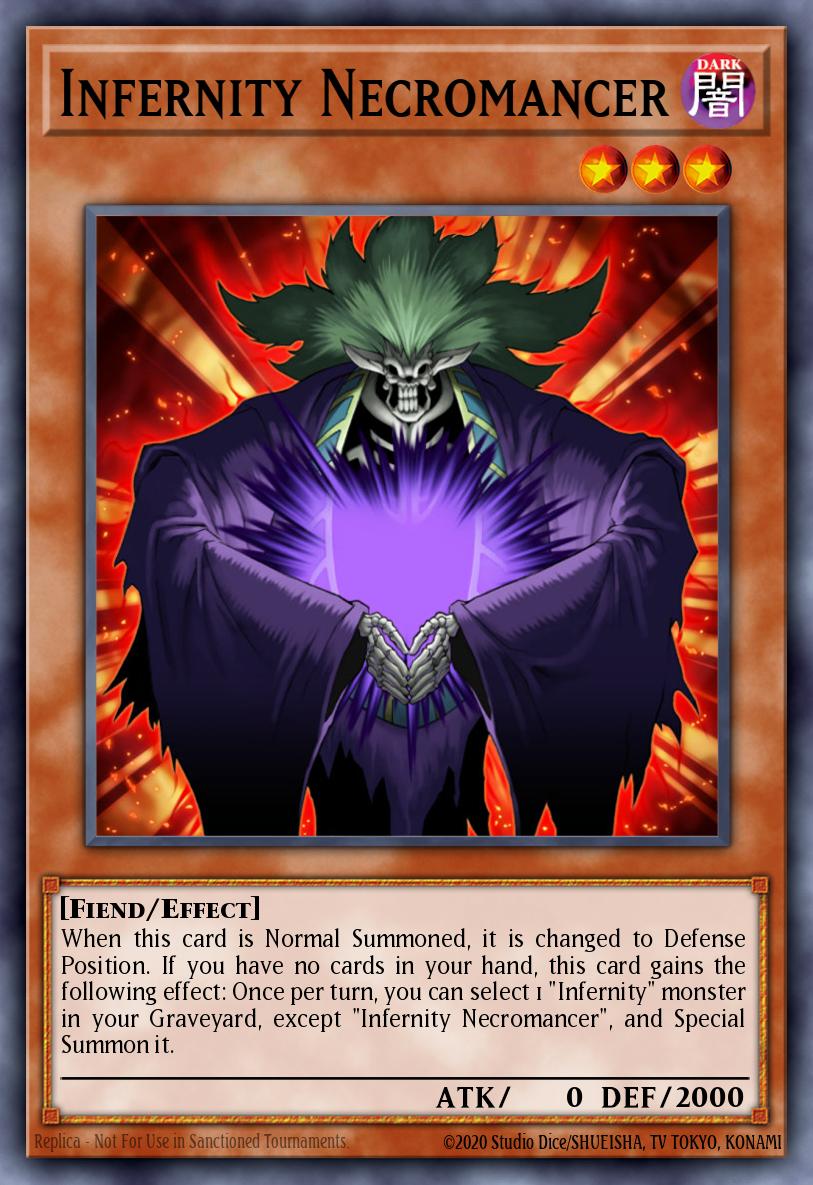
Infernity Necromancer (three times)
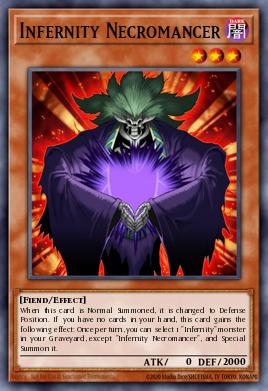
Infernity Necromancer is one of the best starter monsters that you always want to have in your hand. Thanks to the new skill, you can send it down to the Graveyard, then search for Trap Infernity Suppression, which lets you safely deploy a combo through opponent's hand traps on Turn 1.
The continuous revival effect of Infernity monsters from the Graveyard (as long as your hand is empty) turns this card into a solid foundation to build an overwhelming deck. It is recommended to play up to 3 copies to ensure stability.
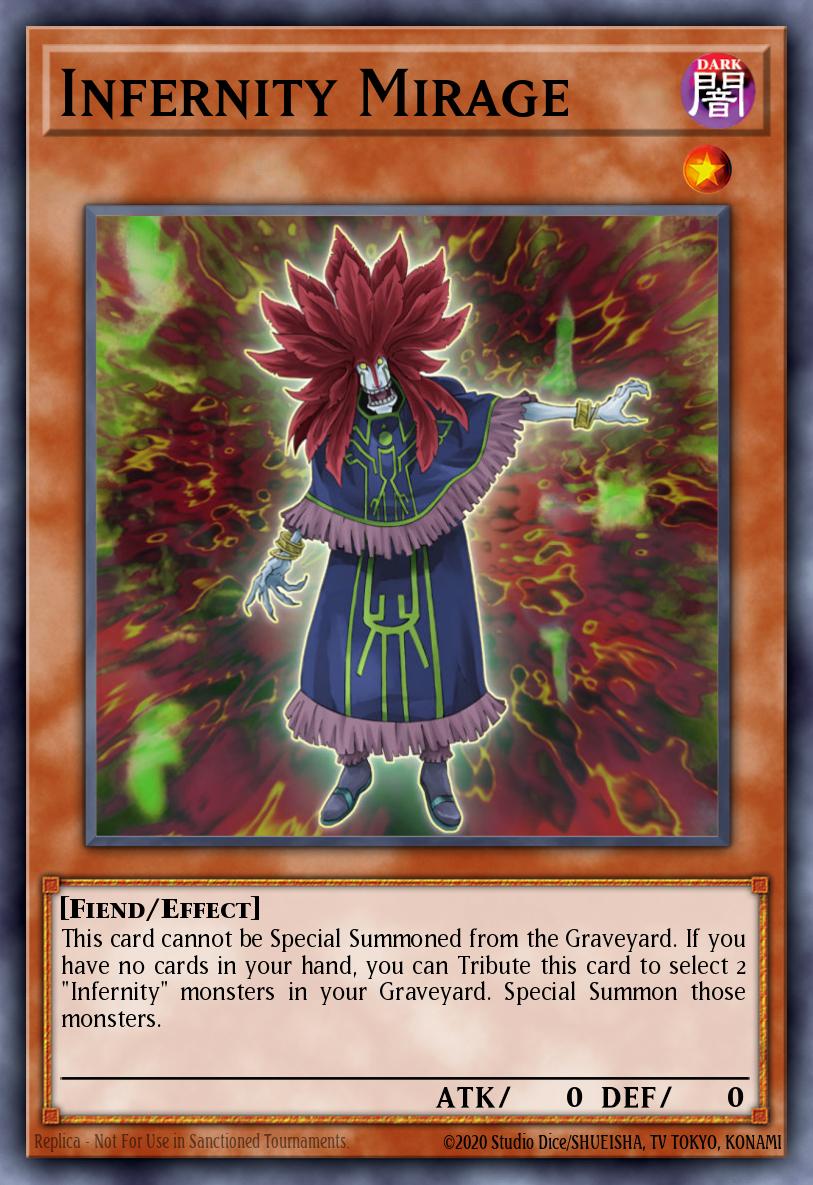
Infernity Mirage (x2-3)
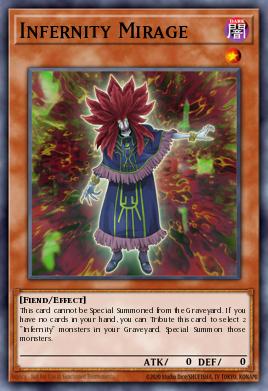
Acting like a dual-life machine, Infernity Mirage can sacrifice itself to summon two Infernity monsters from the Graveyard at once. Like Necromancer, this is also a great starter card to initiate long combo chains of the deck.
The only condition for this card is that you must have at least 2 Infernity names under the Graveyard, but the new Skill of Duel Links has already taken care of that setup step. Depending on the number of cards in your deck, you may consider using 3 copies, or reduce it down to 2 cards.
Infernity Patriarch (x1)

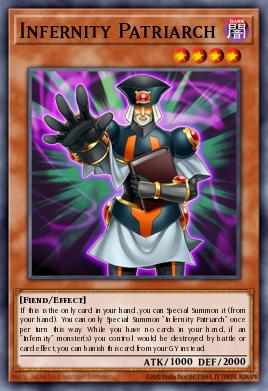
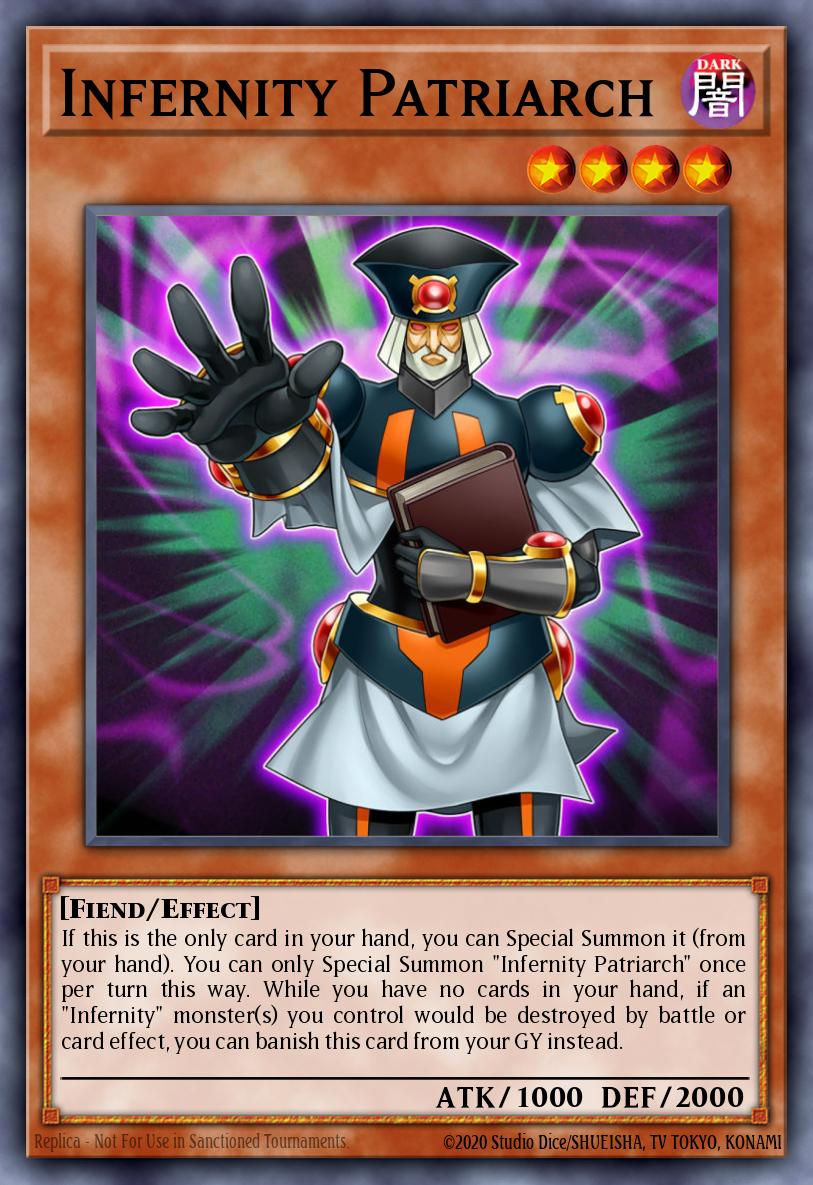
Although having the Under Grave protection effect is quite rare, the real reason Infernity Patriarch appears in the deck is because it provides a completely free body. When searched onto the field by Infernity Archfiend, it can Special Summon directly to the field. Thanks to its easy summoning ability, it is the perfect material for Summoning Link (with Reprodocus) or Summoning an Xyz monster at Rank 4 (such as Abyss Dweller) when you don't have a Tuner on the field.
Infernity Conjurer (x1)


< p data-path-to-node="14" style="text-align: justify;"> Infernity Conjurer is an extremely useful card for post-attack (OTK) plays. When you have no cards in hand, it directly inflicts 800 ATK damage on all opponent monsters, making it easy to smash through large defensive walls.
< p data-path-to-node="15" style="text-align: justify;"> Additionally, this card can Special Summon itself from the Graveyard to the field (will be banished when leaving the field), providing an important Level 3 material to flexibly expand your combo.Infernity Wildcat (x1)


Infernity Wildcat is a special important Level 3 Tuner in this deck's strategy. With its ability to self-adjust its own Level, it makes level calculation steps during Synchro become incredibly versatile.
The presence of this card is a prerequisite for you to summon the table-clearing monster Black Rose Dragon or disrupt Void Ogre Dragon. Any name containing Infernity that combines with this card can also create a complete combo line.
Infernity General (x1-2)

Infernity General is a fairly good expansion option, functioning similarly to the Launcher spell to revive 2 low-level monsters from under the Graveyard. However in the 26-card version, Conjurer is typically prioritized instead.
Infernity Sage (twice)

Act as main Tuner to summon your primary monster Trishula, Dragon of the Ice Barrier, and also brings excellent resource setup ability. When sent to the Grave, it allows you to send an additional Infernity monster from the straight deck to the Grave.
Since the current deck no longer uses Spell Transmodify, I recommend you only play a maximum of 2 copies of this card. Three copies would be excessive.
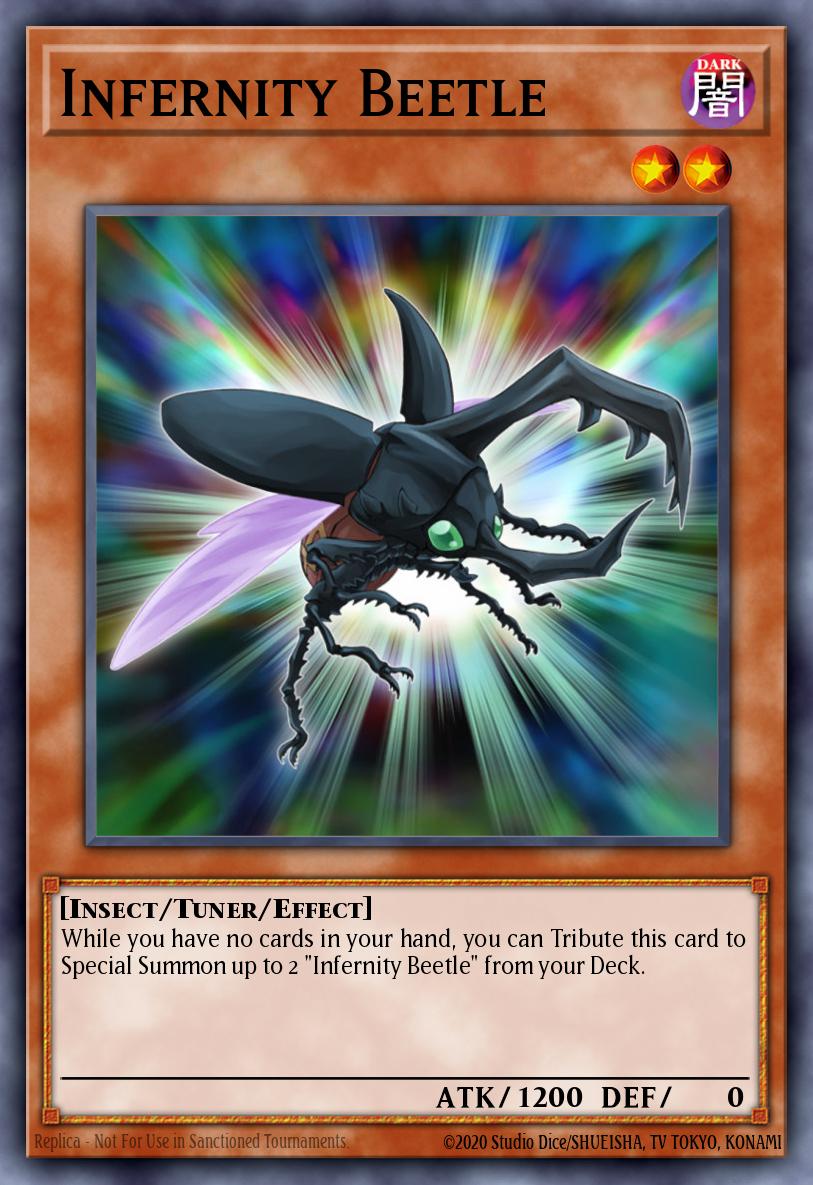
Infernity Beetle (x0)
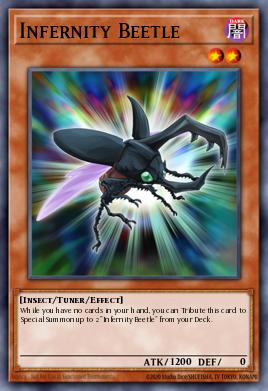
A fairly troll choice is Tuner Infernity Beetle, although it creates additional monster cards but the requirement to play 3 copies and push the deck to the 30-card limit makes it not highly regarded in the ranked environment.
Tribute
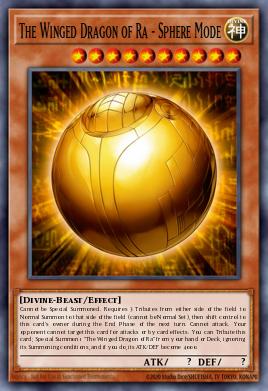
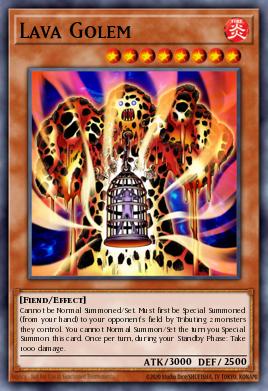
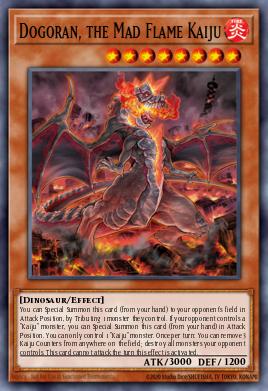
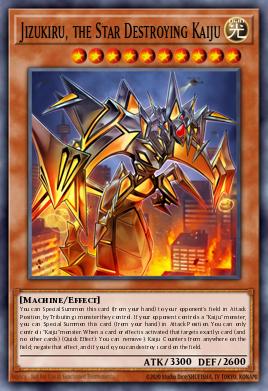
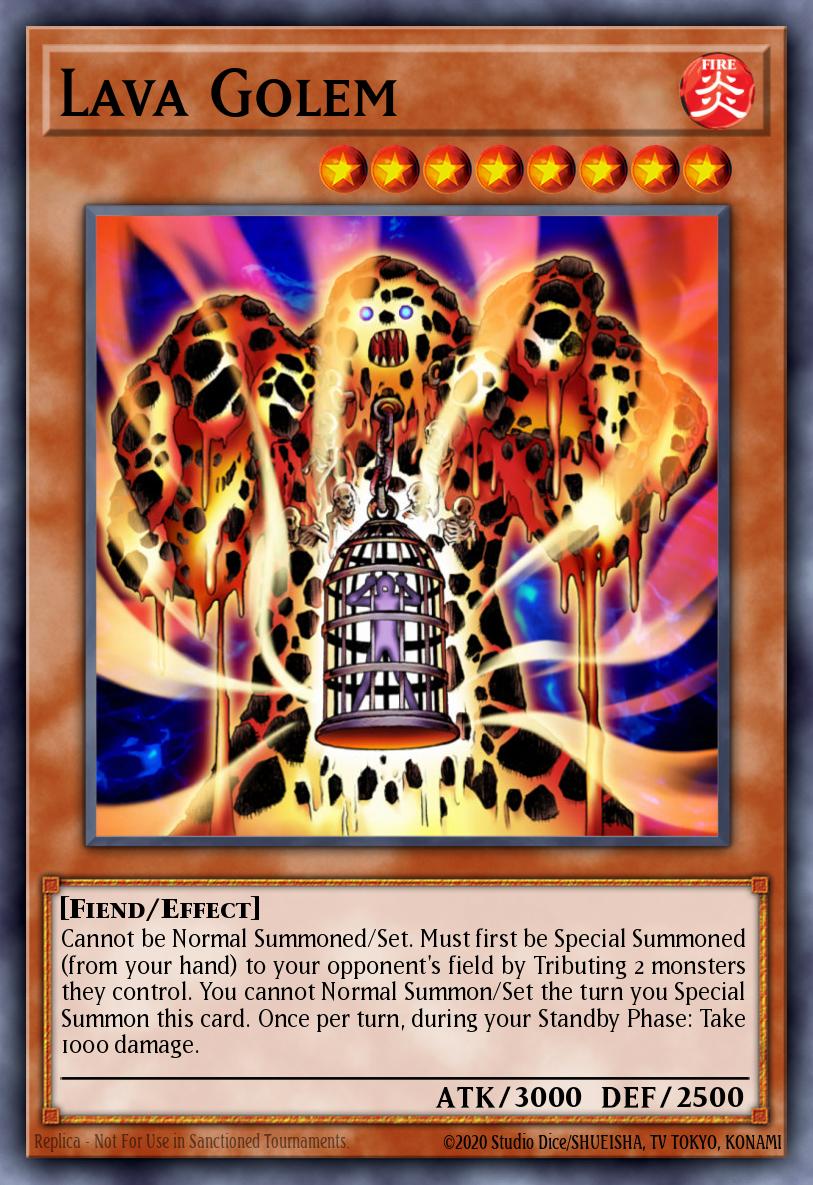
Using enemy field sacrifices is always a double-edged sword with Infernity, because if you draw them first, you won't be able to Summon them and get stuck (leading to not being able to use the Infernity effect).
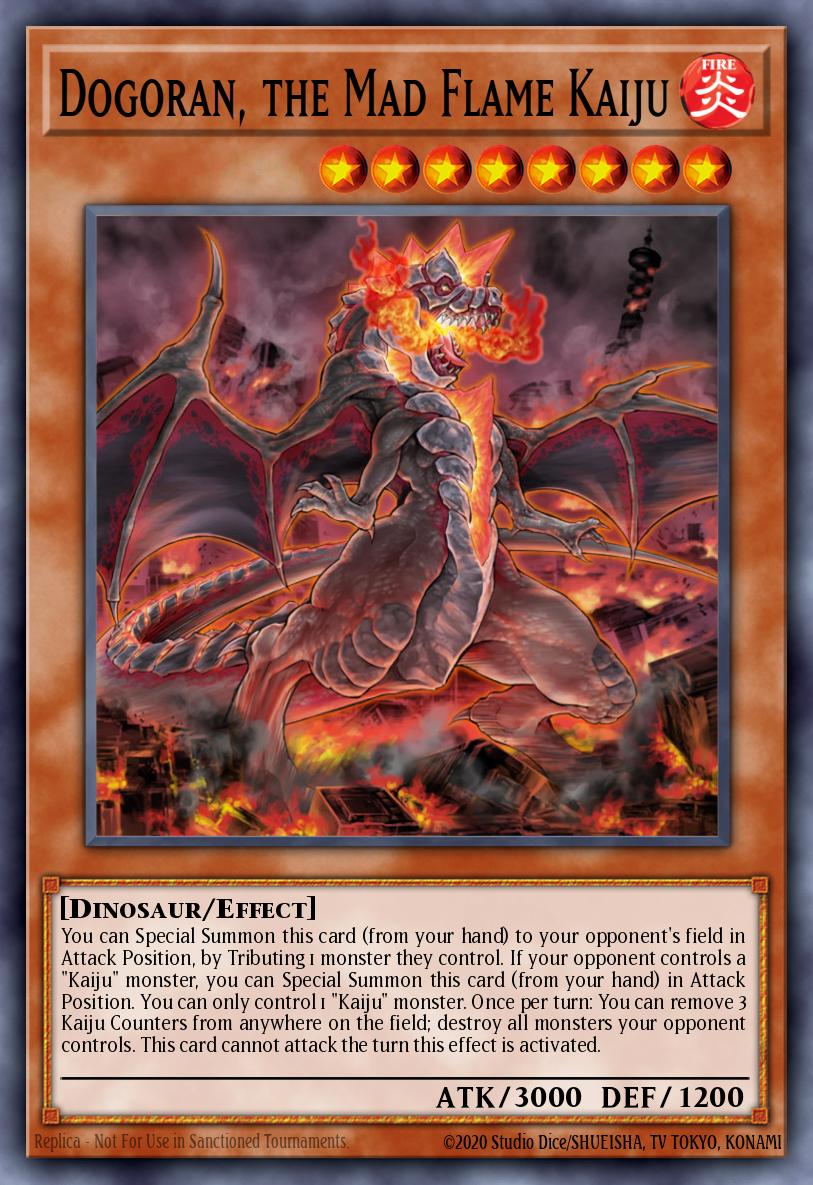
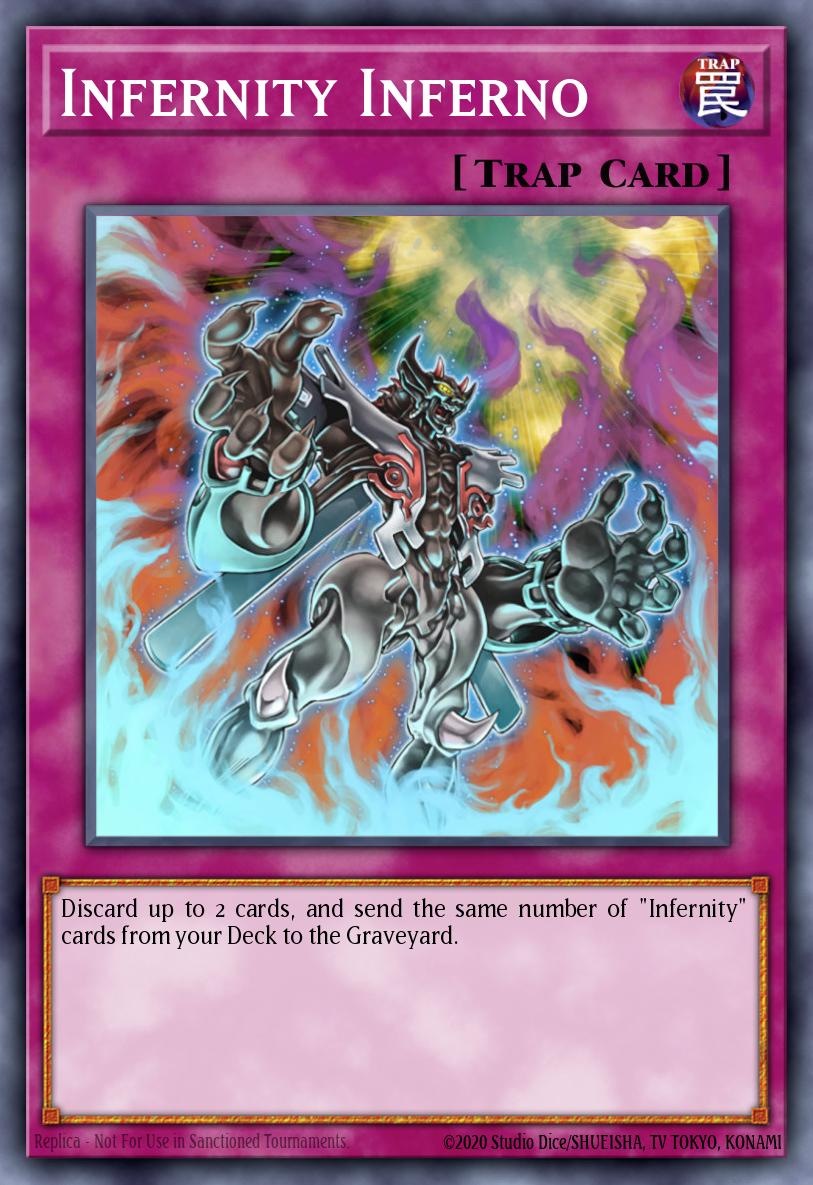
However, there is one extremely effective technique: if you still want to play Kaiju or Lava Golem, bring the Infernity Inferno trap card. Thanks to the skill that allows activating the Trap on the turn immediately after summoning, you can use this trap card to send away the Kaiju currently stuck in your hand directly to the Graveyard, allowing you to clear your hand safely on Turn 1. (I don't recommend this at all =)) this is just a crude temporary solution.
Spell/Trap
\u00A0
This Creepy Little Punk (times 2)

New support is extremely valuable, serving as the "golden key" that activates the deck-building effect and Graveyard protection of the skill Infernity Revival.
Additionally, the strongest point of this card is its ability to directly revive an Infernity monster from the banished zone back to the field.
Hiệu ứng hồi sinh này is the perfect counter to counter any blocking cards currently on the board like D.D. Crow or the Bystial monster when your opponent deliberately banishes your Infernity Archfiend.
Recommended Ratio: 2 copies (for the standard 26-card variant). One copy is enough to operate, but playing 2 copies increases the draw rate onto the main deck at the start of the game to create material for the skill and expand the combo chain.
Infernity Launcher (three)
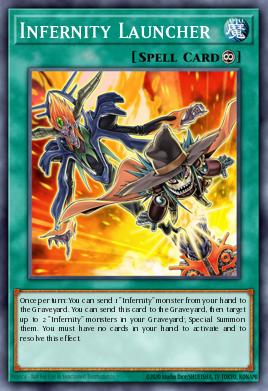
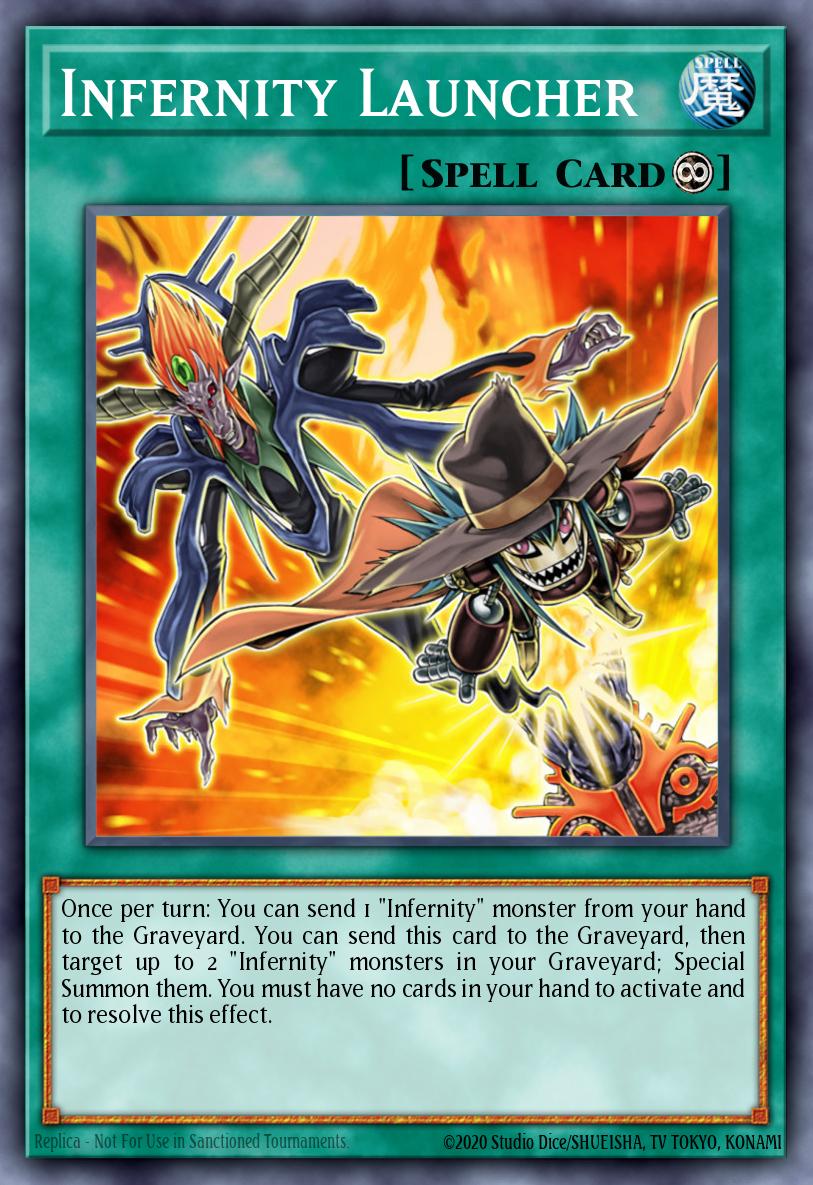
Mentioning Infernity doesn't require too many explanations about Infernity Launcher - the Continuous Spell Card is symbolic and is an infinite resource revival machine. When you have no cards left in hand, you can send this spell from the field to the Graveyard to simultaneously revive up to 2 monsters named Infernity from hand or graveyard.
It is a mandatory tool for you to continuously recycle resources for ongoing Synchro and Link Summoning turns."Launcher is Launcher, there's nothing to argue about"
Recommended Ratio: 3 copies (minimum required).
Infernity Suppression (x1)

Infernity Suppression is not like traditional Infernity traps, this card does not require the condition that your hand must be empty to activate. As long as you are controlling an Infernity monster, you can negate your opponent's monster effect.
Thanks to the inherent effect of Skill allowing Trap activation on the turn just played, you can use Skill to bring this card up and flip it down to use immediately on Turn 1 to support the combo, nullifying your opponent's hand traps. Since its negation effect is once per turn, you don't need to play many copies to avoid diluting starter cards (only x1)
Infernity Barrier (x1)

Infernity Barrier is the powerful and dreaded Counter Trap of the monster tribe. When you have no cards in hand and are controlling an Infernity in attack position, it allows you to negate and destroy any spell, trap, or effect activation of your opponent (Omni-negate).
The crazy point of this card is that it is not limited in number of activations per turn (non-once per turn). As long as you can set it on the field with one empty hand, the opponent has almost no way to execute tactics. (Max number if possible, however the game only gives us 1 card :<)
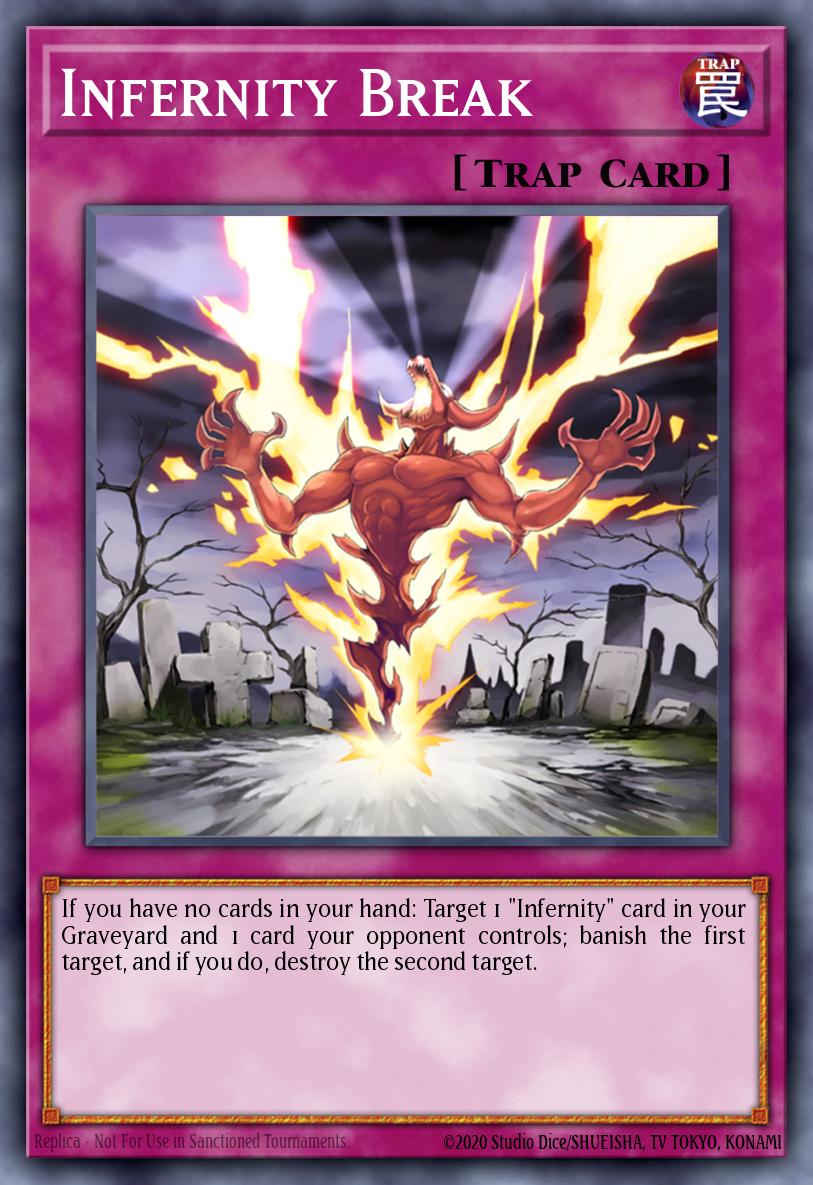
Infernity Break (x1-2)
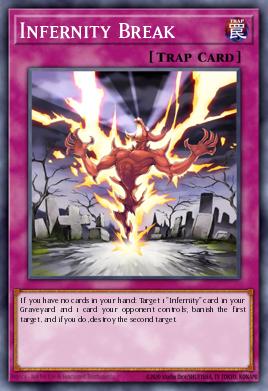
Infernity Break is a versatile board clearing tool. When you have no cards in hand and control an Infernity monster, you can banish one Infernity card from the Graveyard to target and destroy any card controlled by your opponent.
This card perfectly combines with Infernity Barrier to create a two-layer defensive wall: an effect negation layer and a disruption burst attack layer that disrupts the opponent's deck flow.
Recommended ratio: 1 copy (consider playing the second copy if you want to increase the number of field removal traps).
Infernity Inferno (x0)
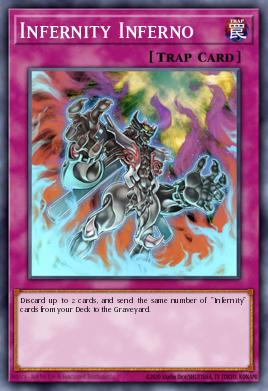
Trap cards allow you to discard up to 2 cards from your hand to the Grave to reduce the number of monsters. Infernity corresponds from the deck to the Grave. You can try this card when you want to play alongside field-spreading monsters such as Lava Golem or Hand trap-type monster cards (cards that are easily stuck on hand when going first). Thanks to the Skill that activates the trap immediately on your turn, you can banish them away to clear your hand easily.
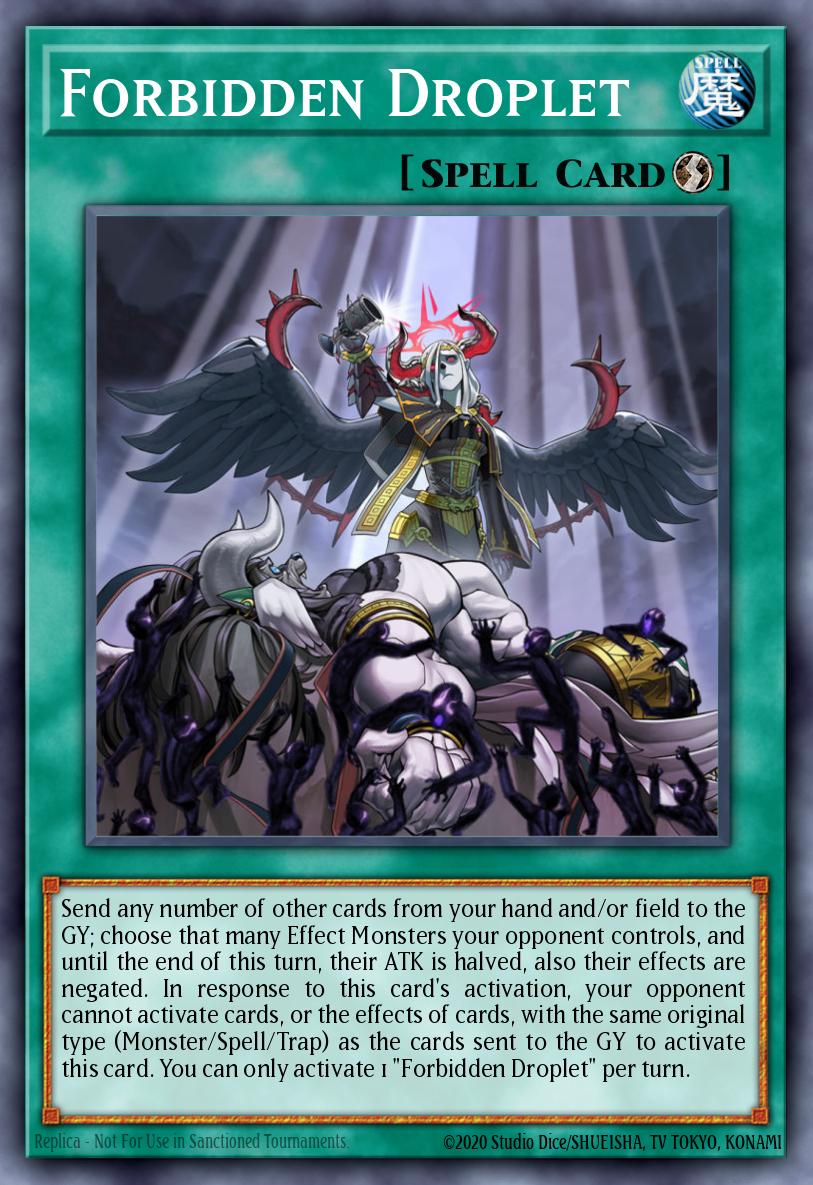
Forbidden Droplet (x3)
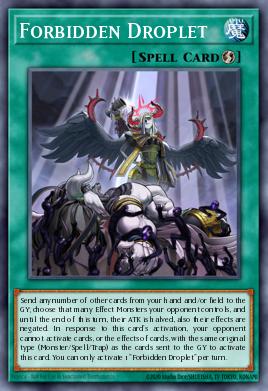
Rated as the best non-engine card of the deck at the current time. When played early, it is a flexible Quick-Play Spell trap to interrupt the opponent's turn.
The biggest money-grab of Forbidden Droplet lies in its "self-rescue" ability when played late. The third effect of the Skill will lock you in place, allowing only Synchro Summoning if exactly 3 Infernity monsters just called have been placed on the field. If the opponent cuts off your Synchro chain and causes you to get stuck with those monster bodies, you can activate Droplet, sacrificing the trapped monsters as cost to unlock the Skill and continue building your combo!
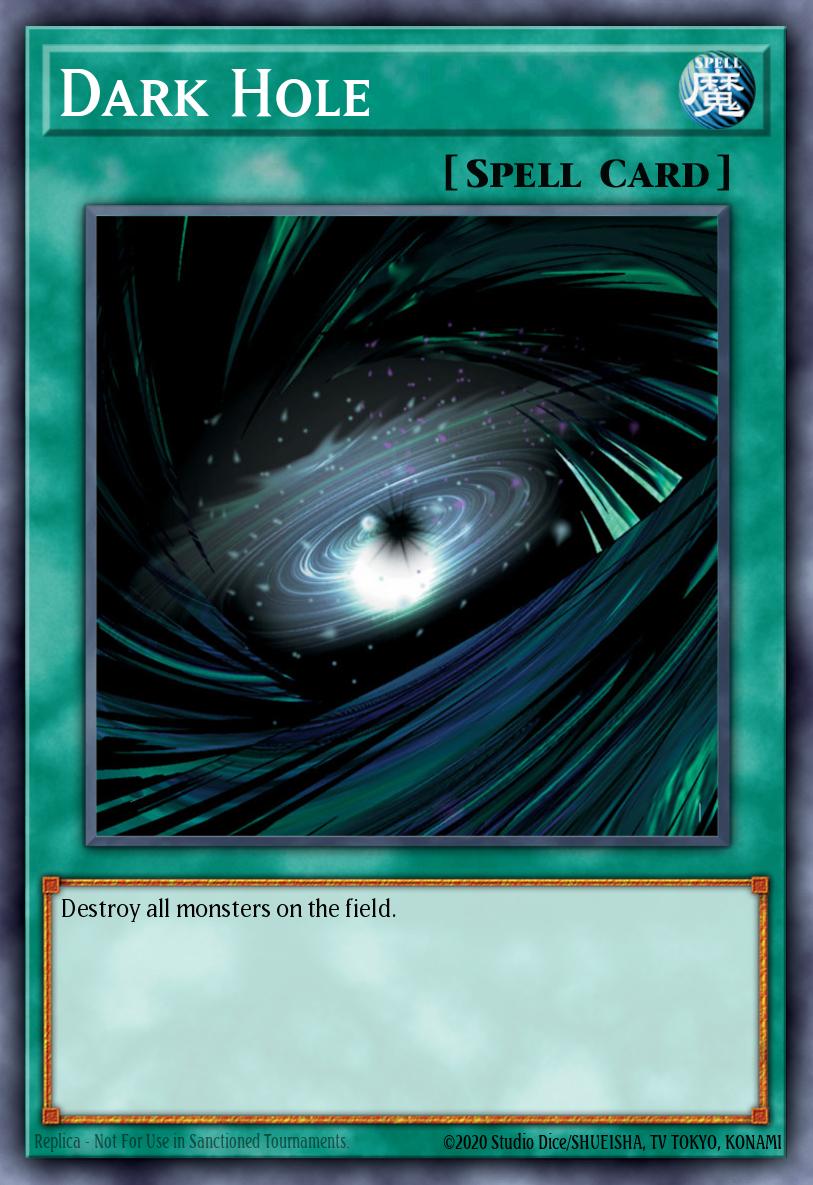
Dark Hole (x0-2)
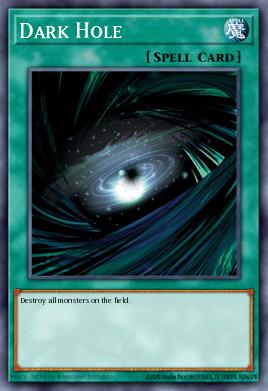
I strongly oppose using Dark Ruler No More and instead we should use Dark Hole. The core reason is Infernity's strategy of forcing an OTK. When facing decks like Branded, if you don't clear them off, they will use Mirrorjade to clear your board at the End Phase and restore their resources.
Dark Ruler No More inflicts damage on the opponent, making it impossible to achieve OTK. On the other hand, Dark Hole clears the enemy's battlefield and opens the way for you to directly attack. Even in many situations, you can use Dark Hole to unleash your own monster to create space, then calmly use Launcher to revive them again.
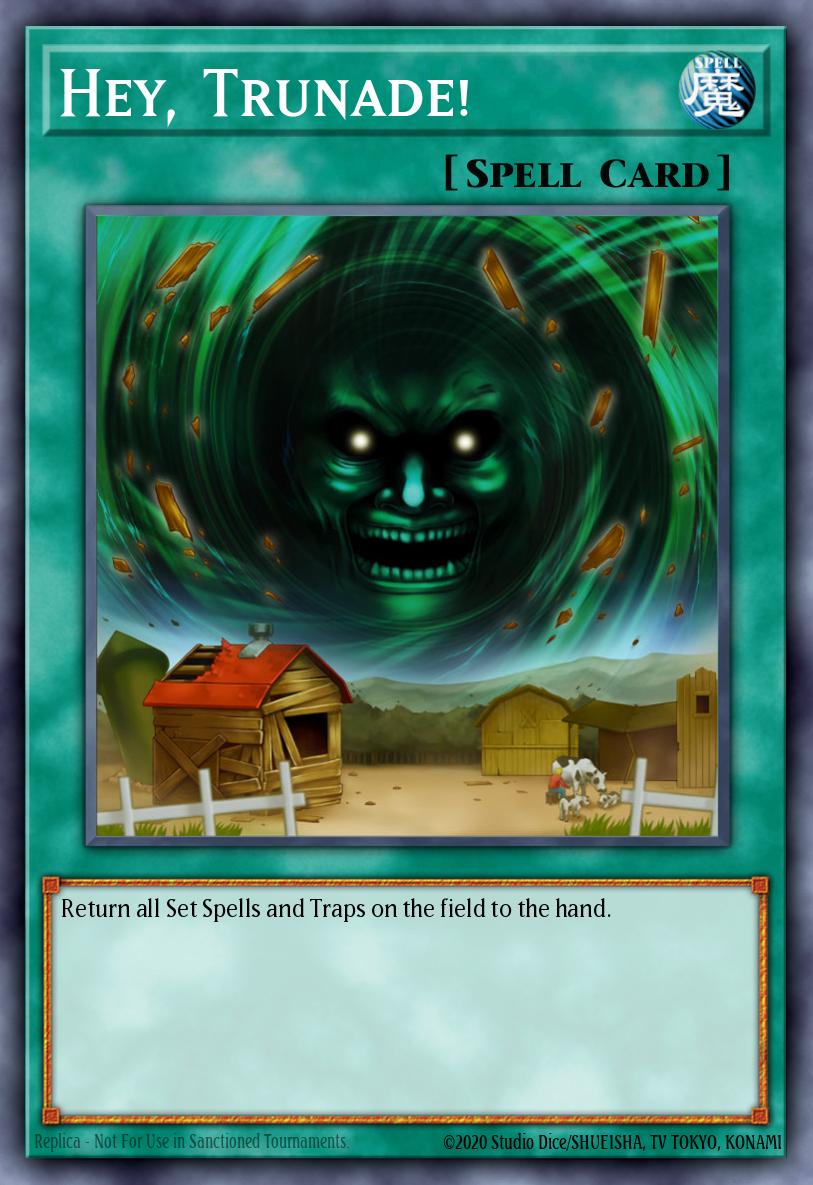
Hey Trunade! (x2)

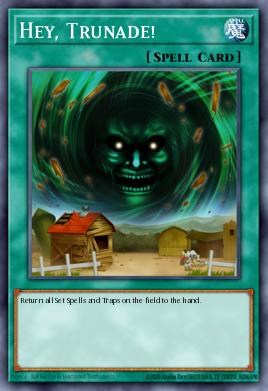
This is a mandatory card to have to counter opponents who set up many Spell/Trap cards that hinder when you go second. Its backrow clearing ability is undeniable.
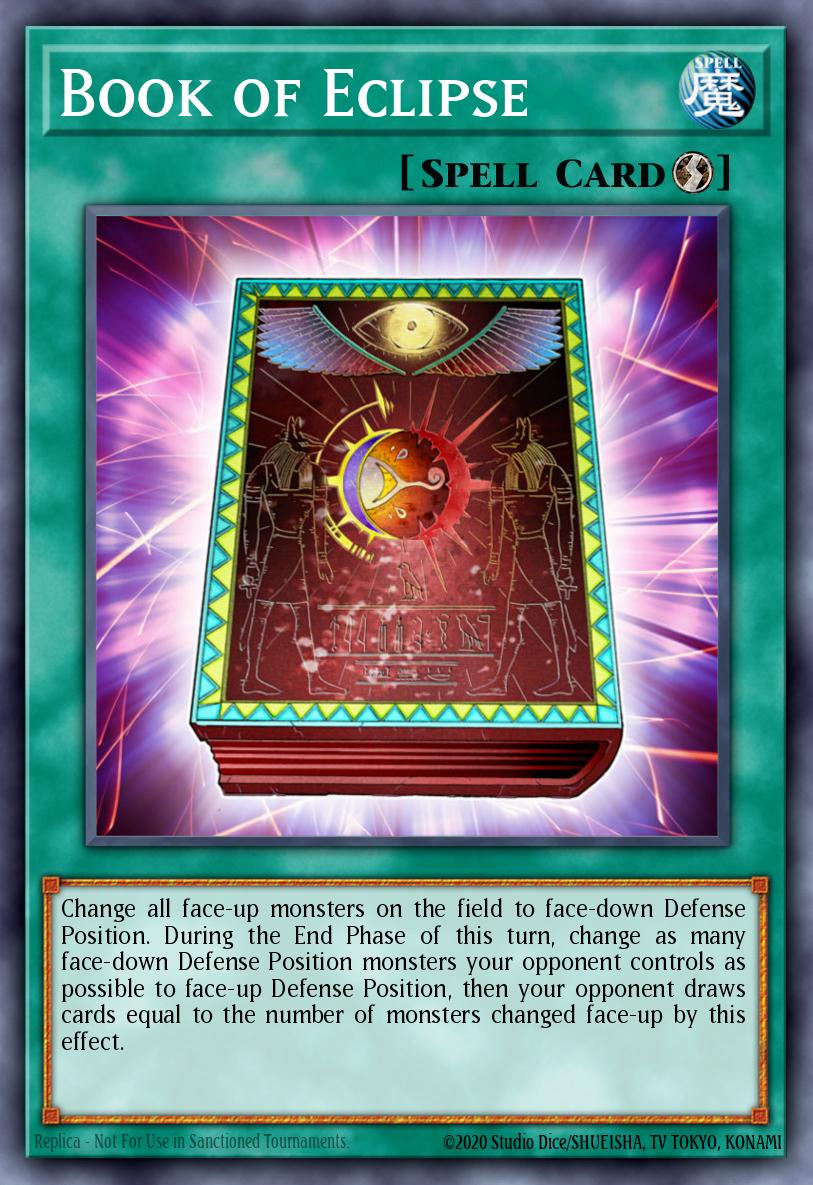
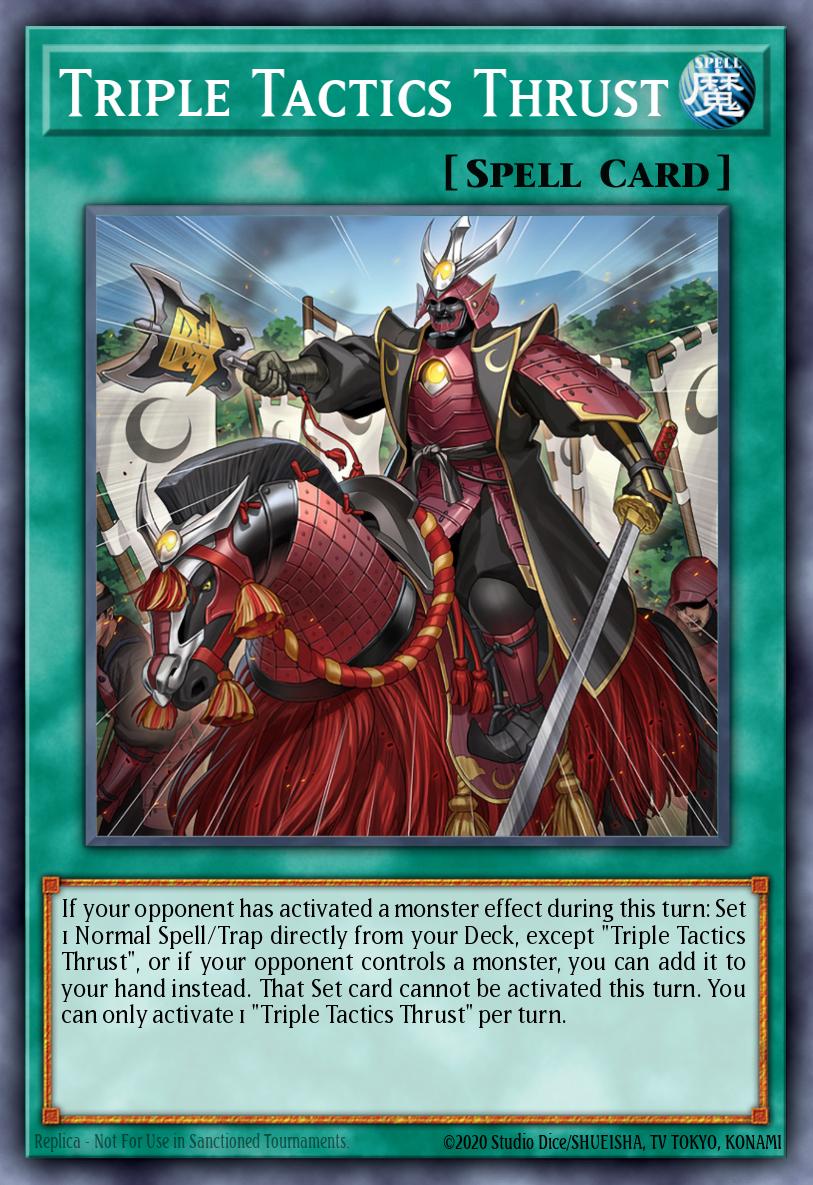
Book of Eclipse and Triple Tactics Thrust (x0-3)
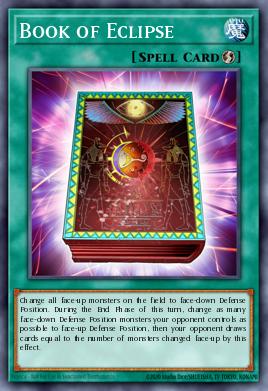
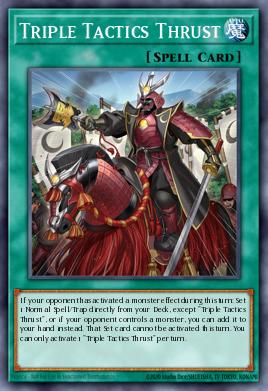
I don't highly rate these 2 cards in the deck. Triple Tactics Trust performs very poorly when played early because it occupies an useless Spell/Trap slot, and the Duel Links format doesn't have a Main Phase 2 to fully utilize this card's value after entering the Battle Phase.
With Book of Eclipse, although it has the effect of clearing the board, turning all monsters face-down will ruin your Type/Monster System combos (for example, the combo using Reprodocus transforms the monster into the Beast tribe) so timing must be carefully calculated to use it
Extra Deck
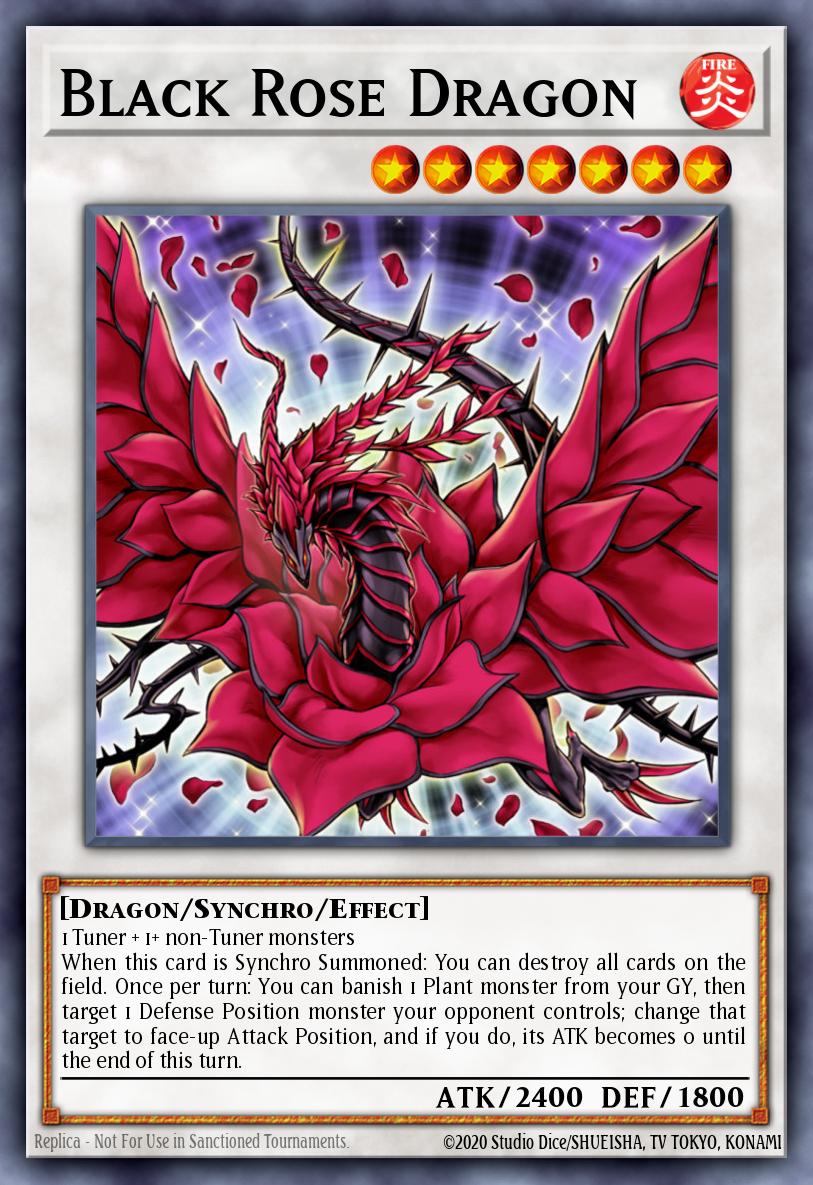
Black Rose Dragon (x1)
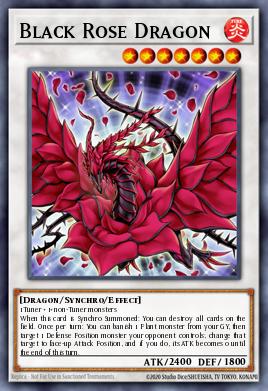
It is an attack spot and the most important flexible position for the next turn. The usage is very unexpected: thanks to Effect 3 of the Skill, you can place Infernity Archfiend, Infernity Wildcat and Infernity Sage face down on the field. Then you flip them face up to Synchronize and bring out Black Rose Dragon, blowing away the entire battle board!
The wonderful thing is that even when the opponent negates the field explosion effect of this card, you still have remaining Sage (Tuner Level 2) on the field to continue performing subsequent Synchro phases. The opponent will be completely unaware of this board-clearing move.
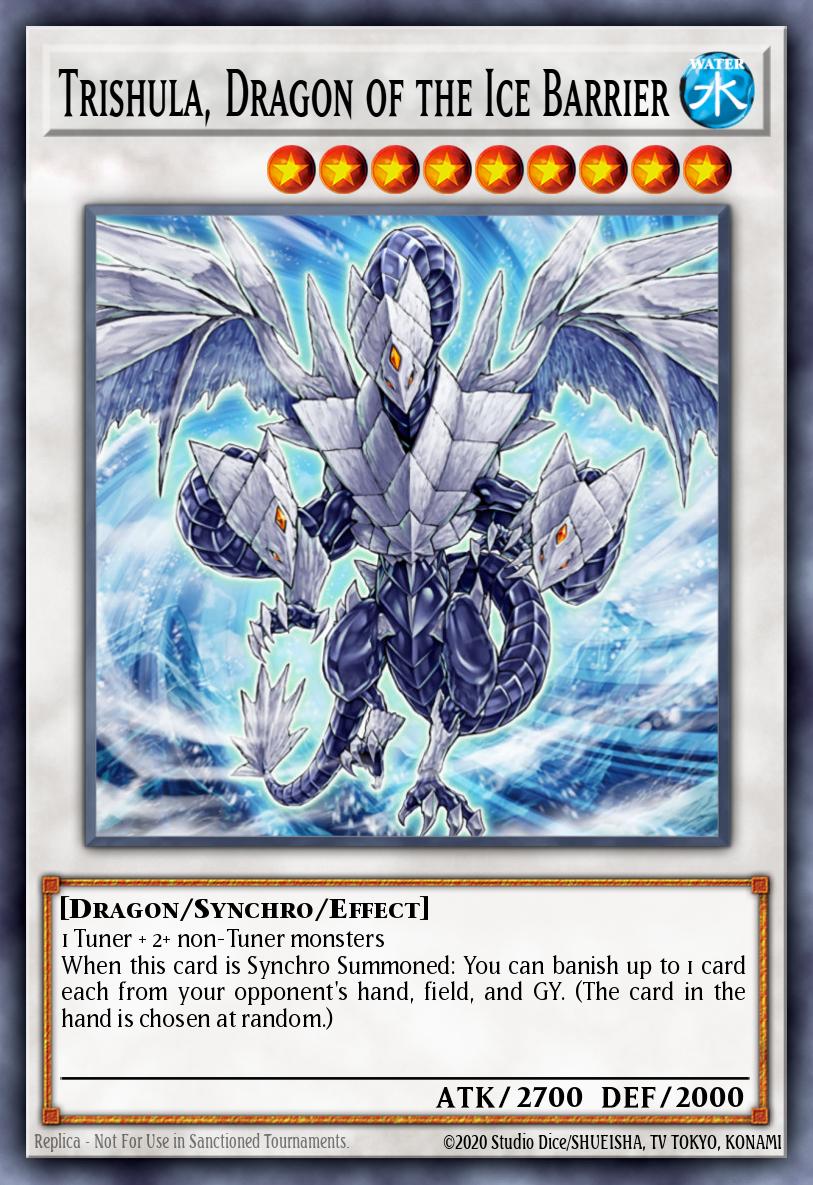
Trishula Dragon of the Ice Barrier (x one)
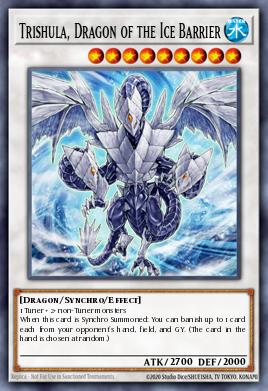
This legendary three-headed dragon is the ultimate Level 9 Synchro target (which fits the skill limit of calling only 1 Level 9+ monster per turn). With its ability to banish 3 cards (hand, field, graveyard) from the opponent without targeting any specific card, it is an incredibly dreadful resource-wear machine. We will call it in every combo regardless of whether we go first or second—when going first to grab the opponent's hand, and when going second to clear the opponent's field.
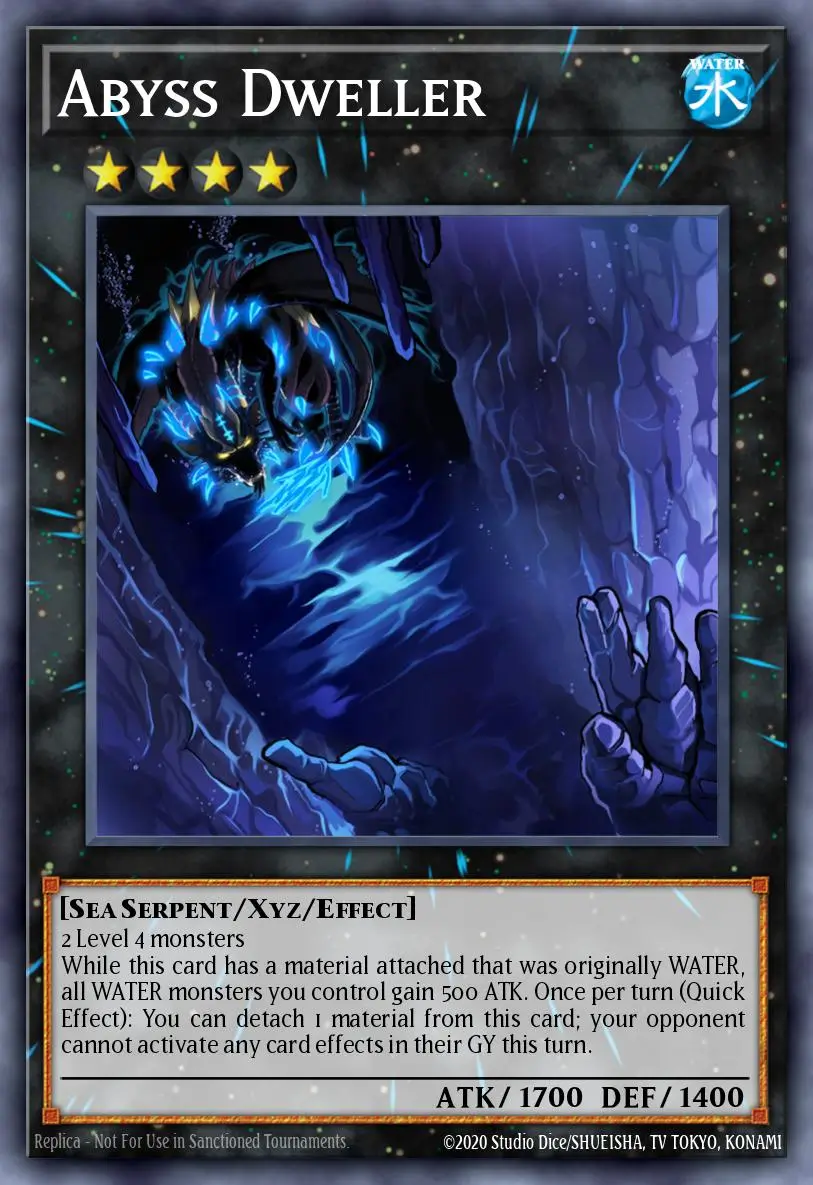
Dark Highlander, Void Ogre Dragon and Abyss Dweller (Should be ADweller)

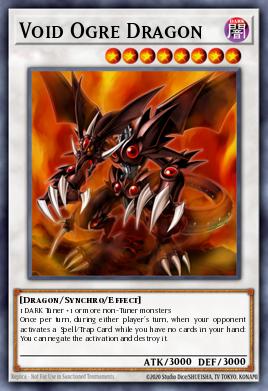

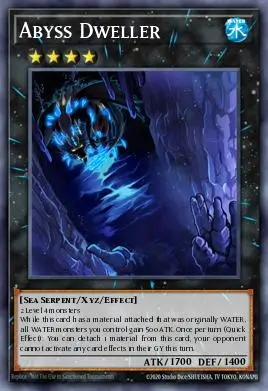
< p data-path-to-node="5" style="text-align: justify;">This is the monster group representing the backrow protection options when going first (Turn 1) depending on which card you have in your hand:
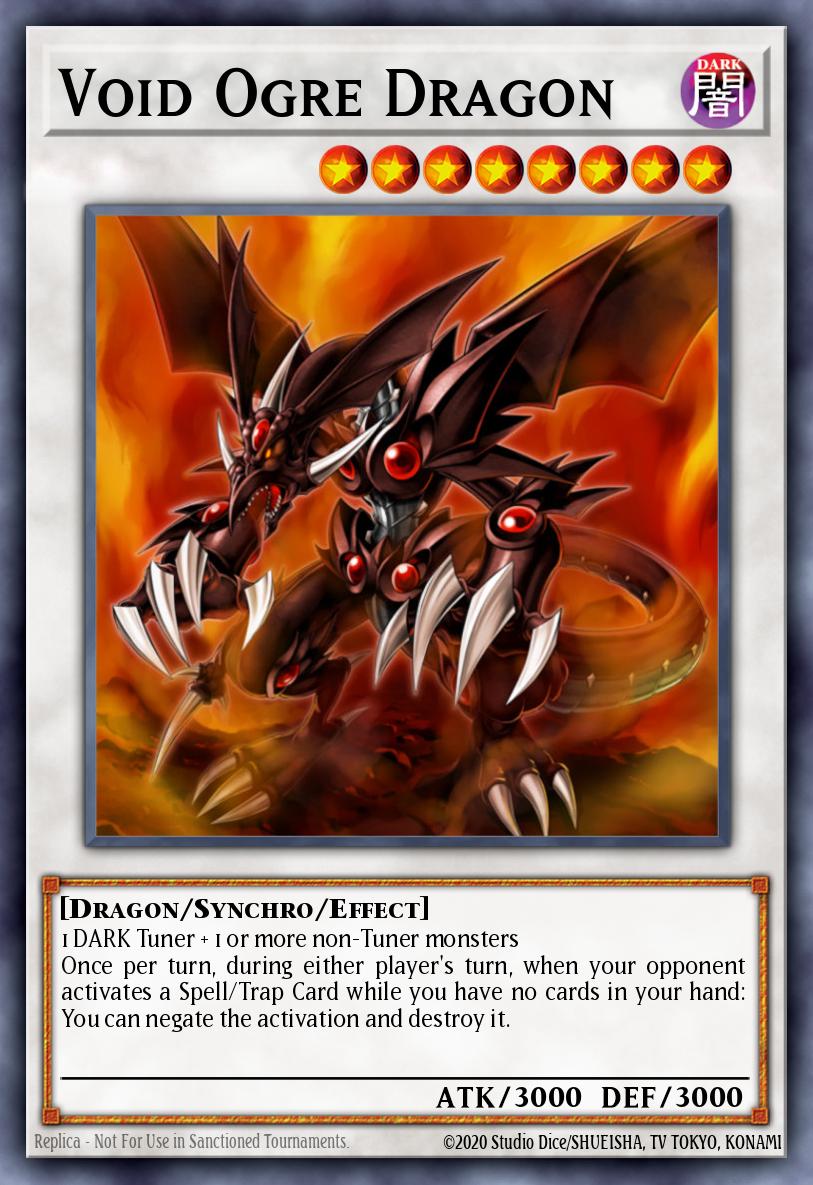
Void Ogre Dragon: The best-tier Synchro monster, providing an extremely powerful one-time Spell/Trap negate effect when you have no cards in hand.
Abyss Dweller: If you don't like Void Ogre, you can evolve Wildcat up to Level 4, combine it with Archfiend to Summon Xyz Dweller, locking down the opponent's Graveyard.
Dark Highlander: A fun tech at Level 7 that completely locks out the opponent's Synchro ability, very useful if the meta is flooded with Synchro decks.
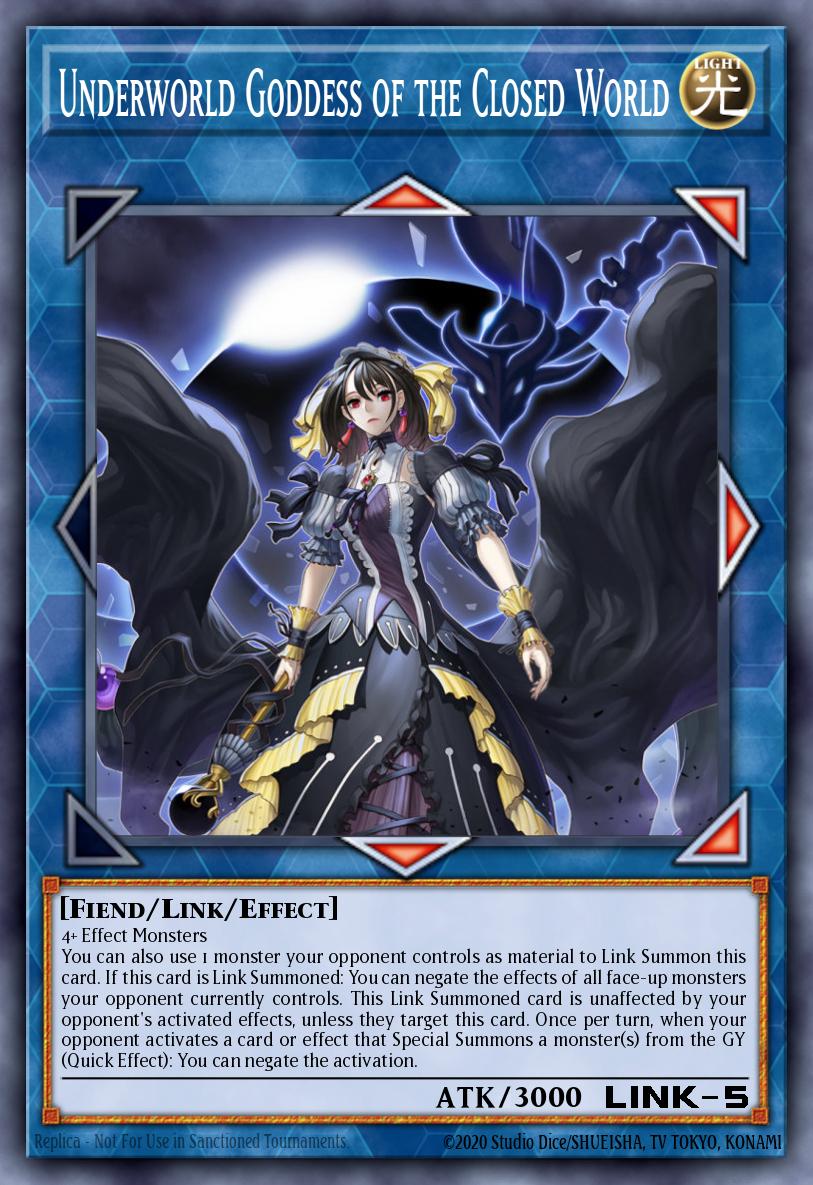
Underworld Goddess of the Closed World (x1)
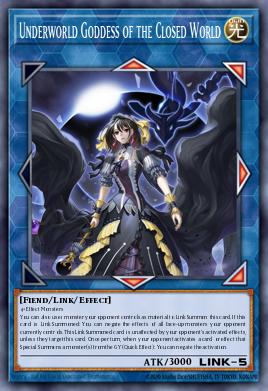
This is a mandatory card that must have. When used next, this goddess is the key to "freshly devouring" (used as a Link material) the immune-type main monsters of the opponent. In addition, it makes the OTK process smoother and also has the ability to negate effects under the Grave which are extremely harmful.
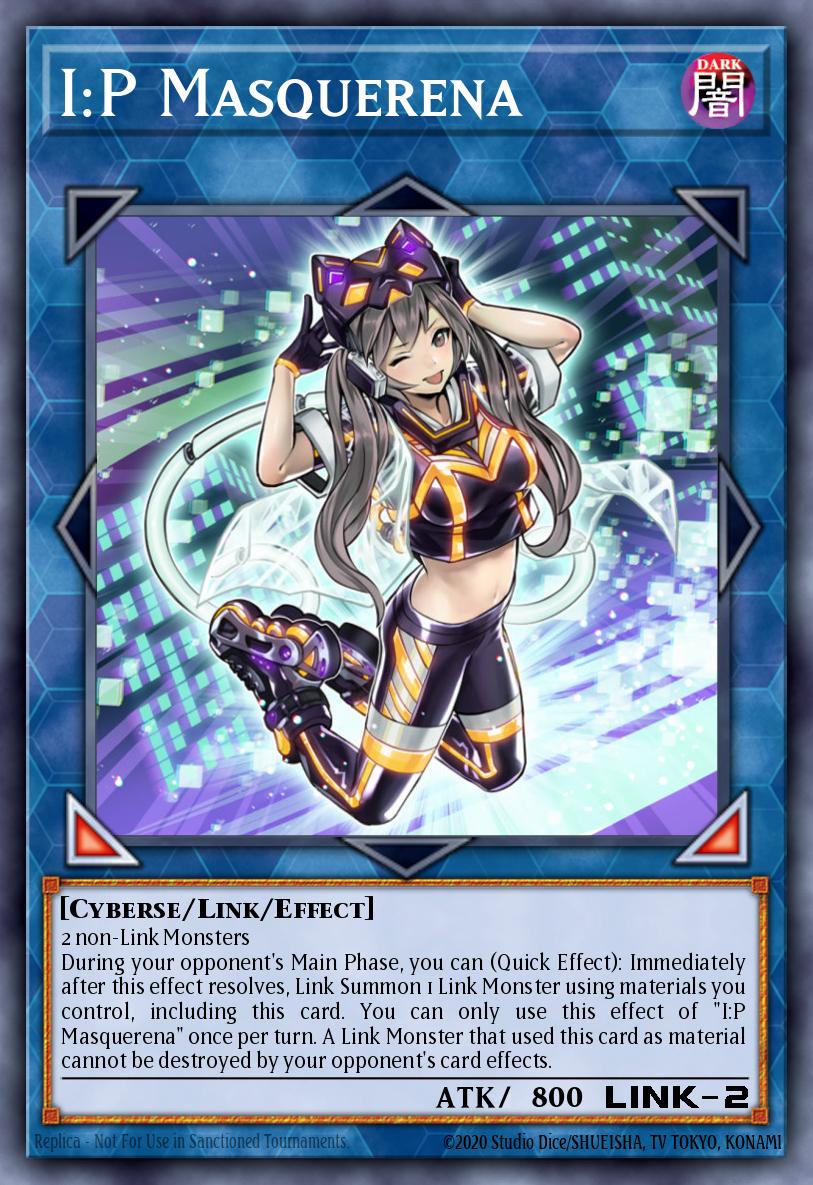
I:P Masquerena (x1)
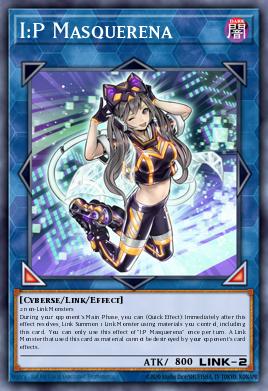
I:P Masquerena helps you use monsters on the field to Link Summon immediately during the opponent's turn (typically calling out Underworld Goddess to disrupt the enemy's tempo).
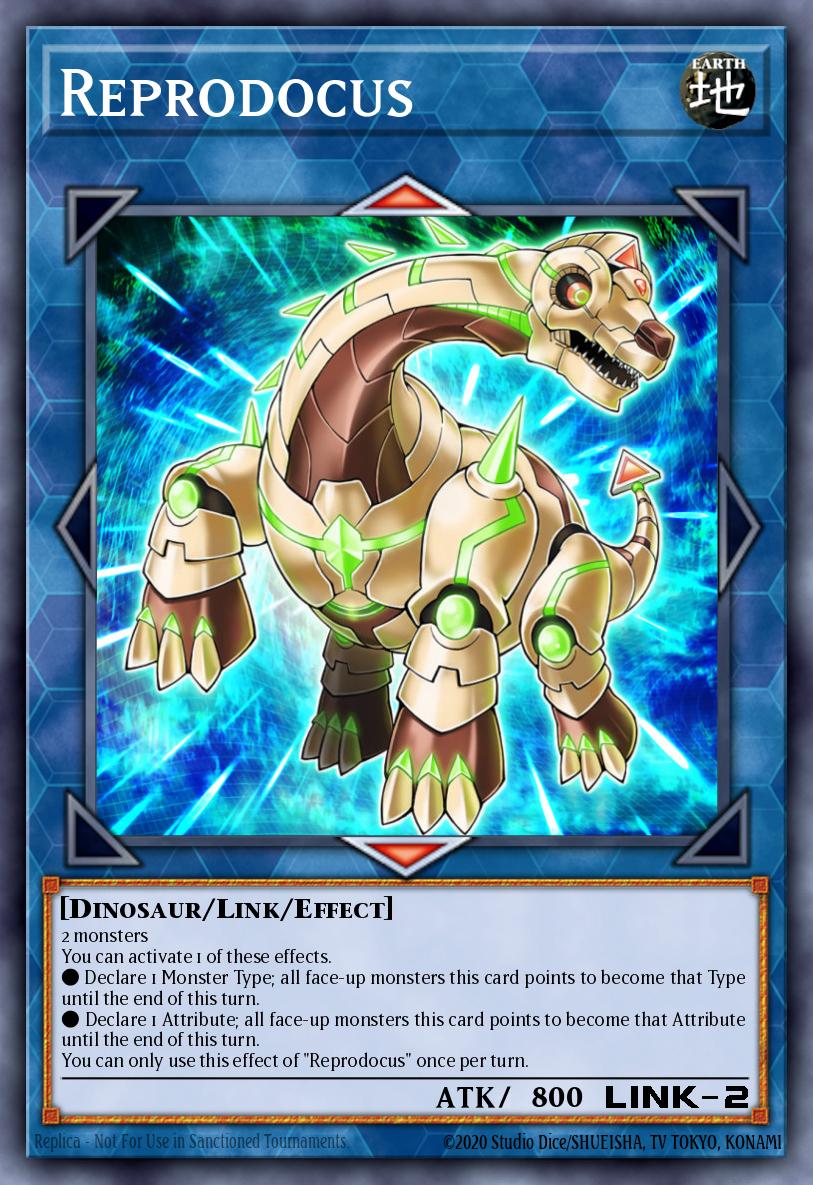
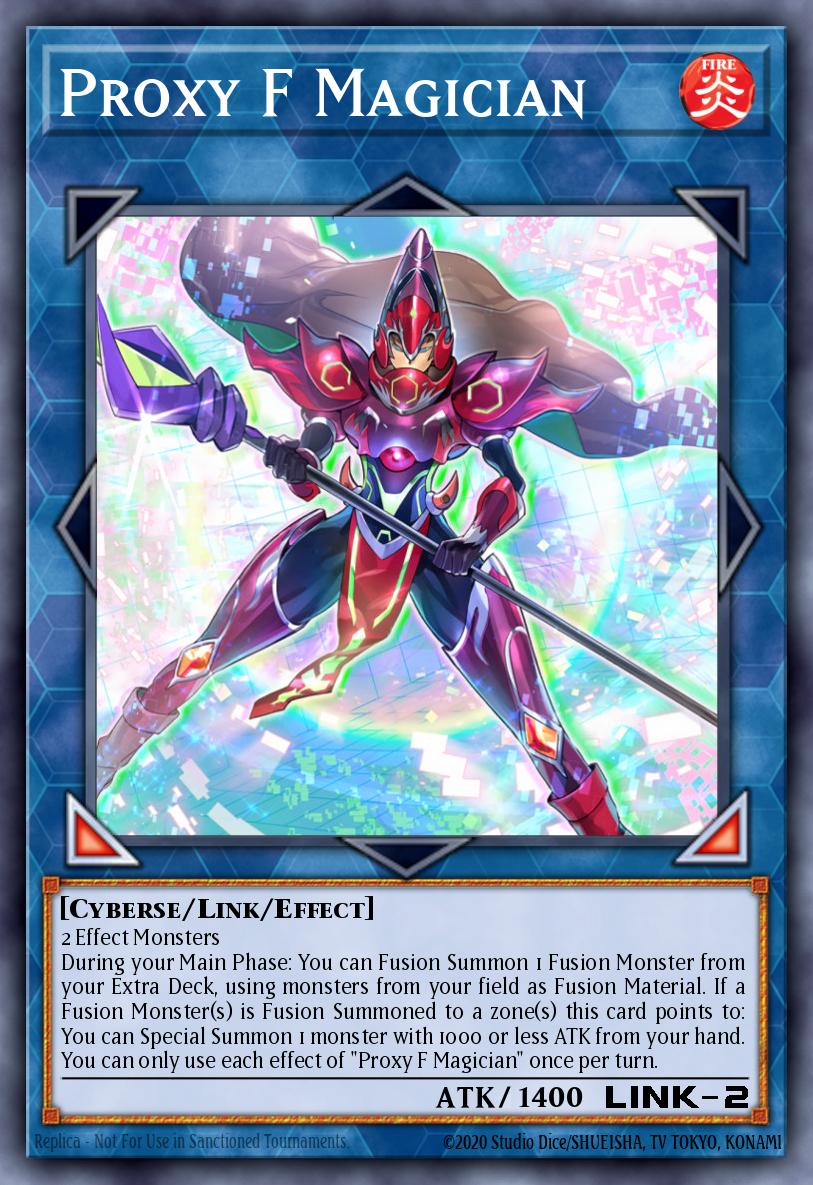
Reprodocus and Proxy F Magician (x1)
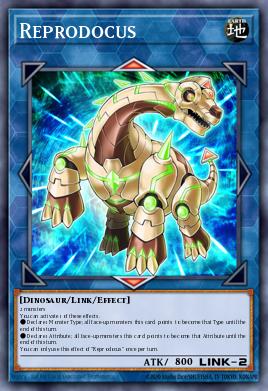
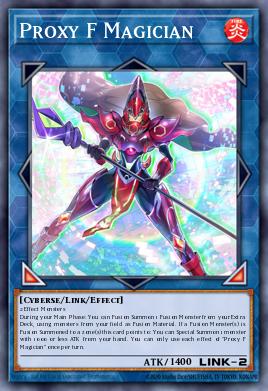
These two cards are used for an incredibly weird combo: Repro transforms 1 monster on the field into Beast → That Beast + 1 Infernity = Chimera (Fusion by Proxy F)
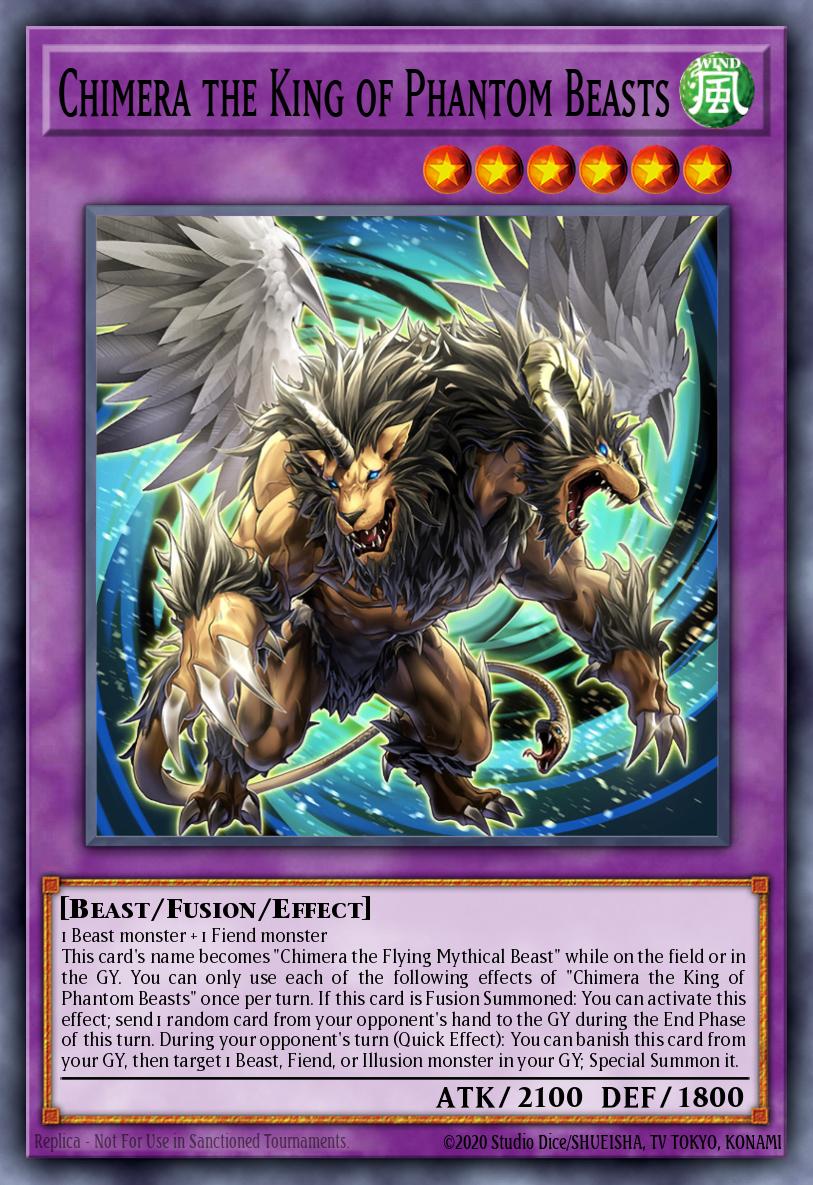
Chimera the King of Phantom Beasts (x1)
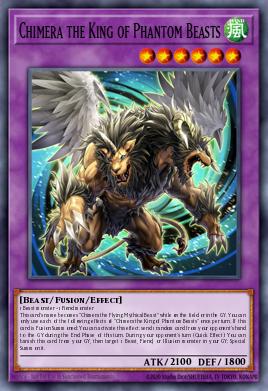
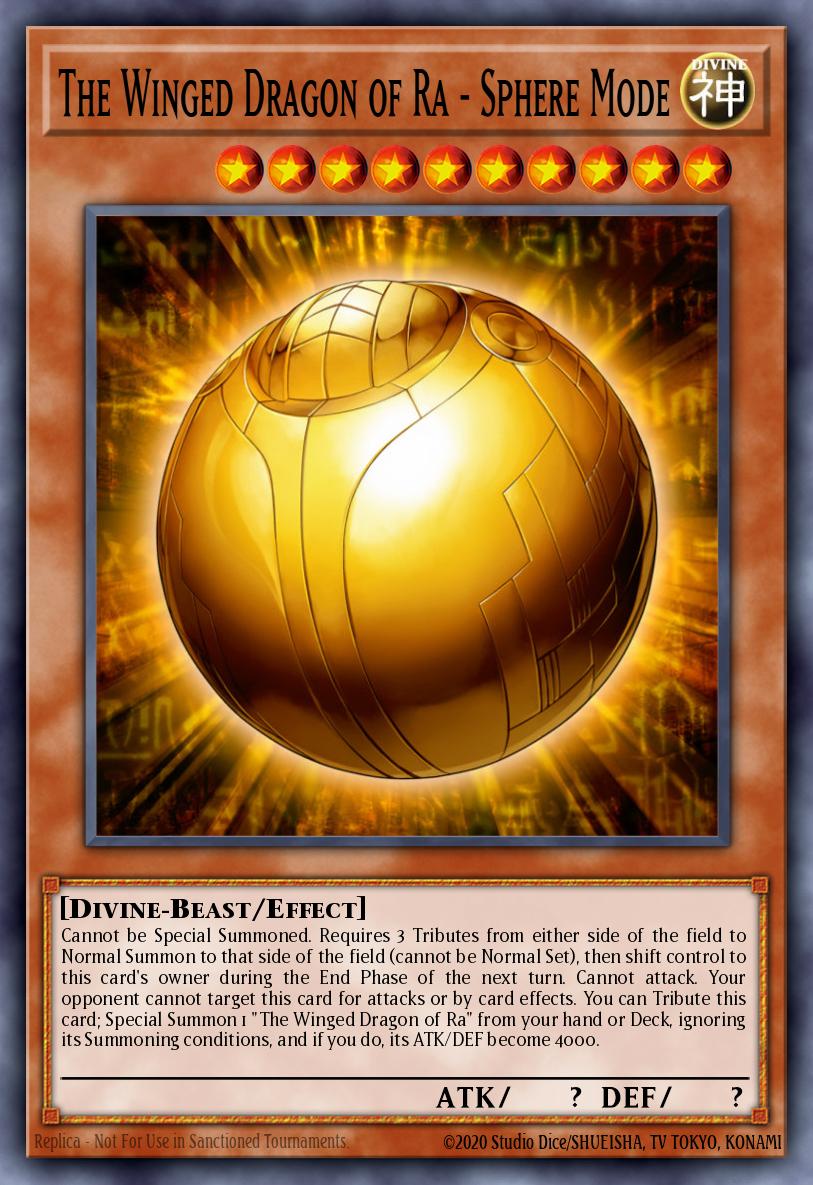
This is the most surprising highlight in the Extra Deck list. Through Proxy F Magician, you Synchronize out Chimera. Almost 99% when you combo on turn 1, you will call both Trishula and this card at once in that turn to be able to draw up to 2 cards from your opponent's hand right in turn 1. However, the greatest value of this card does not lie on the field but rather when it is under the Graveyard. In the opponent's turn, you can Exile Chimera from the Graveyard to revive a Fiend monster. If the opponent plays Lava Golem or Sphere Mode to devour your Infernity monster field, Chimera's effect will immediately retrieve an Infernity monster from the Graveyard to the field to maintain the frontline! (Because Infernity traps usually require Infernity on the field to activate)
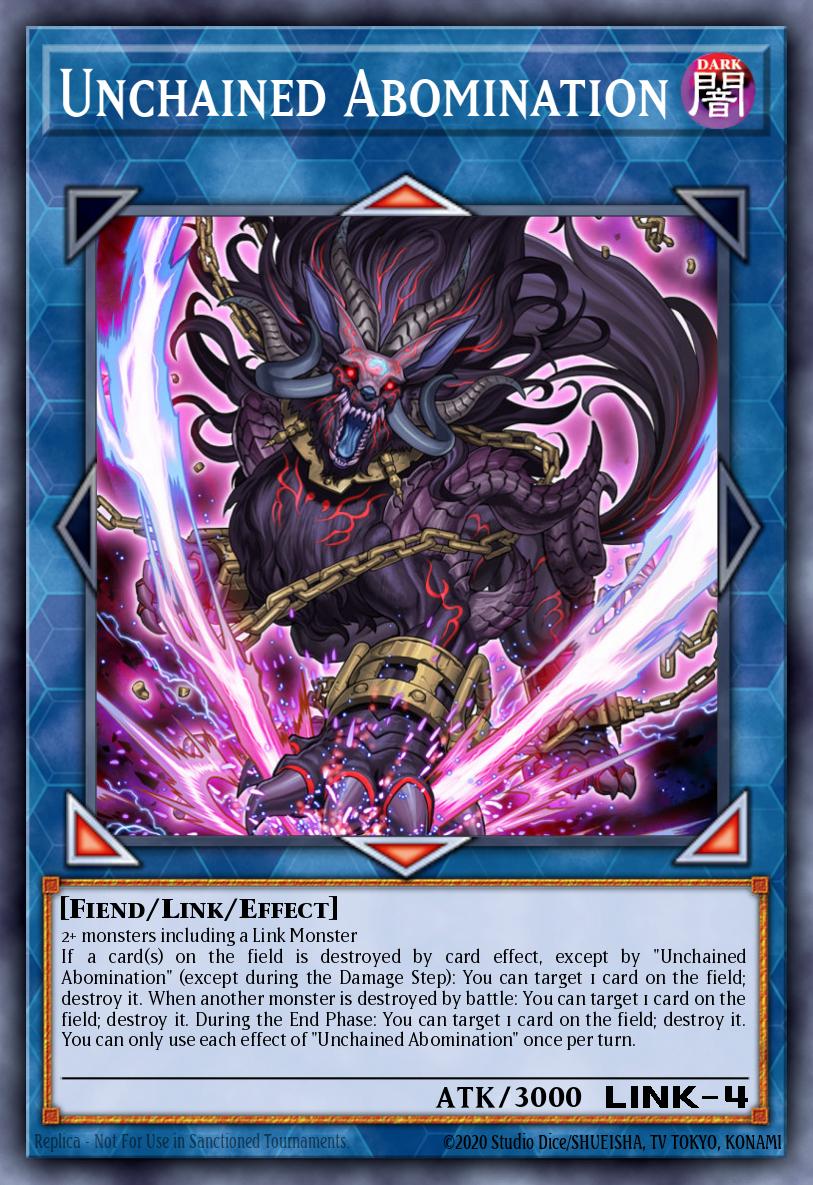
Unchained Abomination (x1)
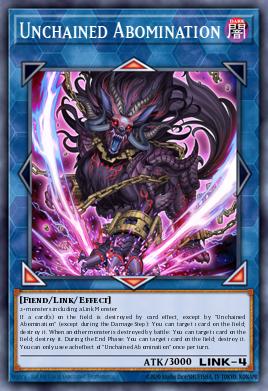
Because Infernity spams many monsters on this turn, we need one choice of Link 4 boss to clear the board but it must be strong enough. And that's when we look at this pack, the ability to break the enemy field combined with Infernity Break or Barrier will prevent the enemy from being able to deploy any combo.
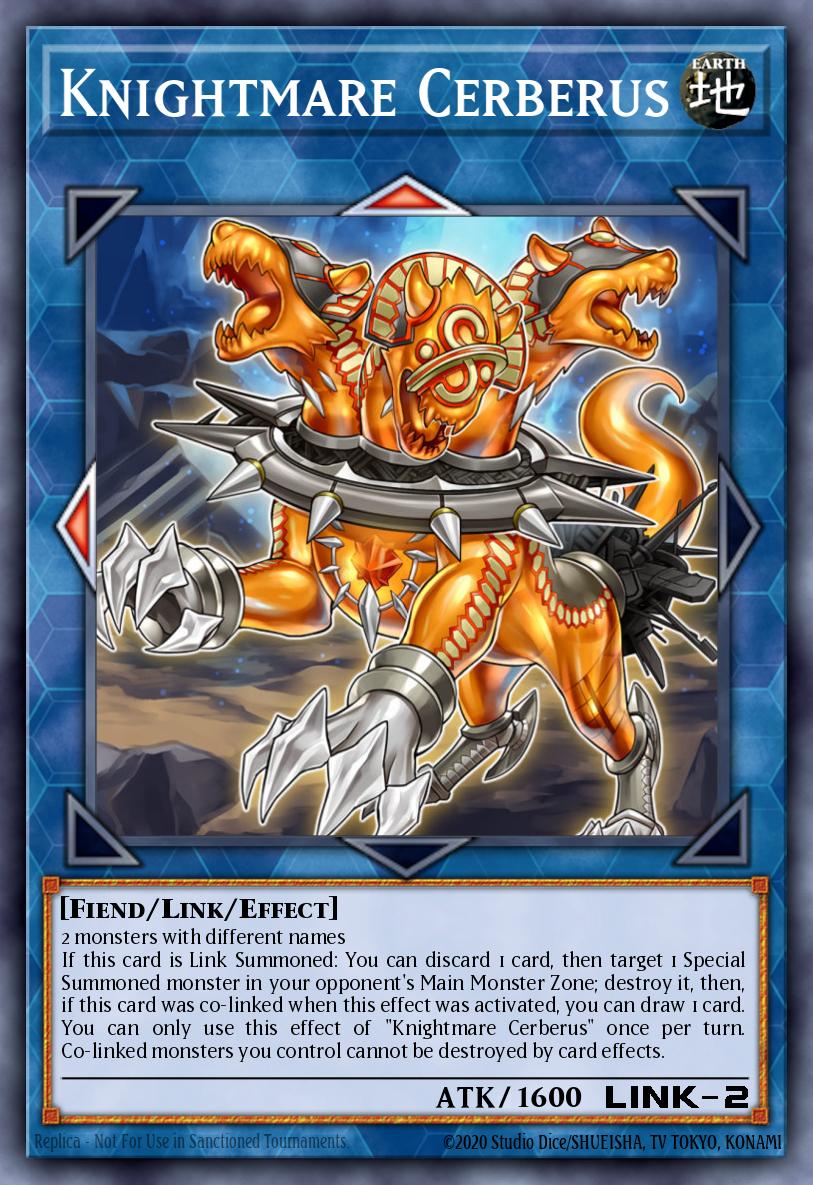
Knightmare Cerberus and Firewall Dragon (x0-1)
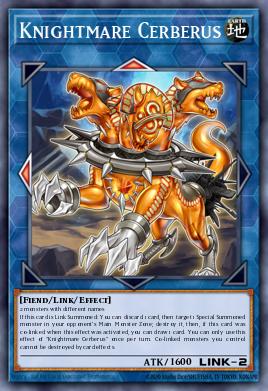
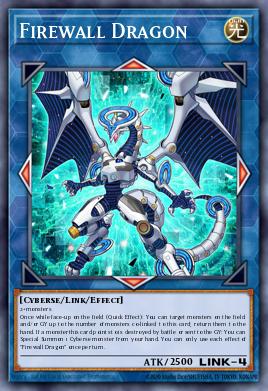
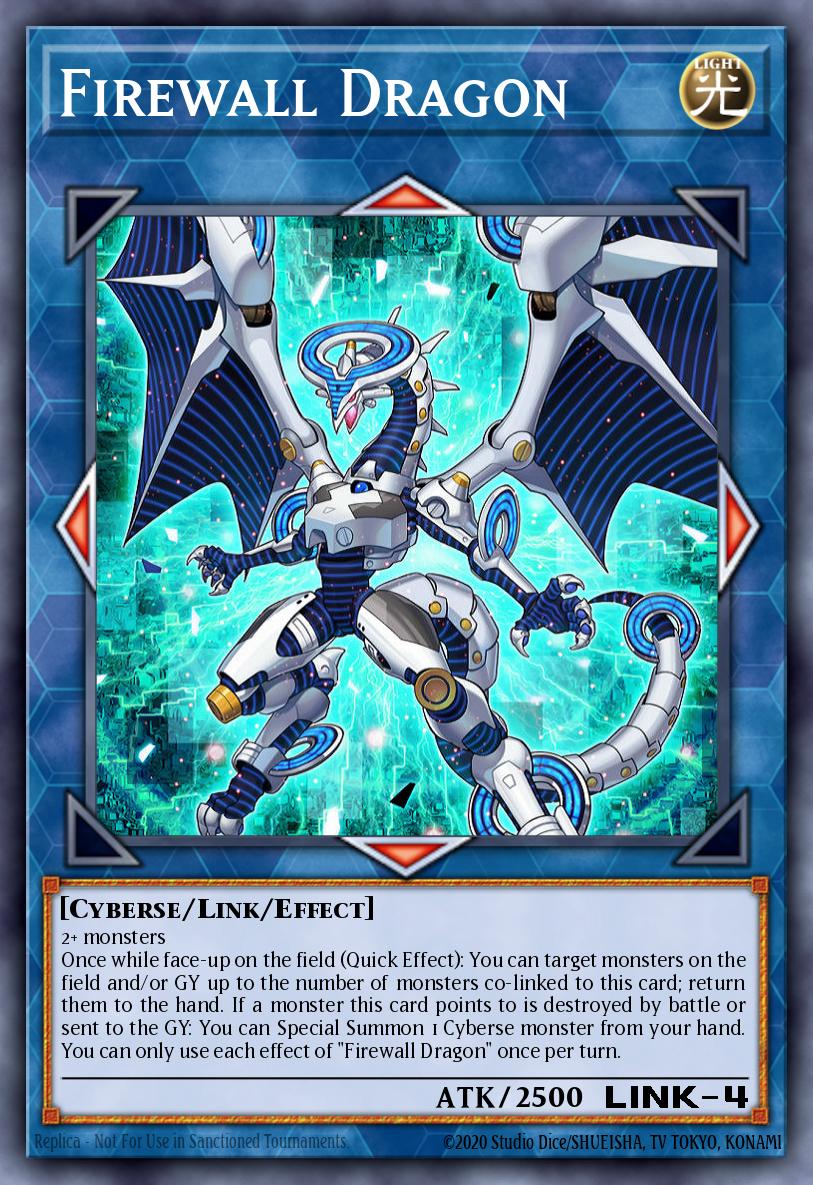
If you are an f2p "grinder" player and do not own expensive cards such as I:P Masquerena or Underworld Goddess, we can temporarily use this pair. Firewall Dragon can be easily obtained via Structure Deck, providing very good hand advantage to replace them.
A little variation
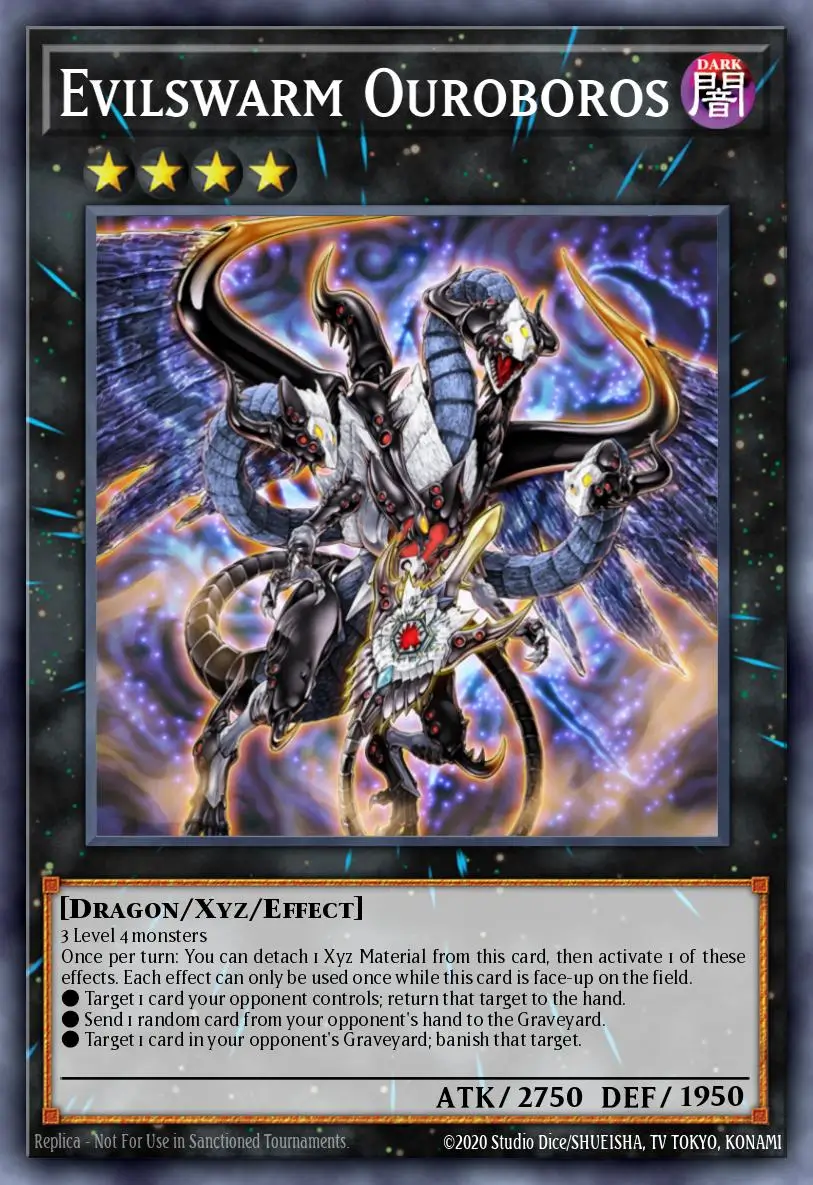
This variation can be jokingly called the tactic "No Cards in Hand Together". Instead of focusing on trap cards and rhythm-disrupting monsters like the standard version, this variation channels all resources to summon the Xyz monster Evilswarm Ouroboros.
Evilswarm Ouroboros (x0-1)
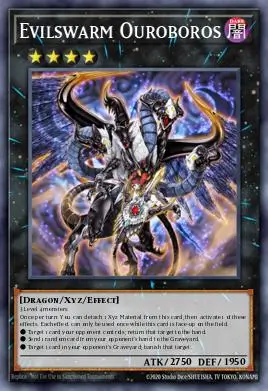
Hand-rip" 4 lá: The unique and most terrifying highlight of this variant is through an extremely long repeating combo chain on Turn 1, where you can activate the effect of Evilswarm Ouroboros multiple times to force your opponent to discard up to 4 lá bài from their hand before they can start their turn. Your opponent will almost certainly have to play the game with a blank hand!
To trade for damage against your opponent, you must completely sacrifice the space of the Extra Deck (Side Deck). The flexibility in the Extra Deck of this variant is "zero-sum perfect". You will no longer have room for excellent board-clearing tools like Black Rose Dragon or Underworld Goddess.
Only for going first: This is a critical weakness that causes this variant to be labeled as "meme". It can only operate if you go on Turn 1. If you happen to go on Turn 2, you will almost certainly lose because the deck has no tools left to penetrate the enemy's defense line.
Advice: This variant brings extremely high entertainment value and is extremely "ghostly". However, I strongly oppose bringing it into ranked environments (such as King of Games ranking) because the risk is too great.
Just experience this variant to "perform hilariously" with friends right now, because of the toxicity of discarding up to 4 cards from your opponent's hand, I am certain that Konami will soon crush it and not let this variant exist validly for too long in Duel Links!
Combo
Khởi động: Kích hoạt Kỹ năng (Skill) để lấy bẫy Infernity Suppression lên tay (Nếu đã có Necromancer, khôn thì phải add Nec) và úp xuống sân - đẩy Archfiend và Sage xuống mộ
Tìm kiếm (Search): Dùng hiệu ứng Infernity Necromancer hồi sinh Infernity Archfiend từ mộ. Hiệu ứng Archfiend kích hoạt, lấy phép Infernity Launcher từ bộ bài.
Link Necromancer & Archfiend trên sân ra Reprodocus
Lancher hồi sinh Nec và Arch.
Archfiend search Launcher thứ 2
Nec hồi sinh thêm Sage
Dùng Sage và các quái thú hiện có Triệu hồi Synchro ra Trishula, Dragon of the Ice Barrier (phải được triệu hồi bên dưới ô của Reproducus)
Banish 1 lá trên tay đối thủ
Sage đẩy thêm 1 Infernity bất kì xuống mộ (Ví dụ Wildcard)
Launcher trên sân tiếp tục Hồi sinh Necromancer & Archfiend
Arch search Launcher thứ 3
Triệu hồi Link Proxy F bằng Reprodu + Archfiend
Necromancer hồi sinh Archfiend -> Arch search Mirrage
Dung hợp Chimera the King of Phantom Beasts bằng effect của Proxy F. Nguyên liệu là Trishula và Archfiend
Chimera kích hoạt effect Vứt 1 lá trên tay của đối thủ vào Endphase
Link Summon Unchained Abomination bằng tất cả quái thú đang có trên sân
Triệu hồi thường Mirage, kích hoạt hiệu ứng và hồi sinh tiếp Arch và Wildcard
Hiệu ứng Archfiend kích hoạt, tìm kiếm bẫy Infernity Barrier.
Kích hoạt hiệu ứng của Wildcat, đổi Level của nó thành Level 4.
Dùng Wildcat (Level 4) và Archfiend (Level 4) Triệu hồi Synchro ra Void Ogre Dragon.
Dùng Launcher hồi sinh lại Archfiend + Necromancer. Hiệu ứng Archfiend kích hoạt, tìm kiếm This Creppy Little Punk. (TCLP)
Lên I:P: Dùng quái thú thừa trên sân Triệu hồi Link ra I:P Masquerena.
TCLP kích hoạt, hồi sinh Archfiend lần cuối
Archfiend tìm kiếm bẫy Infernity Break.
Úp toàn bộ 3 bẫy xuống và kết thúc lượt.
End Board: Void Ogre Dragon, I:P Masquerena, 3 Bẫy (Suppression, Barrier, Break), và Chimera nằm chờ dưới mộ (để hồi sinh quái thú nếu bị dính Lava Golem).
2. Combo Biến thể Hand-rip (Ouroboros Combo)
Khởi động: Tương tự, dùng Kỹ năng để lấy và úp bẫy Infernity Suppression.
Dùng Necromancer hồi sinh Archfiend. Archfiend tìm kiếm Infernity Launcher.
Dùng quái thú trên sân Triệu hồi Link ra Reprodocus.
Dùng Necromancer hồi sinh Infernity Sage. Triệu hồi Synchro ra Trishula. Xếp chuỗi (Chain link): Chain 1 Trishula, Chain 2 Sage. Sage sẽ đẩy thêm một copy của Archfiend từ bộ bài xuống mộ.
Kích hoạt Launcher để hồi sinh lại Archfiend và Necromancer.
Kích hoạt hiệu ứng của Reprodocus đổi hệ quái thú bị nó chỉ vào thành tộc Thú (Beast).
Tìm Mirage & Patriarch: Dùng các quái thú Triệu hồi Link ra Proxy F Magician. Dùng Necromancer hồi sinh Archfiend. Archfiend tìm kiếm Infernity Mirage. Thông qua các bước xoay vòng, tiếp tục dùng Archfiend tìm kiếm Infernity Patriarch để lấy thêm quái thú Level 4 (do Patriarch có thể tự nhảy xuống sân).
Lúc này trên sân có 3 quái thú Level 4 (gồm Patriarch và Archfiend). Triệu hồi Xyz ra Evilswarm Ouroboros đầu tiên. Kích hoạt hiệu ứng, vứt 1 lá bài trên tay đối thủ.
Dùng chính Ouroboros đó làm nguyên liệu Link (để giải phóng vùng quái thú). Tiếp tục dùng Mirage hồi sinh lại các quái thú Level 4 từ mộ lên sân.
Triệu hồi Xyz ra bản sao Evilswarm Ouroboros thứ hai, tiếp tục kích hoạt hiệu ứng giật bài.
Kết hợp các chuỗi thao tác lặp lại này, đến End Phase, bạn sẽ bòn rút tổng cộng 4 lá bài khỏi tay đối thủ.
End Board: 3 Bẫy (Suppression, Barrier, Break), Ouroboros trên sân (đã hết nguyên liệu và không có tác dụng cản trở), Chimera dưới mộ, và đối thủ mất 4 lá bài trên tay.
Conclusion
After a long time spent in darkness, Infernity has truly had a spectacular transformation and resurgence in Duel Links. With the support from the new Skill Infernity Revival, this card not only restores its position but also confirms the power of a solid force, fully capable of sweeping everything up and climbing straight to the King of Games rank.
The distinctive handless playstyle along with long chains of combos may require you to train patiently and remember the steps - very easy to lose your time limit. However, the results achieved are incredibly worthy. Once Infernity's machine has entered the cycle, opponents will know nothing but despair before facing a fortress-like duel filled with tempo-denying points at Turn 1, or be crushed by ruthless OTK table clears at Turn 2.
If you are a player who loves the art of endless combos, enjoys the feeling of completely controlling resources and dominating the match perfectly, Infernity is certainly a perfect investment at this point in time. Take this deck into practice, get used to its pace, and show your opponent the terrifyingness of darkness!
duel-links
1432
5
 Spell
Spell Normal
Hey, Trunade!
Return all Set Spells and Traps on the field to the hand.
 DARK
DARKI:P Masquerena
ATK:
800
LINK-2
Link Arrow:
 Bottom-Left
 Bottom-Right
2 non-Link Monsters During your opponent's Main Phase, you can (Quick Effect): Immediately after this effect resolves, Link Summon 1 Link Monster using materials you control, including this card. You can only use this effect of "I:P Masquerena" once per turn. A Link Monster that used this card as material cannot be destroyed by your opponent's card effects.
 DIVINE
 10
10The Winged Dragon of Ra - Sphere Mode
ATK:
-1
DEF:
-1
Cannot be Special Summoned. Requires 3 Tributes from either side of the field to Normal Summon to that side of the field (cannot be Normal Set), then shift control to this card's owner during the End Phase of the next turn. Cannot attack. Your opponent cannot target this card for attacks or by card effects. You can Tribute this card; Special Summon 1 "The Winged Dragon of Ra" from your hand or Deck, ignoring its Summoning conditions, and if you do, its ATK/DEF become 4000.
Infernity Revival (Skill Card)
ATK:
0
DEF:
0
You can only use this Skill's second and third effects once per Duel if your Deck (excluding the Extra Deck) contains 10 or more "Infernity" monsters. 1: Any effect damage your cards would inflict to your opponent becomes 0, you can only Special Summon 1 monster with an original Level of 9 or higher once per turn, and once per turn, you can activate 1 "Infernity" Trap Card during the turn it was Set. 2: Shuffle up to 3 cards from your hand that are "This Creepy Little Punk" or "Infernity" monsters into the Deck. Send "Infernity" monsters from your Deck to the Graveyard equal to the number shuffled, and if you do, add 1 "Infernity" card from your Deck to your hand. 3: Can be activated from turn 2 onward. Play 3 "Infernity" monsters (1 Level 2, 1 Level 3, 1 Level 4) from your hand and/or Deck in face-down Defense Position. (Their battle positions can be changed.) While a monster played by this effect is on your field, you cannot Special Summon from the Extra Deck, except Synchro Monsters.
 DARK
3
DARK
3Infernity Conjurer
ATK:
1200
DEF:
900
While you have no cards in your hand, monsters your opponent controls lose 800 ATK. While you have no cards in your hand and this card is in your GY: You can Special Summon this card, but banish it when it leaves the field. You can only use this effect of "Infernity Conjurer" once per turn.
 DARK
4
DARK
4Infernity Archfiend
ATK:
1800
DEF:
1200
When you draw this card, if you have no other cards in your hand: You can reveal this card; Special Summon this card from your hand. When this card is Special Summoned: You can add 1 "Infernity" card from your Deck to your hand. You must have no cards in your hand to activate and to resolve this effect.
 DARK
7
DARK
7Dark Highlander
ATK:
2800
DEF:
2300
1 Fiend-Type Tuner + 1 or more non-Tuner Fiend-Type monsters Neither player can Synchro Summon. Once per turn: You can target 1 monster your opponent controls that is equipped with an Equip Card; destroy all Equip Cards equipped to that monster, and if you do, inflict 400 damage to your opponent for each card destroyed.
 DARK
1
DARK
1Infernity Mirage
ATK:
0
DEF:
0
This card cannot be Special Summoned from the Graveyard. If you have no cards in your hand, you can Tribute this card to select 2 "Infernity" monsters in your Graveyard. Special Summon those monsters.
 Spell
Spell Quick
QuickForbidden Droplet
Send any number of other cards from your hand and/or field to the GY; choose that many Effect Monsters your opponent controls, and until the end of this turn, their ATK is halved, also their effects are negated. In response to this card's activation, your opponent cannot activate cards, or the effects of cards, with the same original type (Monster/Spell/Trap) as the cards sent to the GY to activate this card. You can only activate 1 "Forbidden Droplet" per turn.
 EARTH
EARTHKnightmare Cerberus
ATK:
1600
LINK-2
Link Arrow:
 Top
Top
 Left
Left
2 monsters with different names If this card is Link Summoned: You can discard 1 card, then target 1 Special Summoned monster in your opponent's Main Monster Zone; destroy it, then, if this card was co-linked when this effect was activated, you can draw 1 card. You can only use this effect of "Knightmare Cerberus" once per turn. Co-linked monsters you control cannot be destroyed by card effects.
 WATER
9
WATER
9Trishula, Dragon of the Ice Barrier
ATK:
2700
DEF:
2000
1 Tuner + 2+ non-Tuner monsters When this card is Synchro Summoned: You can banish up to 1 card each from your opponent's hand, field, and GY. (The card in the hand is chosen at random.)
 FIRE
8
FIRE
8Lava Golem
ATK:
3000
DEF:
2500
Cannot be Normal Summoned/Set. Must first be Special Summoned (from your hand) to your opponent's field by Tributing 2 monsters they control. You cannot Normal Summon/Set the turn you Special Summon this card. Once per turn, during your Standby Phase: Take 1000 damage.
 DARK
8
DARK
8Void Ogre Dragon
ATK:
3000
DEF:
3000
1 DARK Tuner + 1 or more non-Tuner monsters Once per turn, during either player's turn, when your opponent activates a Spell/Trap Card while you have no cards in your hand: You can negate the activation and destroy it.
 DARK
7
DARK
7Infernity General
ATK:
2700
DEF:
1500
If you have no cards in your hand: You can banish this card from your Graveyard to target 2 Level 3 or lower "Infernity" monsters in your Graveyard; Special Summon them from the Graveyard, but their effects are negated.

 LIGHT
LIGHTFirewall Dragon
ATK:
2500
LINK-4
Link Arrow:
Top
Left
 Right
Right
 Bottom
2+ monsters Once while face-up on the field (Quick Effect): You can target monsters on the field and/or GY up to the number of monsters co-linked to this card; return them to the hand. If a monster this card points to is destroyed by battle or sent to the GY: You can Special Summon 1 Cyberse monster from your hand. You can only use each effect of "Firewall Dragon" once per turn.
 Spell
Spell Continuous
Infernity Launcher
Once per turn: You can send 1 "Infernity" monster from your hand to the Graveyard. You can send this card to the Graveyard, then target up to 2 "Infernity" monsters in your Graveyard; Special Summon them. You must have no cards in your hand to activate and to resolve this effect.

 DARK
3
DARK
3Infernity Necromancer
ATK:
0
DEF:
2000
When this card is Normal Summoned, it is changed to Defense Position. If you have no cards in your hand, this card gains the following effect: Once per turn, you can select 1 "Infernity" monster in your Graveyard, except "Infernity Necromancer", and Special Summon it.
 WIND
6
WIND
6Chimera the King of Phantom Beasts
ATK:
2100
DEF:
1800
1 Beast monster + 1 Fiend monster This card's name becomes "Chimera the Flying Mythical Beast" while on the field or in the GY. You can only use each of the following effects of "Chimera the King of Phantom Beasts" once per turn. If this card is Fusion Summoned: You can activate this effect; send 1 random card from your opponent's hand to the GY during the End Phase of this turn. During your opponent's turn (Quick Effect): You can banish this card from your GY, then target 1 Beast, Fiend, or Illusion monster in your GY; Special Summon it.
 FIRE
8
FIRE
8Dogoran, the Mad Flame Kaiju
ATK:
3000
DEF:
1200
You can Special Summon this card (from your hand) to your opponent's field in Attack Position, by Tributing 1 monster they control. If your opponent controls a "Kaiju" monster, you can Special Summon this card (from your hand) in Attack Position. You can only control 1 "Kaiju" monster. Once per turn: You can remove 3 Kaiju Counters from anywhere on the field; destroy all monsters your opponent controls. This card cannot attack the turn this effect is activated.
 EARTH
EARTHReprodocus
ATK:
800
LINK-2
Link Arrow:
Top
Bottom
2 monsters You can activate 1 of these effects. ● Declare 1 Monster Type; all face-up monsters this card points to become that Type until the end of this turn. ● Declare 1 Attribute; all face-up monsters this card points to become that Attribute until the end of this turn. You can only use this effect of "Reprodocus" once per turn.
 DARK
DARK
Evilswarm Ouroboros
ATK:
2750
DEF:
1950
3 Level 4 monsters Once per turn: You can detach 1 Xyz Material from this card, then activate 1 of these effects. Each effect can only be used once while this card is face-up on the field. ● Target 1 card your opponent controls; return that target to the hand. ● Send 1 random card from your opponent's hand to the Graveyard. ● Target 1 card in your opponent's Graveyard; banish that target.


 LIGHT
10
LIGHT
10Jizukiru, the Star Destroying Kaiju
ATK:
3300
DEF:
2600
You can Special Summon this card (from your hand) to your opponent's field in Attack Position, by Tributing 1 monster they control. If your opponent controls a "Kaiju" monster, you can Special Summon this card (from your hand) in Attack Position. You can only control 1 "Kaiju" monster. When a card or effect is activated that targets exactly 1 card (and no other cards) (Quick Effect): You can remove 3 Kaiju Counters from anywhere on the field; negate that effect, and if you do, you can destroy 1 card on the field.
 LIGHT
LIGHTUnderworld Goddess of the Closed World
ATK:
3000
LINK-5
Link Arrow:
Top
 Top-Right
Right
Bottom
Bottom-Right
4+ Effect Monsters You can also use 1 monster your opponent controls as material to Link Summon this card. If this card is Link Summoned: You can negate the effects of all face-up monsters your opponent currently controls. This Link Summoned card is unaffected by your opponent's activated effects, unless they target this card. Once per turn, when your opponent activates a card or effect that Special Summons a monster(s) from the GY (Quick Effect): You can negate the activation.
 WATER
WATERAbyss Dweller
ATK:
1700
DEF:
1400
2 Level 4 monsters While this card has a material attached that was originally WATER, all WATER monsters you control gain 500 ATK. Once per turn (Quick Effect): You can detach 1 material from this card; your opponent cannot activate any card effects in their GY this turn.
 DARK
DARKUnchained Abomination
ATK:
3000
LINK-4
Link Arrow:
Top
Bottom-Left
Bottom
Bottom-Right
2+ monsters including a Link Monster If a card(s) on the field is destroyed by card effect, except by "Unchained Abomination" (except during the Damage Step): You can target 1 card on the field; destroy it. When another monster is destroyed by battle: You can target 1 card on the field; destroy it. During the End Phase: You can target 1 card on the field; destroy it. You can only use each effect of "Unchained Abomination" once per turn.
 DARK
2
DARK
2Infernity Sage
ATK:
400
DEF:
800
During your Main Phase: You can discard your entire hand. If this card is sent to the GY: You can send 1 "Infernity" monster from your Deck to the GY. You must have no cards in your hand to activate and to resolve this effect. You can only use each effect of "Infernity Sage" once per turn.

 Trap
Trap Counter
Infernity Barrier
When your opponent activates a Spell/Trap Card, or monster effect, while you control a face-up Attack Position "Infernity" monster and have no cards in your hand: Negate the activation, and if you do, destroy that card.
 FIRE
7
FIRE
7Black Rose Dragon
ATK:
2400
DEF:
1800
1 Tuner + 1+ non-Tuner monsters When this card is Synchro Summoned: You can destroy all cards on the field. Once per turn: You can banish 1 Plant monster from your GY, then target 1 Defense Position monster your opponent controls; change that target to face-up Attack Position, and if you do, its ATK becomes 0 until the end of this turn.
 Trap
Normal
Trap
NormalInfernity Break
If you have no cards in your hand: Target 1 "Infernity" card in your Graveyard and 1 card your opponent controls; banish the first target, and if you do, destroy the second target.
 DARK
2
DARK
2Infernity Beetle
ATK:
1200
DEF:
0
While you have no cards in your hand, you can Tribute this card to Special Summon up to 2 "Infernity Beetle" from your Deck.
 Spell
Quick
Spell
QuickBook of Eclipse
Change all face-up monsters on the field to face-down Defense Position. During the End Phase of this turn, change as many face-down Defense Position monsters your opponent controls as possible to face-up Defense Position, then your opponent draws cards equal to the number of monsters changed face-up by this effect.
 Trap
Normal
Trap
NormalInfernity Inferno
Discard up to 2 cards, and send the same number of "Infernity" cards from your Deck to the Graveyard.
 Trap
Normal
Trap
NormalInfernity Suppression
If you have no cards in your hand, you can activate this card the turn it was Set. When your opponent activates a monster effect while you control an "Infernity" monster: Negate the effect, then, you can inflict damage to your opponent equal to the activating monster's Level x 100. You can only activate 1 "Infernity Suppression" per turn.
 Spell
Normal
Spell
NormalTriple Tactics Thrust
If your opponent has activated a monster effect during this turn: Set 1 Normal Spell/Trap directly from your Deck, except "Triple Tactics Thrust", or if your opponent controls a monster, you can add it to your hand instead. That Set card cannot be activated this turn. You can only activate 1 "Triple Tactics Thrust" per turn.
 Spell
Normal
Spell
NormalThis Creepy Little Punk
(This card is always treated as an "Infernity" card.) Special Summon 1 of your "Infernity" monsters that is banished, or in your hand or GY. If a face-up "Infernity" monster(s) you control is destroyed by battle, or leaves the field because of an opponent's card effect, while this card is in your GY: You can Set this card. You can only use each effect of "This Creepy Little Punk" once per turn.
 FIRE
FIREProxy F Magician
ATK:
1400
LINK-2
Link Arrow:
Bottom-Left
Bottom-Right
2 Effect Monsters During your Main Phase: You can Fusion Summon 1 Fusion Monster from your Extra Deck, using monsters from your field as Fusion Material. If a Fusion Monster(s) is Fusion Summoned to a zone(s) this card points to: You can Special Summon 1 monster with 1000 or less ATK from your hand. You can only use each effect of "Proxy F Magician" once per turn.
 DARK
3
DARK
3Infernity Wildcat
ATK:
1400
DEF:
0
You can Special Summon this card (from your hand) by sending 1 other "Infernity" monster in your hand to the GY. You can only Special Summon "Infernity Wildcat" once per turn this way. While you have no cards in your hand: You can banish 1 "Infernity" monster from your GY; increase or decrease the Level of this card by 1 until the end of this turn. You can only use this effect of "Infernity Wildcat" once per turn.
 DARK
4
DARK
4Infernity Patriarch
ATK:
1000
DEF:
2000
If this is the only card in your hand, you can Special Summon it (from your hand). You can only Special Summon "Infernity Patriarch" once per turn this way. While you have no cards in your hand, if an "Infernity" monster(s) you control would be destroyed by battle or card effect, you can banish this card from your GY instead.
Menu
https://ygovietnam.com/