Guide to playing Bystial (+Centur-Ion)

Guide to playing Bystial (+Centur-Ion)

The thought was different from reality - using the same Engine and Skill but yesterday's guide was about the Branded deck with an Extra full Dragon Fusion deck. Today we come together with a specially named deck called Bystial (actually most of the cards here are still like that :v), and here we mix it with Centur-Ion and a Synchro monster deck instead of Fusion.

This deck has a remarkable harmony among each other, let's explore through this guide.


Skill


Beasts from the Abyss (Skill Card) (100%)
UR rarity
Beasts from the Abyss (Skill Card)
UR rarity
Beasts from the Abyss (Skill Card)

Beast from the Abyss is already very familiar to Branded players, and the cards of these two engines have also been analyzed in detail in previous articles, so here we will not go over the dry effects again. Instead, let's look at how this Skill acts as a perfect "glue," turning two seemingly unrelated archetypes, Bystial and Centur-Ion, into an extremely cohesive combo machine.

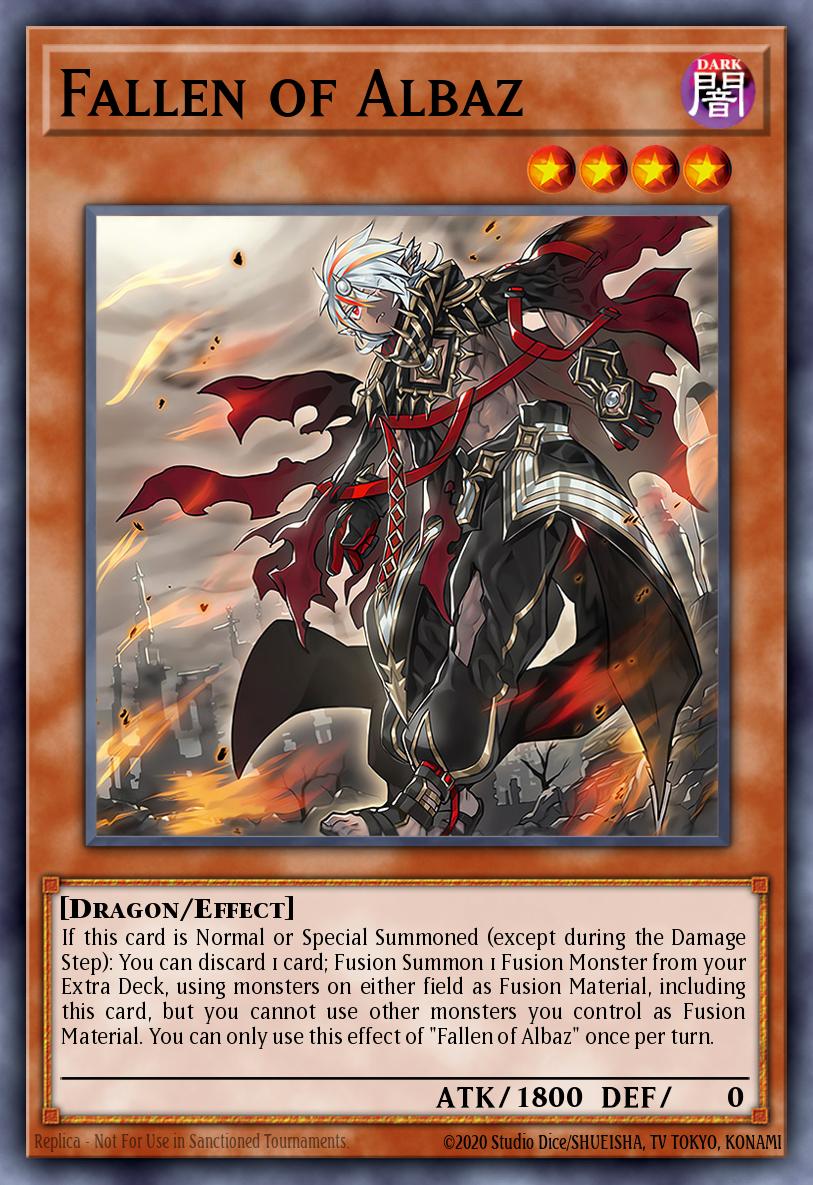
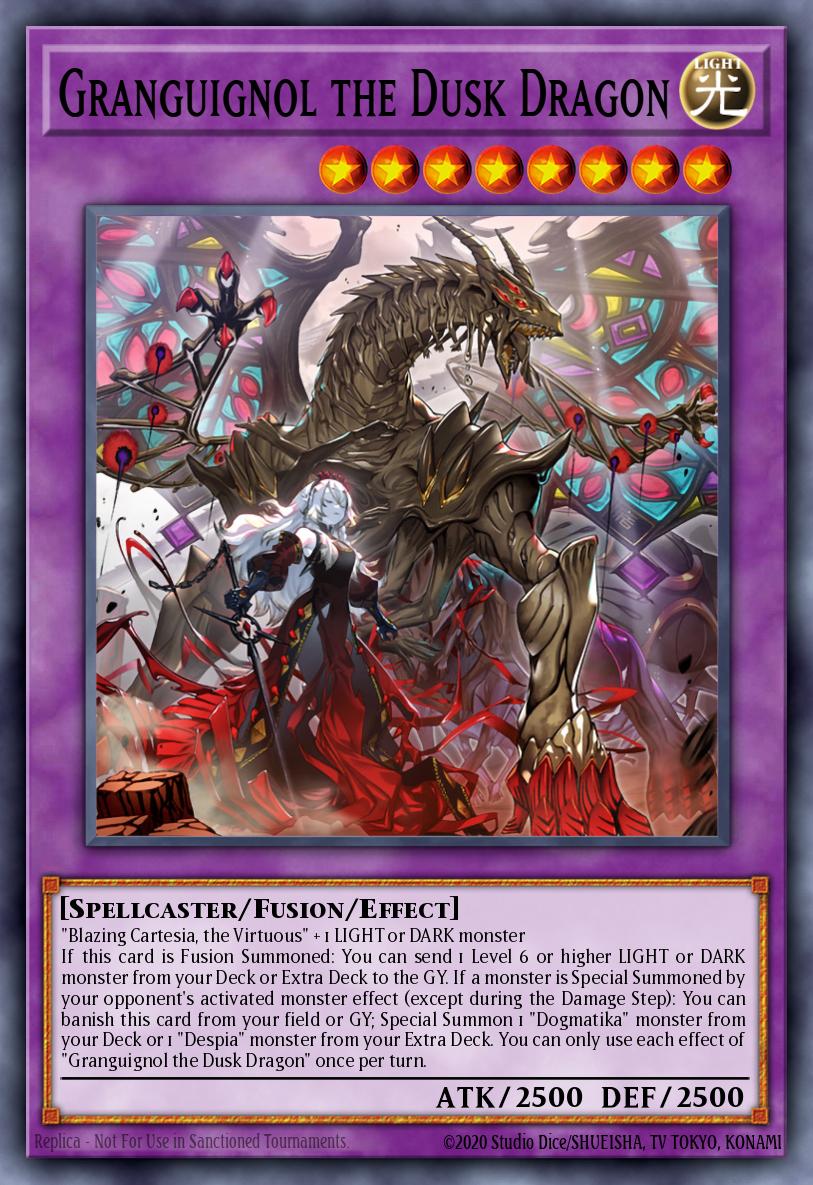
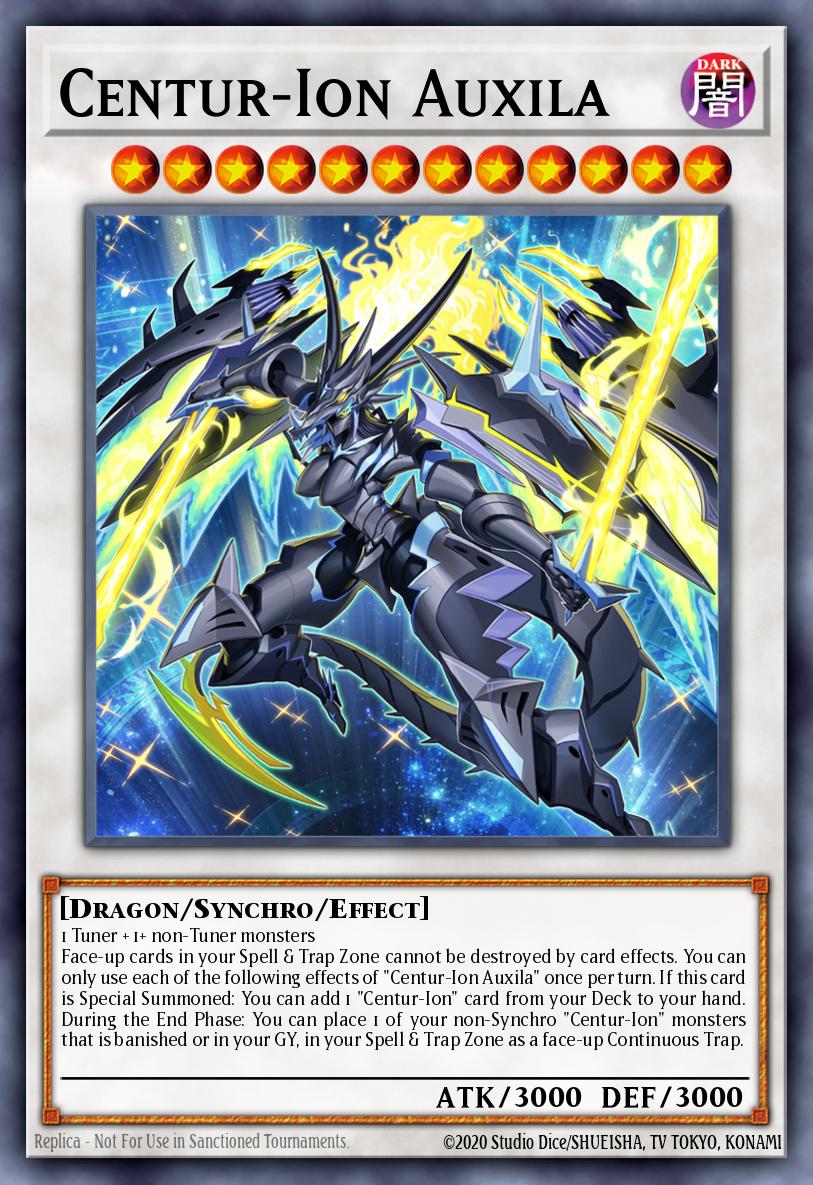
The core value of this Skill in the deck lies in setting up the condition for the Synchro pieces to immediately hit the field. When you use the Skill (reveal a Bystial card and discard an unneeded card), sending Fallen of Albaz directly from the Deck to the GY is precisely the move that gives Blazing Cartesia, the Virtuous the green light. Without having to use a Normal Summon, Cartesia can Special Summon itself to the field thanks to Albaz in the GY. At this point, Cartesia (a Level 4 Tuner) becomes the perfect bridge: she can Fusion Summon a Level 8 monster using the Bystials in her hand (such as Granguignol the Dusk Dragon), serve as tribute to summon The Bystial Lubellion, or combine directly with other Level 8 monsters to Synchro Summon the boss Centur-Ion Auxila (Level 12).

Furthermore, this Skill helps the deck overcome the weakness of pure Centur-Ion's reliance on its Level 12 engine. Instead of having to struggle to find enough Centur-Ion pieces to bring out Auxila, you use the abundant stream of resources from Bystial and Cartesia provided by the Skill as a springboard. And the Albaz in the GY is not just sitting there to trigger Cartesia; it also becomes a ticking time bomb when combined with the Trap Card Branded Banishment. Making use of this smooth tempo will help you suffocate your opponent between Bystial's control and Centur-Ion's oppressive power.



The monsters in the Main Deck


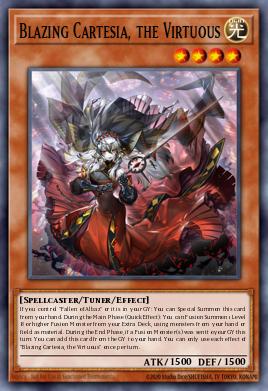
Blazing Cartesia the Virtuous (x2)
UR rarity
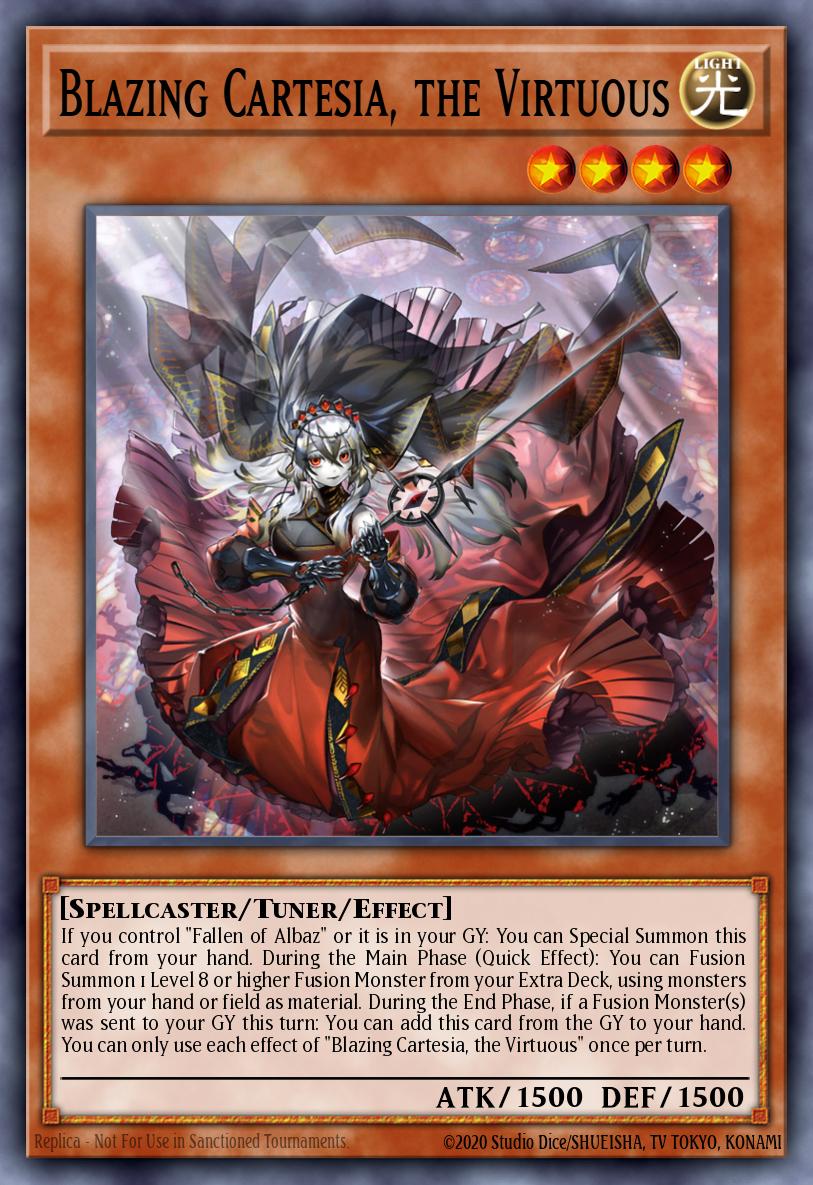
Blazing Cartesia, the Virtuous
UR rarity
Blazing Cartesia, the Virtuous

In this deck, Cartesia is not merely a Fusion relay like in a pure Branded deck, but she plays the role of the most important Level 4 Tuner. Thanks to the Skill sending Fallen of Albaz to the Graveyard beforehand, Cartesia effectively becomes a monster that can Special Summon itself to the field entirely for free.
The most optimal way to use Cartesia is to activate her Fusion effect, fusing herself with a Bystial in the hand to create Level 8 monsters (such as Granguignol the Dusk Dragon). This move both helps you send the Bystials to the Graveyard to activate their effects, and creates a Level 8 body on the field. From that Level 8 monster, you can Tribute it to summon The Bystial Lubellion, or use it together with other Tuners to go straight into high-level Synchro Monster summons

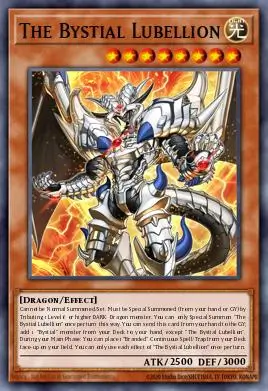
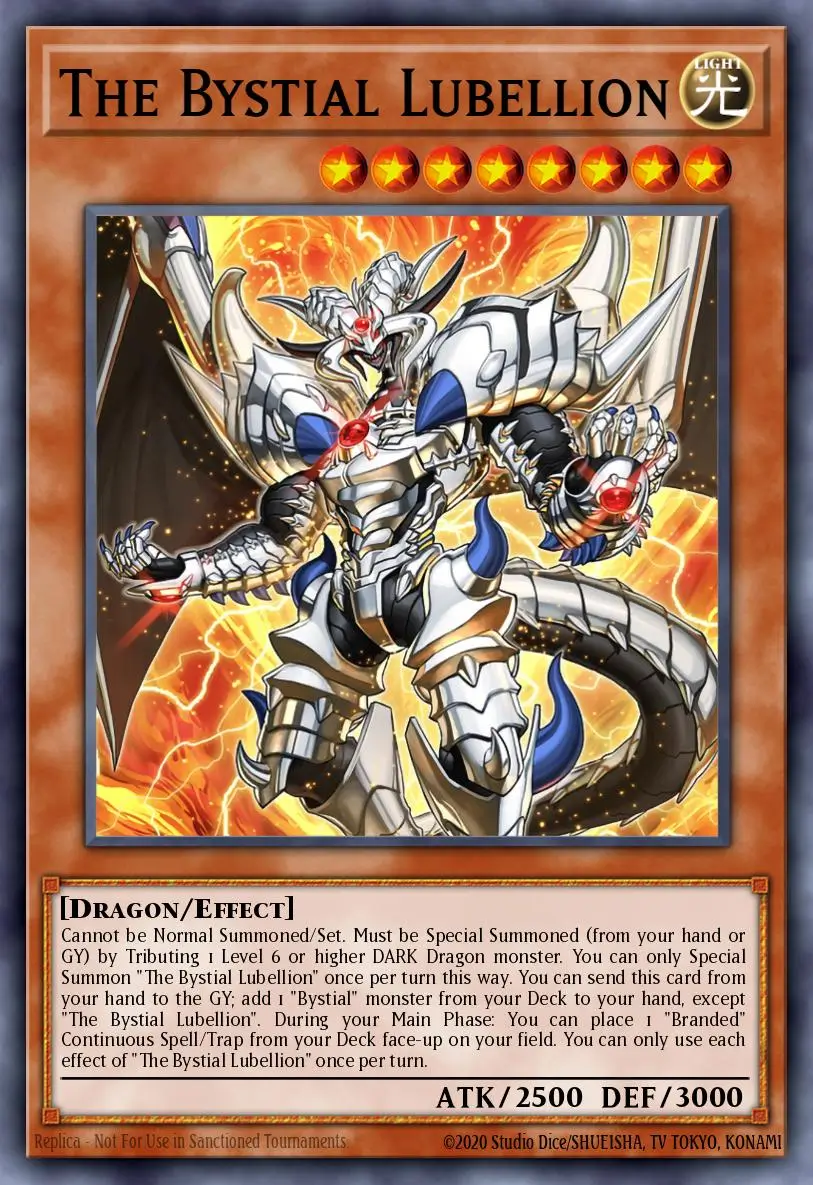
The Bystial Lubellion (x2-3)
SR rarity
The Bystial Lubellion
SR rarity
The Bystial Lubellion

Instead of being used as a monster for battle, Lubellion's main function in this deck is to send itself to the GY to search for other flexible Bystials such as Saronir or Magnamhut. After completing its task, it will be Summoned to the field by tributing a Level 8 DARK Dragon monster that you just created from the Cartesia branch.

Lubellion's real selling point on the field is its ability to Set Branded Spell/Trap Cards directly from the Deck. Prioritize setting Branded Beast over Branded Lost, since Beast provides practical removal every turn. Lubellion ensures that even if your opponent tries to wipe out your Synchro monsters, you will still have Bystial traps waiting in reserve to maintain pressure and control the match.

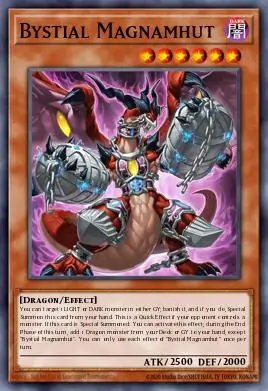
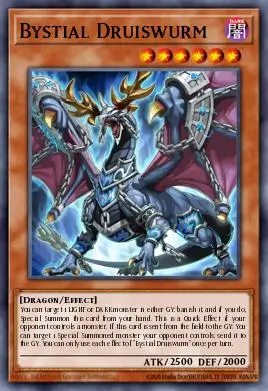
Bystial Magnamhut and Bystial Druiswurm (x1)
R rarity
Limited to 2 copies
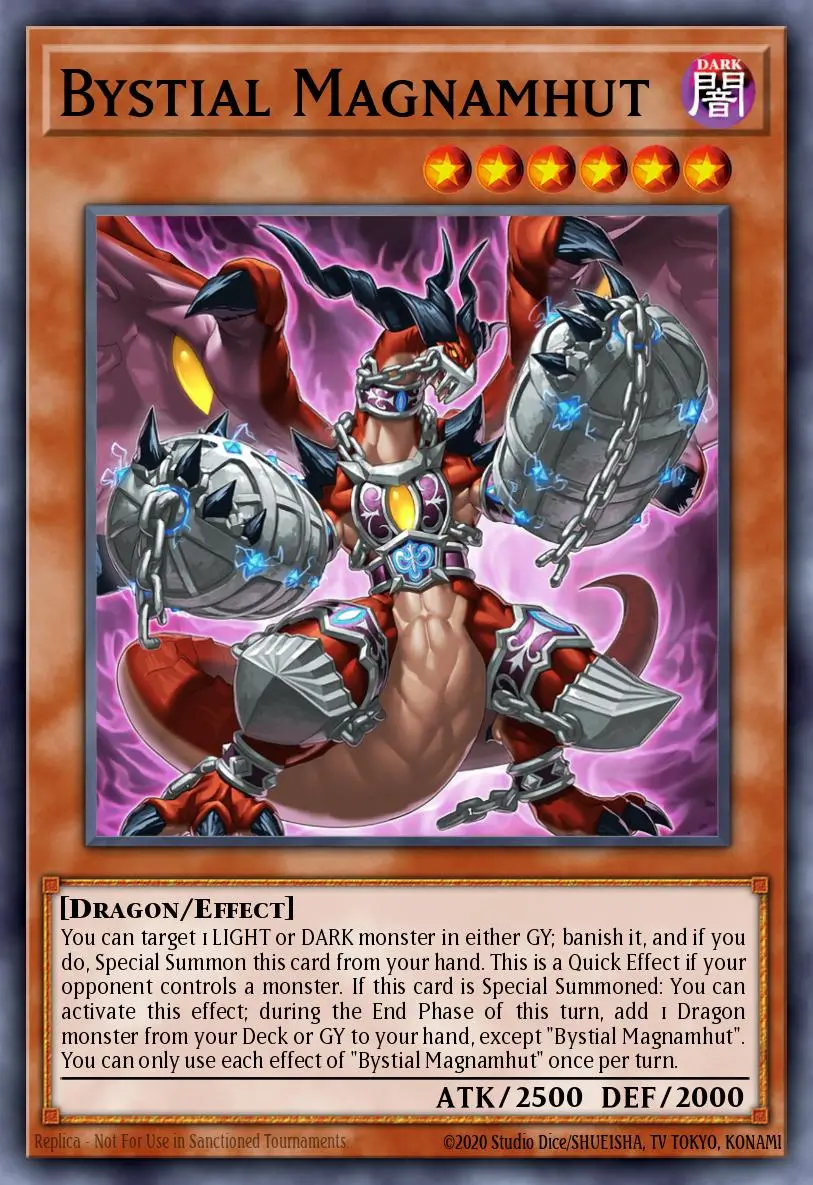
Bystial Magnamhut
R rarity
Limited to 2 copies
Bystial Magnamhut
R rarity
Limited to 2 copies
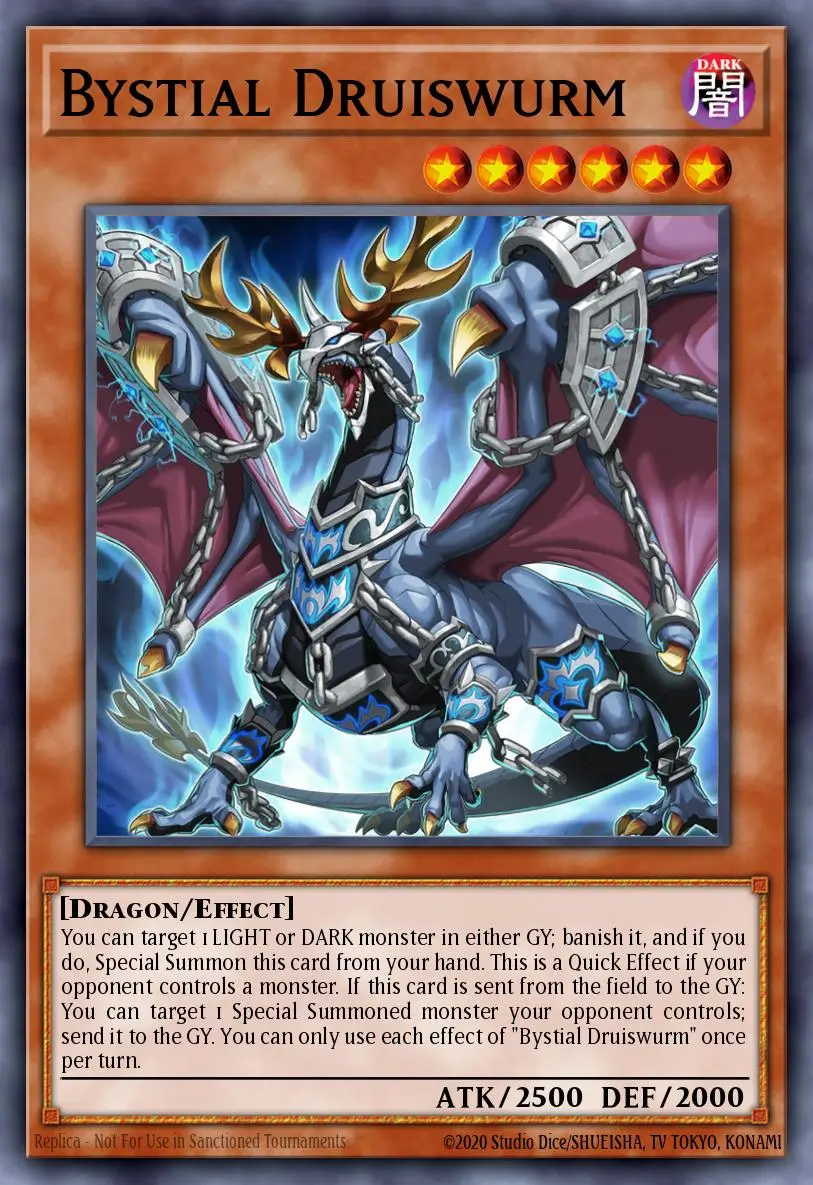
Bystial Druiswurm
R rarity
Limited to 2 copies
Bystial Druiswurm

This is the perfect pair of cards that handles long-range defense and board clearing. You will usually prioritize searching for Magnamhut first to activate the effect that adds another Dragon during the End Phase, and 90% of the time, the target added to your hand will be Druiswurm. In this way, you always have firepower ready in your hand to respond immediately during your opponent's turn if they play LIGHT/DARK decks.

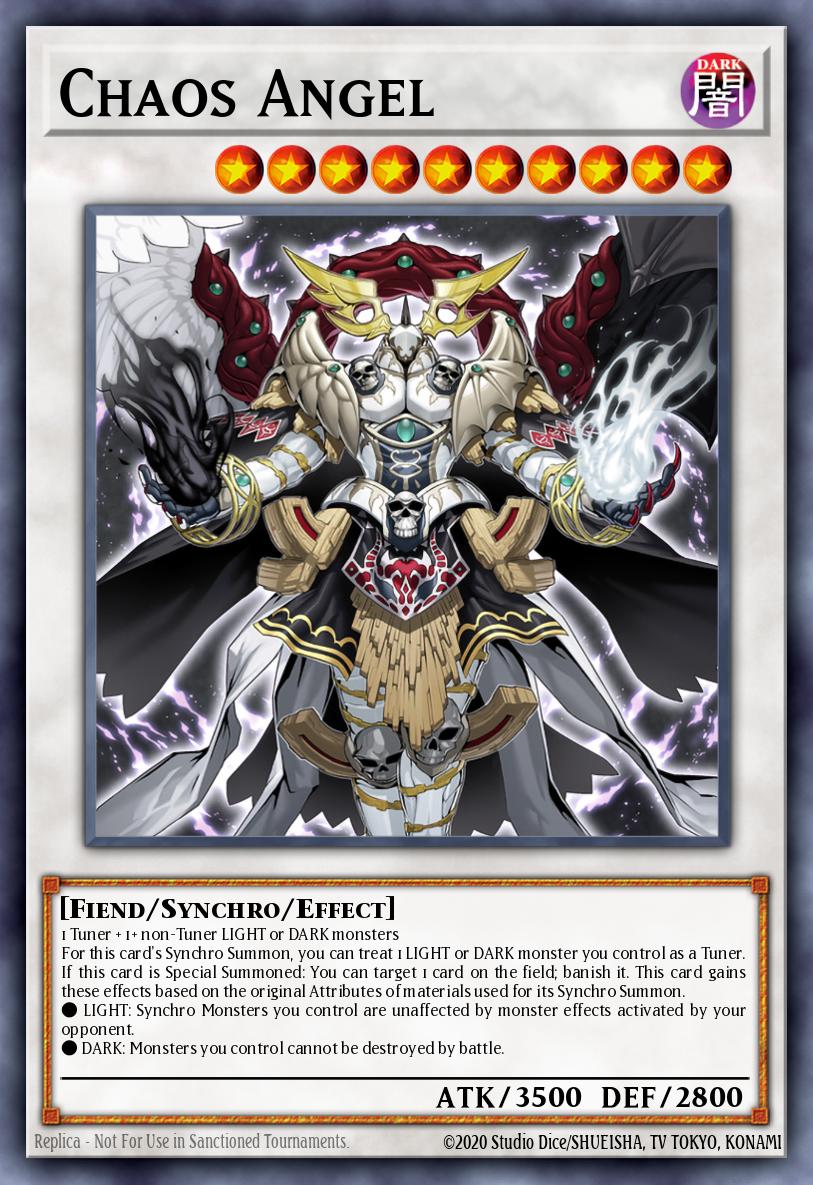
In gameplay combined with Centur-Ion, Druiswurm demonstrates its greatest value when used as Synchro Material. A typical example is when you use Druiswurm and Primera to Synchro Summon Chaos Angel. At this point, Druiswurm's monster-clearing effect when sent to the Graveyard will activate at the same time as the banishing effect of Chaos Angel. This "double-shot" interaction lets you blow away two of your opponent's threats at the same time, while also creating a Chaos Angel wall that is unaffected by monster effects.

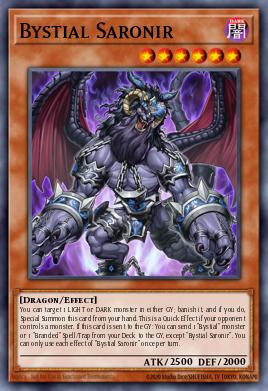
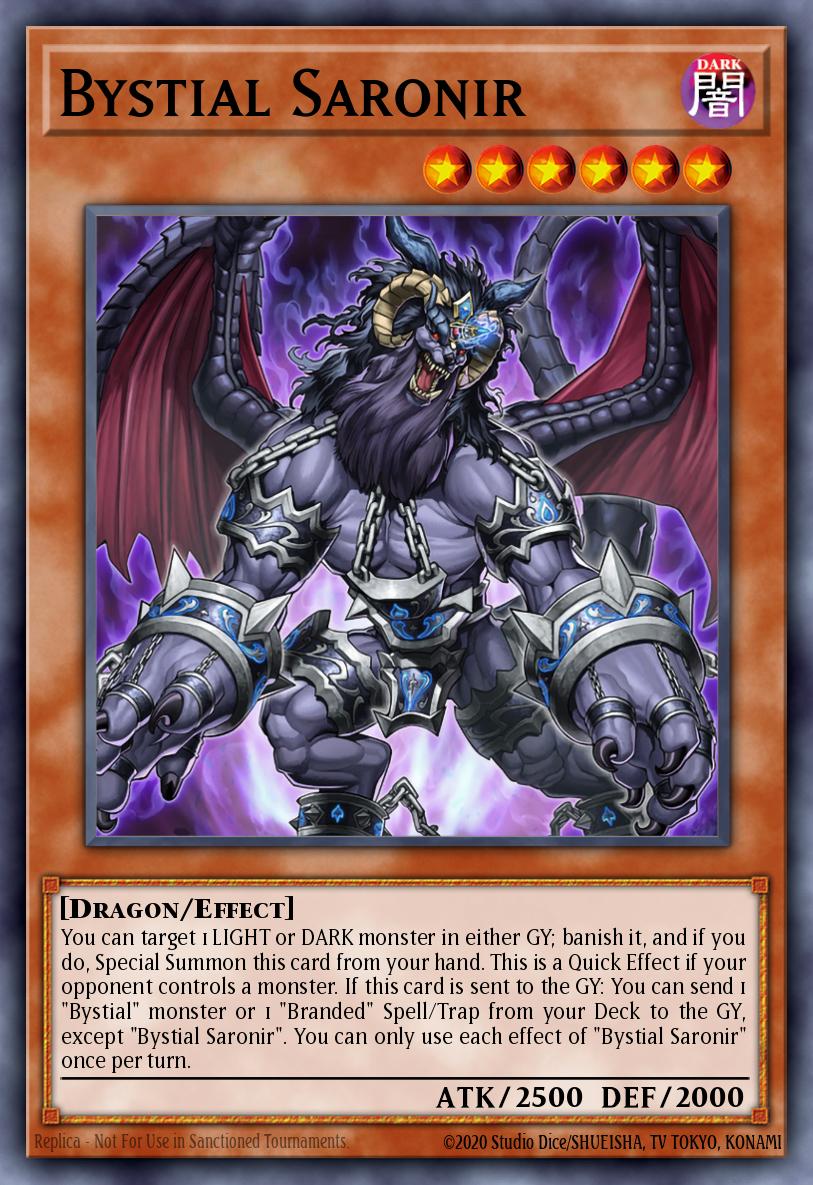
Bystial Saronir (three)
R rarity
Bystial Saronir
R rarity
Bystial Saronir

Saronir's greatest strength does not lie in when it stands on the field, but rather when it is sent down the Grave. In this deck's playstyle, you rarely keep Saronir around to fight; it is born to be the perfect "tuner" for The Bystial Lubellion or to serve as Synchro material.

We usually Summon Special Saronir, then immediately sacrifice it to call Lubellion onto the field. This action activates Saronir's effect, allowing you to directly banish a Branded Spell/Trap from your hand to the Graveyard. Actively discarding cards (such as Branded Retribution or Branded Sword) to the Graveyard helps you prepare resources for recycling, retrieval, or setting traps for future turns

Especially regarding Synchro with the Centur-Ion line, Saronir carries a Level 6 design that is exceptionally refined. Saronir is a Dark-type monster, and when you combine it with Light-type Level 4 Tuners such as Centur-Ion Primera or Blazing Cartesia, you get the calculation 6 + 4 = 10, perfectly suited to directly summon Chaos Angel. This valuable interaction allows you to Summon a "perfect" Chaos Angel – satisfying both Light and Dark conditions. Requires x3

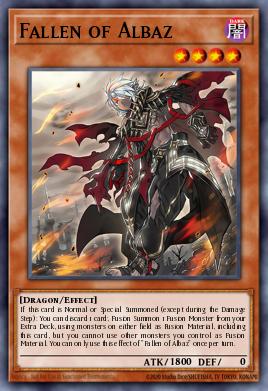
Fallen of Albaz (x2)
SR rarity
Fallen of Albaz
SR rarity
Fallen of Albaz

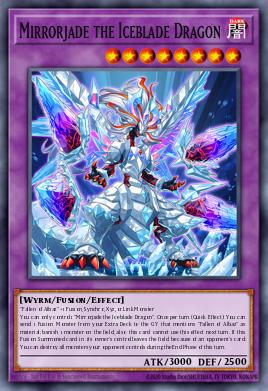
In the Bystial Centurion deck, Albaz is rarely summoned from hand to summon compatible opponent monsters as is traditional play. The main role of this character is to go inactive under the Graveyard (after being pushed down by an Effect) to activate the field effect for Cartesia. Being hidden like this causes many opponents to overlook and forget Albaz's existence. However, Albaz under the Graveyard is also a slow-burst bomb when combined with the trap Branded Banishment. In decisive moments, especially when going second or forced to the field, you can flip the trap to revive Albaz, then use your opponent's monster as a Fusion material to summon Mirrorjade or other Branded dragons.

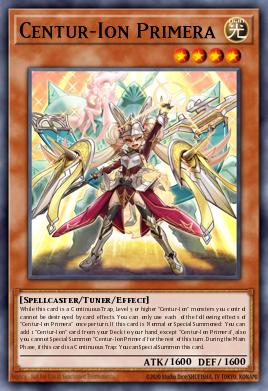
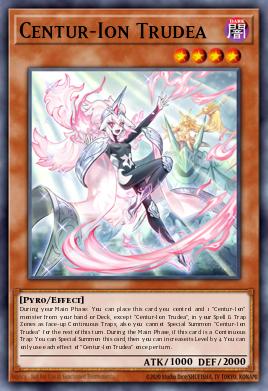
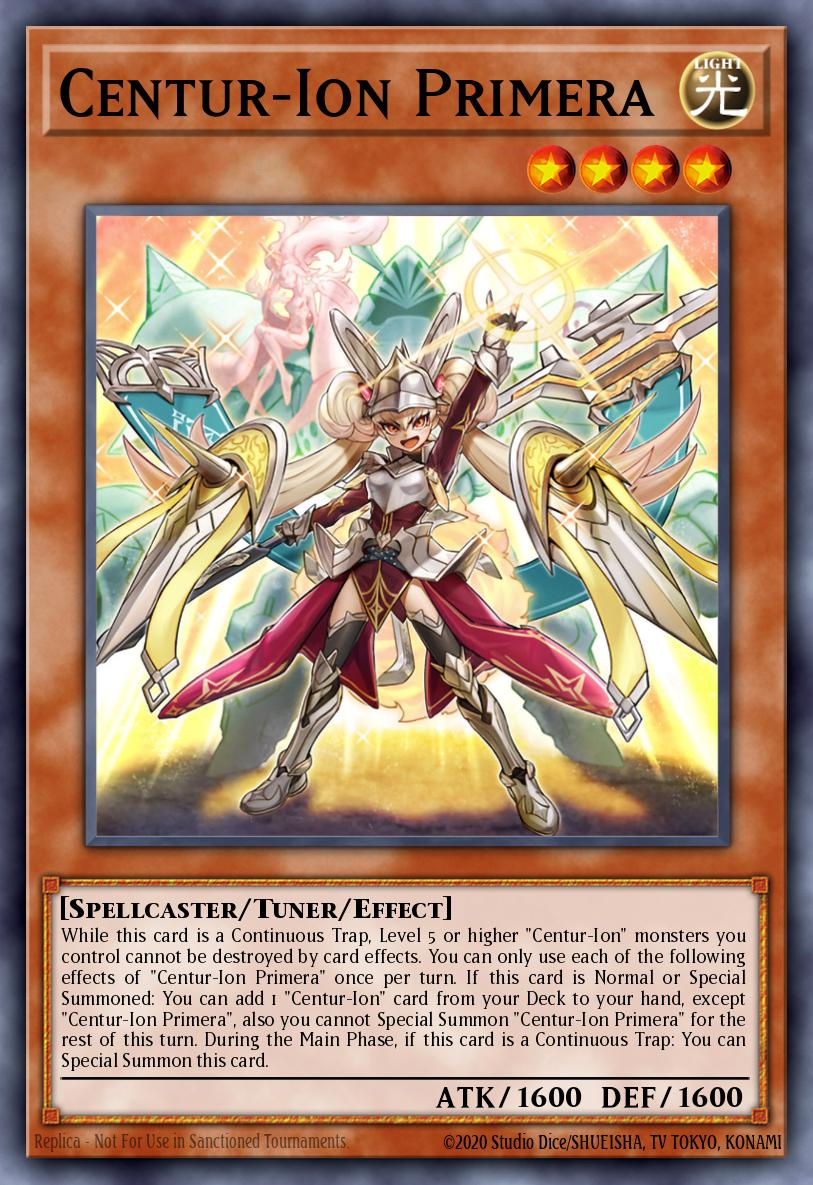
Centur-Ion Primera and Centur-Ion Trudea (X1 once per turn)
Card rarity
Centur-Ion Primera
Card rarity
Centur-Ion Primera
Card rarity
Centur-Ion Trudea
Card rarity
Centur-Ion Trudea

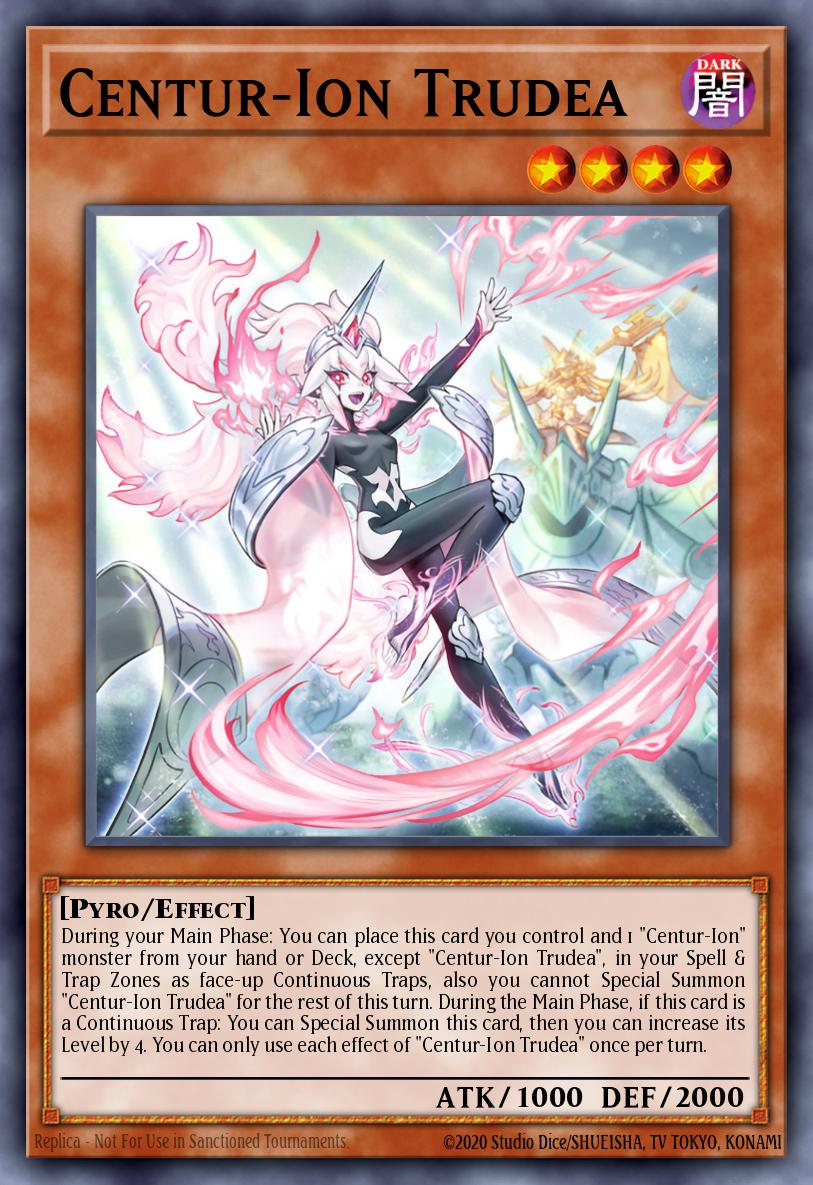
Because the Bystial framework has done an excellent job spreading resources and Level 8 monsters, you don't need to stuff too many Centur-Ion cards to avoid getting stuck. Trudea and Primera still serve as setup partners in the back row, but they no longer need to bear all of the turn pressure like in pure Centur-Ion decks.

The most interesting interaction is that Primera (Tuner Level 4) can easily Synchro with any Bystial Level 8 (such as Druiswurm, Magnamhut, or Lubellion) already on the field to directly summon the Level 12 boss Auxila. You completely skip the step of using Trudea's effect to boost Level, saving actions and avoiding the risk of being interrupted by your opponent with Effect Veiler.
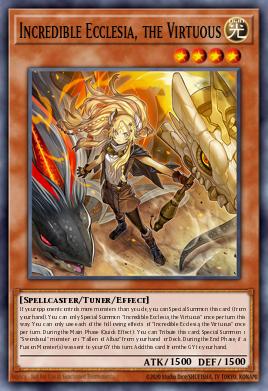
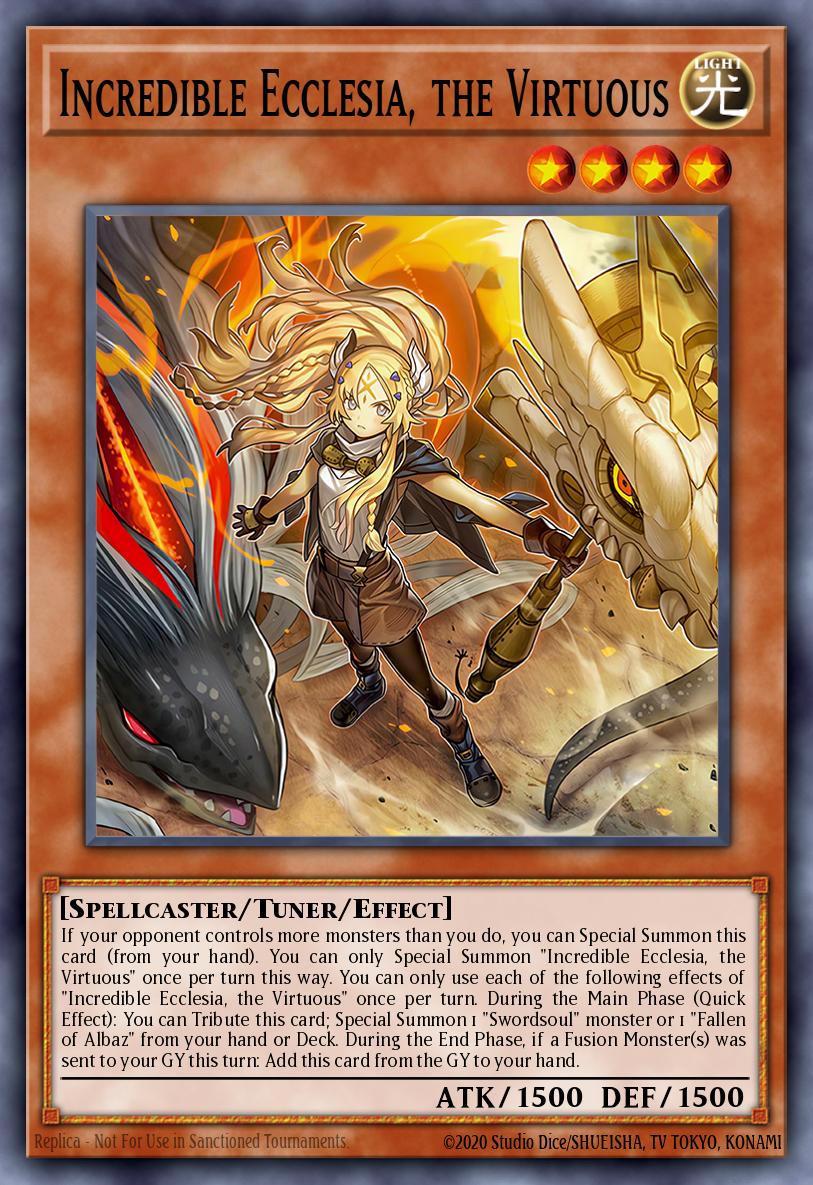
Incredible Ecclesia the Virtuous (x1)
UR rarity
Incredible Ecclesia, the Virtuous
UR rarity
Incredible Ecclesia, the Virtuous

Unlike Cartesa which relies on throwing Albaz down to the Graveyard to jump out, Ecclesia has extremely high self-mobility, especially in late-game situations. The ability to Special Summon herself from hand if the opponent is controlling a monster that transforms her into a perfect extender for the next turn. In actual play, typically uses Cartesa (or Fuse Dragons) to directly search Ecclesia from hand, with a high-quality Tuner ready for subsequent dance steps.
The most valuable interaction of Ecclesia in this deck is the perfect formula to summon Chaos Angel because it is a Level 4 Light-type Tuner. Additionally, Ecclesia's resource loop is incredibly chaotic: at the End Phase, if a Fuse Dragon is sent to the Graveyard during that turn (which plays like a feast with the Branded framework), she will automatically return from the Graveyard to your hand, ensuring you always have resources for the next turn.

However, regardless of how effective it is, there is an important deck-building lesson: do not overuse the number of copies. Stuffing too many copies of Ecclesia significantly increases the chance of bricking on Turn 1 if the opponent does not have monsters for you to summon. In this hybrid version, she works best as a flexible fusion piece rather than a main engine, so x1 only

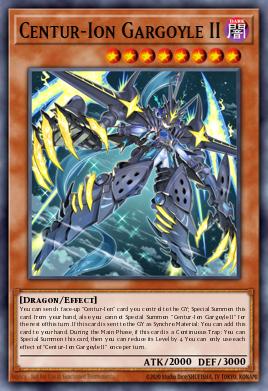
Centur-Ion Gargoyle II (x0-1)
Card rarity
Centur-Ion Gargoyle II
Card rarity
Centur-Ion Gargoyle II

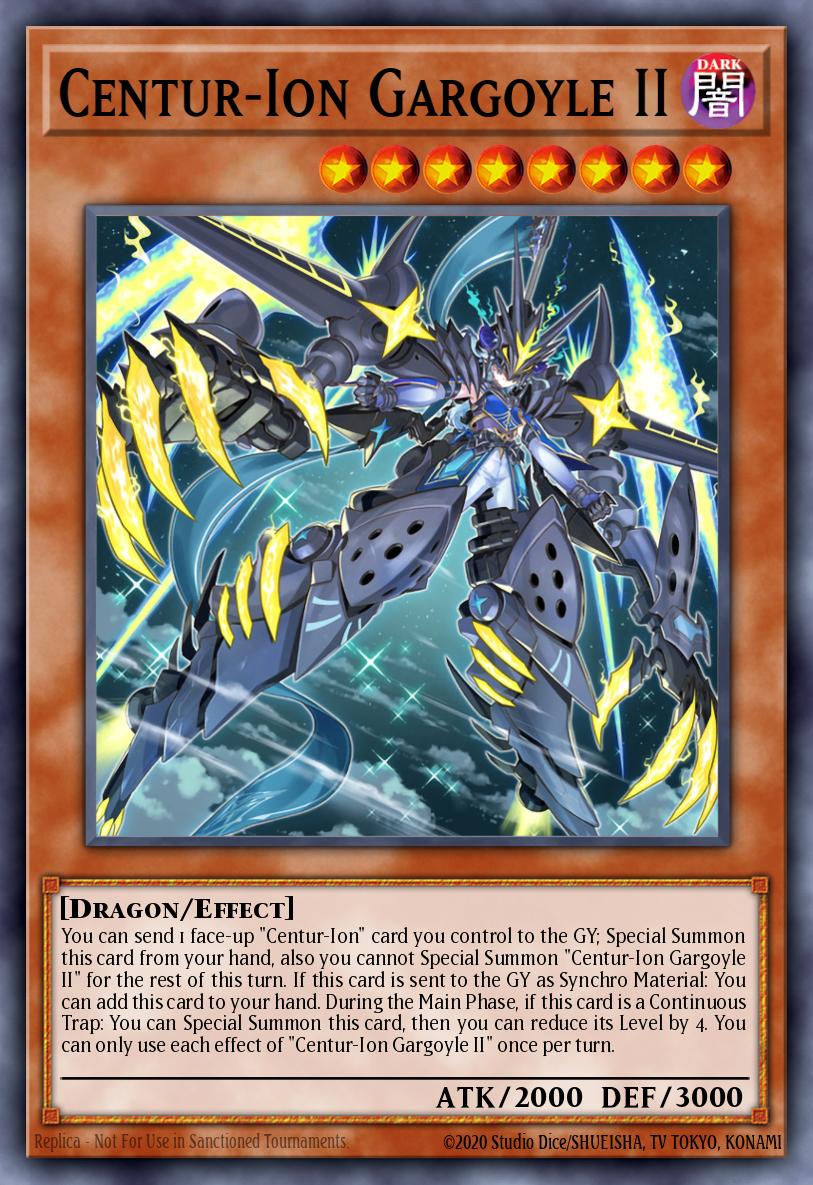
If in a pure Centur-Ion deck, Gargoyle II is an indispensable rotating Level 8 component for creating Synchro material, then in the Bystial hybrid version, he becomes redundant and easily cut down without mercy. The Bystial framework was already a massive continuous monster factory. Calling out The Bystial Lubellion or other Flesh Dragons has provided too many excess Level 8 bodies on the field to combine with Primera (Tuner Level 4) to call out the boss Auxilia (Level 12). At this point, the appearance of Gargoyle II only serves to step on the shoulders of the Bystials. Removing Gargoyle II makes the deck more streamlined and smooth, opening up space to fit in heavier board-wiping hand traps, completely ending the dependence on the trivial combo dance of the original Centur-Ion.


Spell/Trap


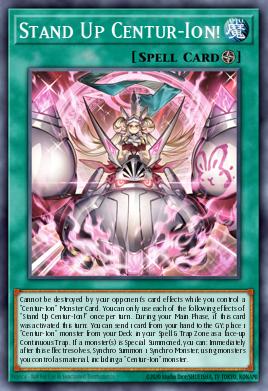
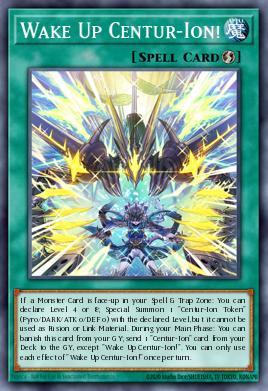
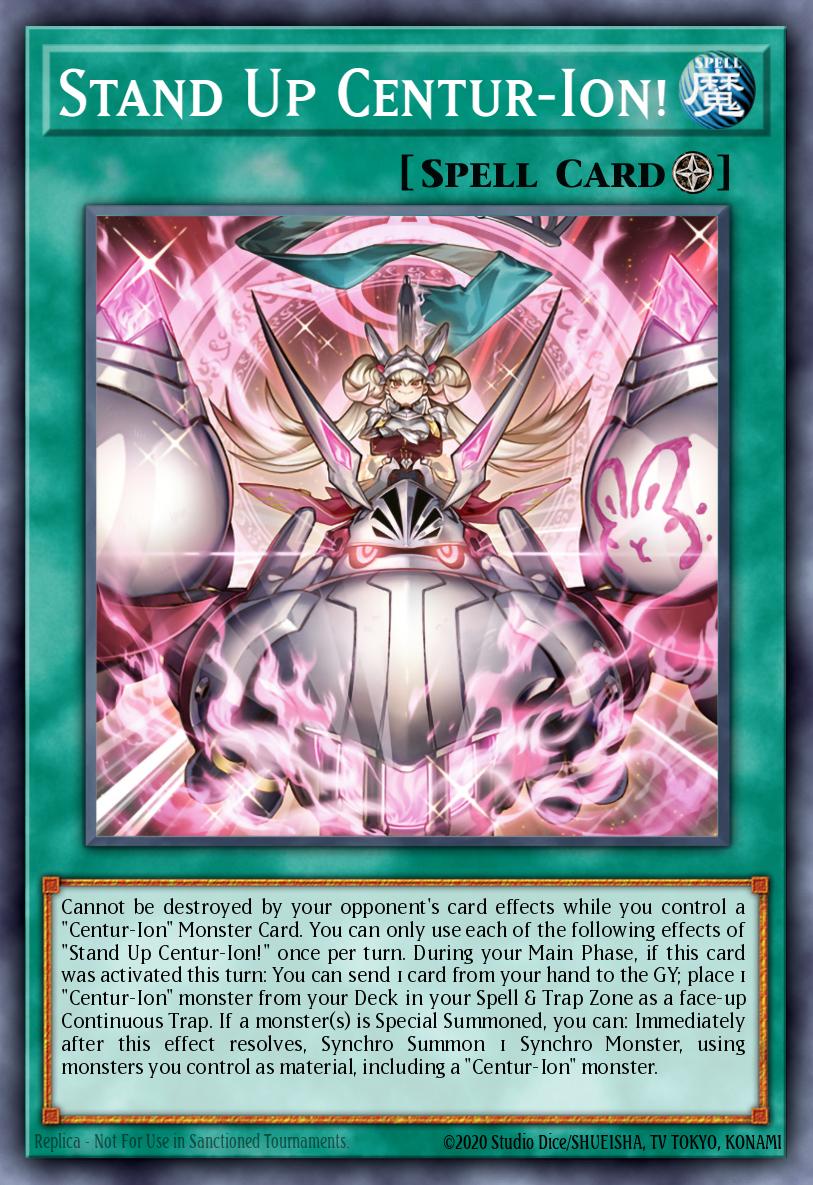
Stand Up Centur-Ion! and Wake Up Centur-Ion! (x1-2)
Card rarity
Stand Up Centur-Ion!
Card rarity
Stand Up Centur-Ion!
Card rarity
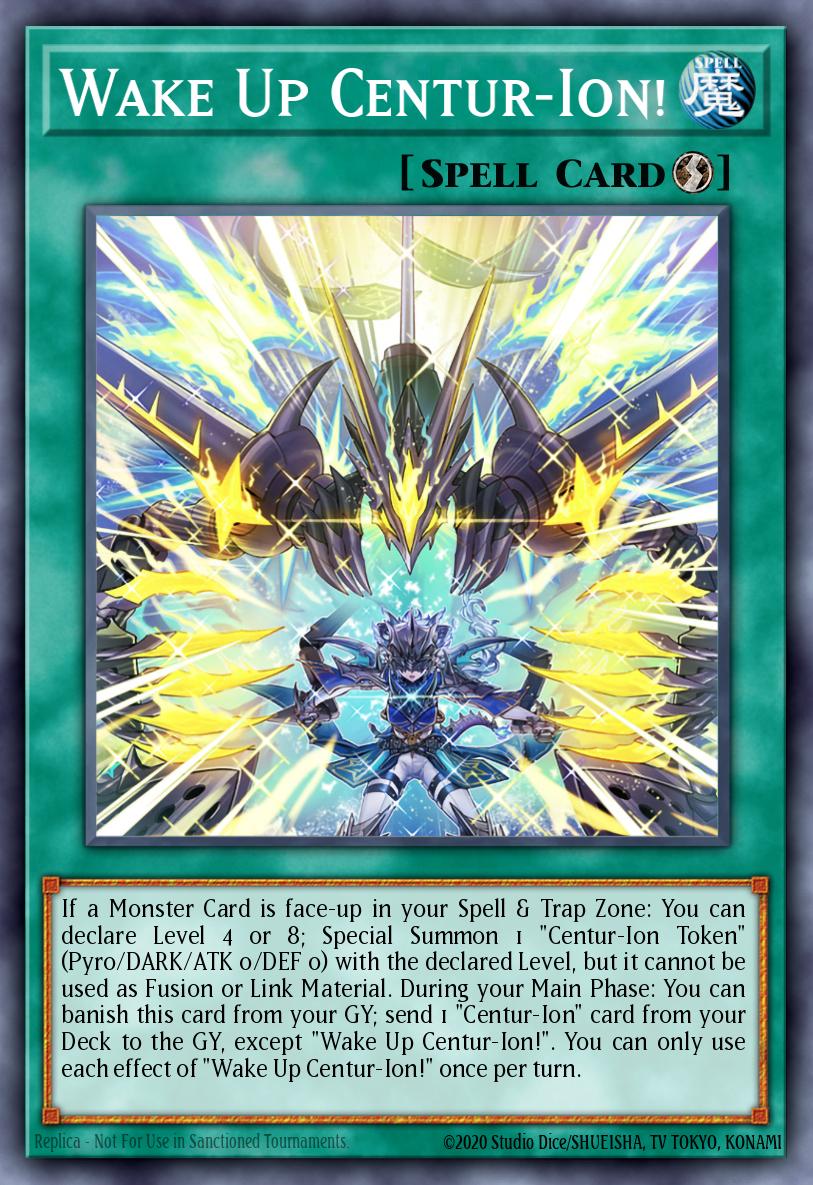
Wake Up Centur-Ion!
Card rarity
Wake Up Centur-Ion!

In this hybrid version, Stand-Up Centur-Ion! (Environment) is no longer the only starter of the deck, but rather a "prize" sought after once you have successfully Synchro'd out Centur-Ion Auxila. The most valuable interaction of this Spell Card is the ability to flip one card from hand to Graveyard and directly place Trudea or Primera onto the field

Along with it comes Wake Up Centur-Ion!. Use it to Summon a Token Level 4 or 8. In a continuous deck that needs bodies for Synchro, Wake Up is the perfect safety net. It provides instant materials so you can combine with Primera, accelerating the process of summoning Crimson Dragon or Chaos Angel without needing to rely on drawing Bystial monsters from hand.

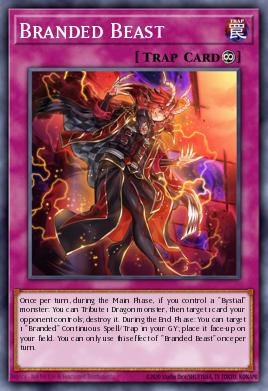
Branded Beast (x1)
R rarity
Branded Beast
R rarity
Branded Beast

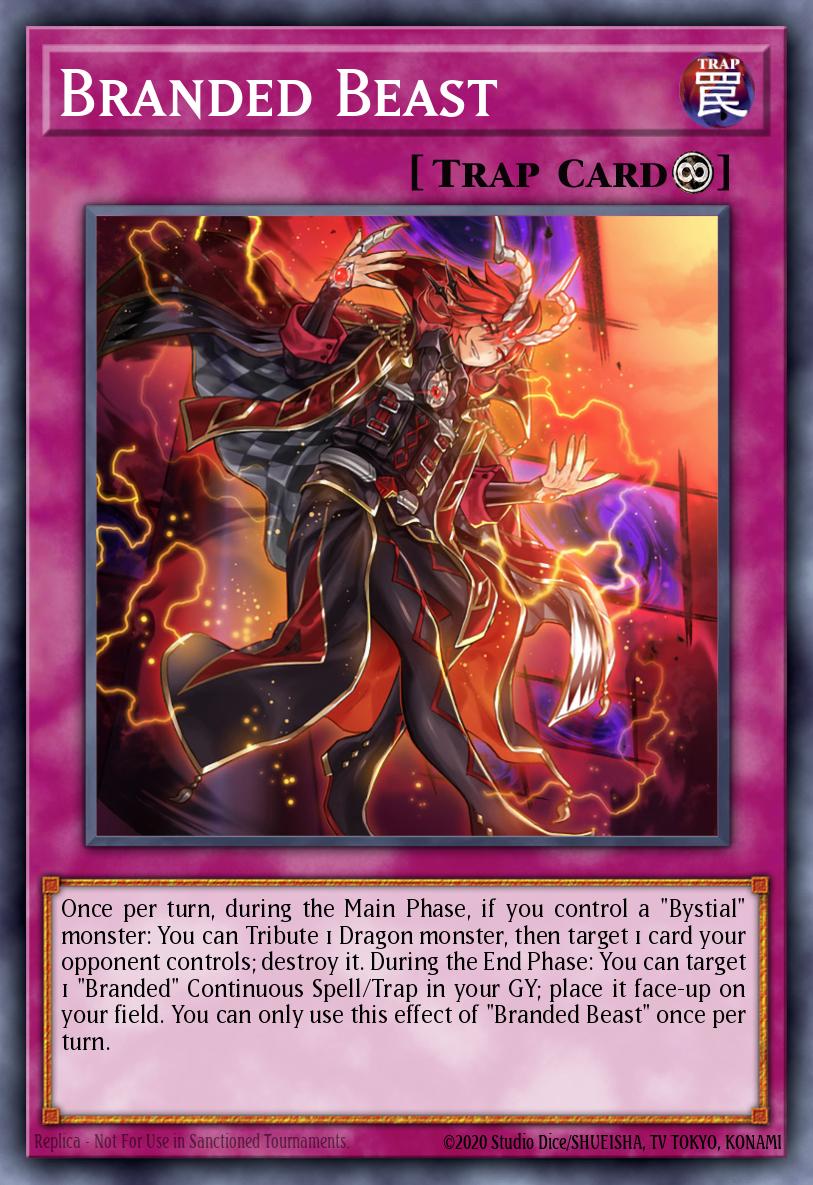
This is the top-priority Continuous Trap card. The operation is always: activate The Bystial Lubellion from the field to directly set Branded Beast from the upside-down deck onto the battle field.

The practical value of Beast lies in its ability to create extremely heavy psychological pressure on the opponent. Each turn, it allows you to sacrifice one Dragon monster to destroy 1 opponent's card. Because nearly 90% of your faction monsters are Dragons (both Bystial and Synchro/Dungeon bosses), this sacrifice cost is practically free. 

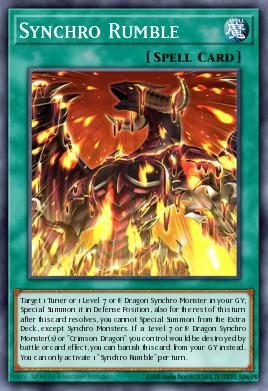
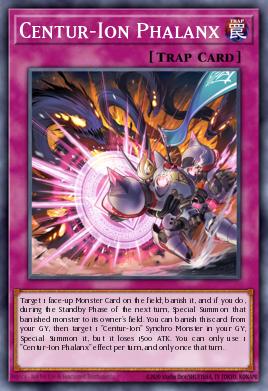
Synchro Rumble and Centur-Ion Phalanx (once per leaf)
Card rarity
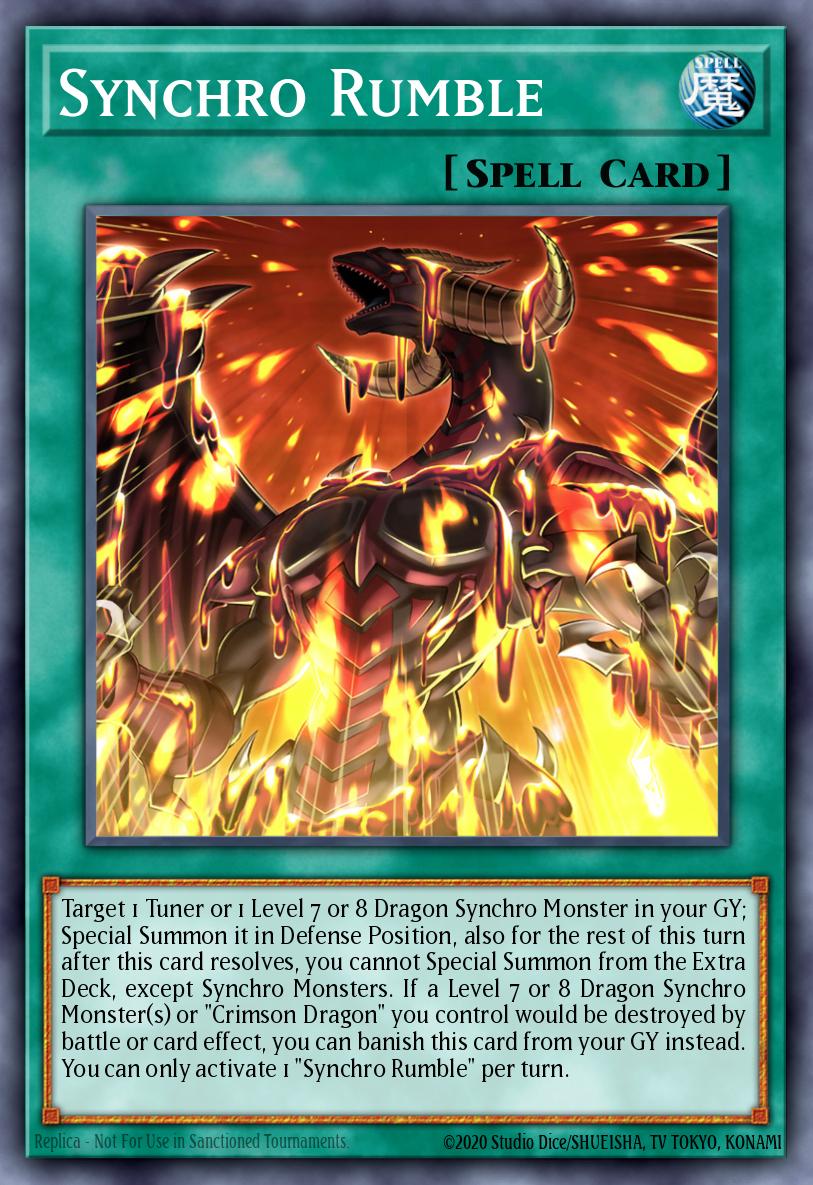
Synchro Rumble
Card rarity
Synchro Rumble
Card rarity
Centur-Ion Phalanx
Card rarity
Centur-Ion Phalanx

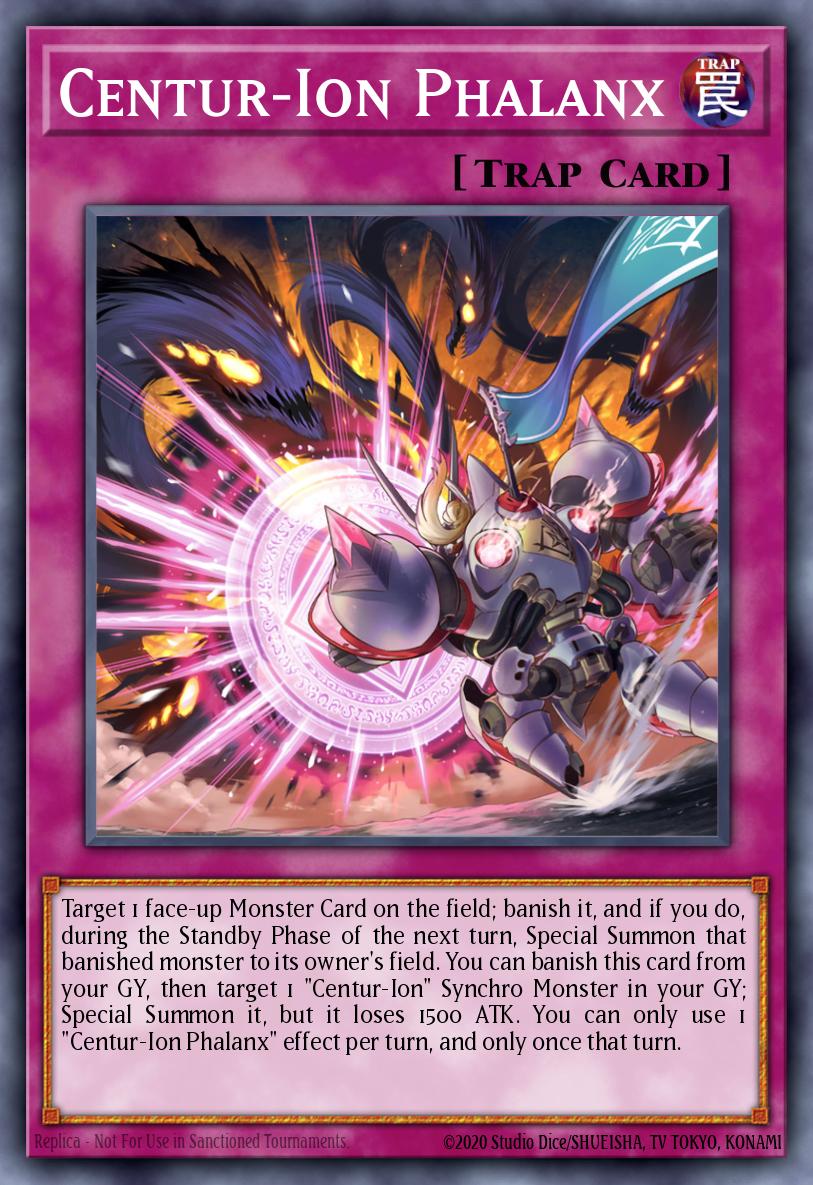
When you have already drawn Spell Centur-Ions in hand, the boss Auxila will switch its search target to a counter trap. This trap provides an absolute omni-negate. The cost is sending 1 monster from the Spell/Trap Zone back to the Graveyard to perfectly merge with the self-animating mechanism of Primera and Trudea's S/T.

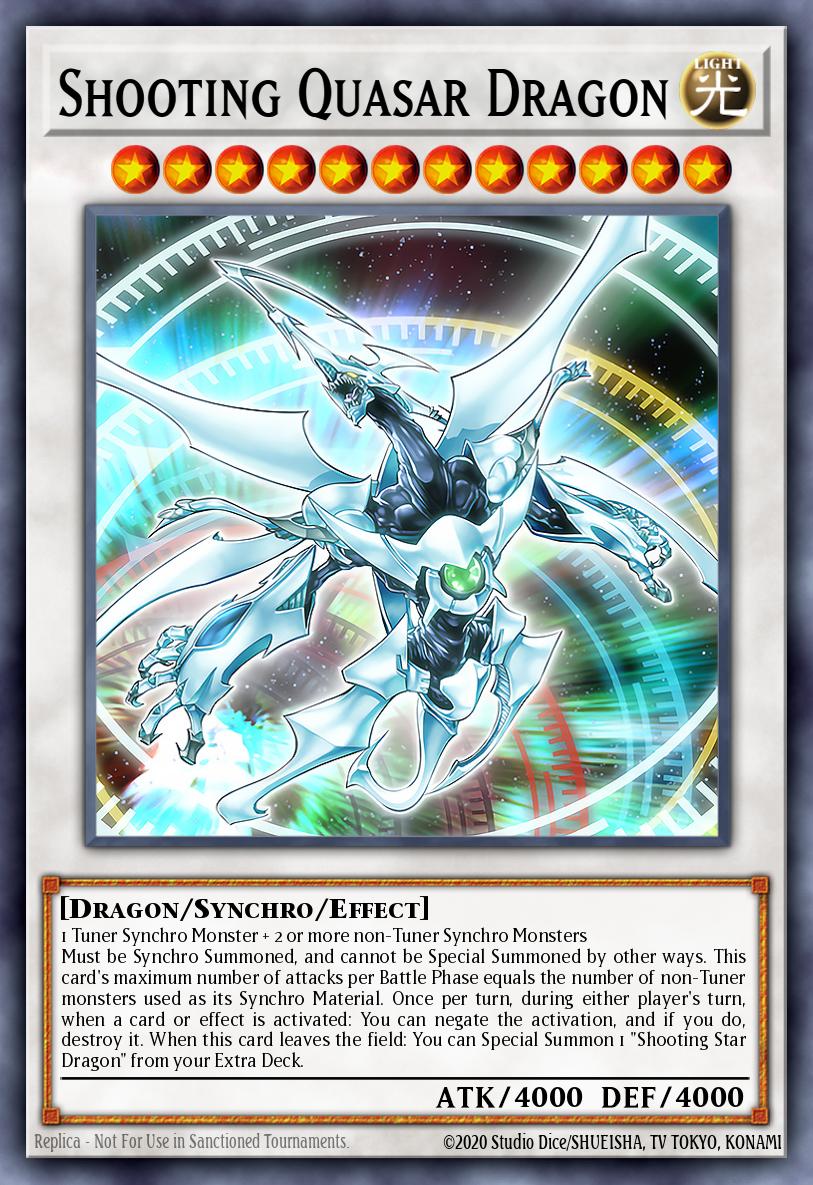
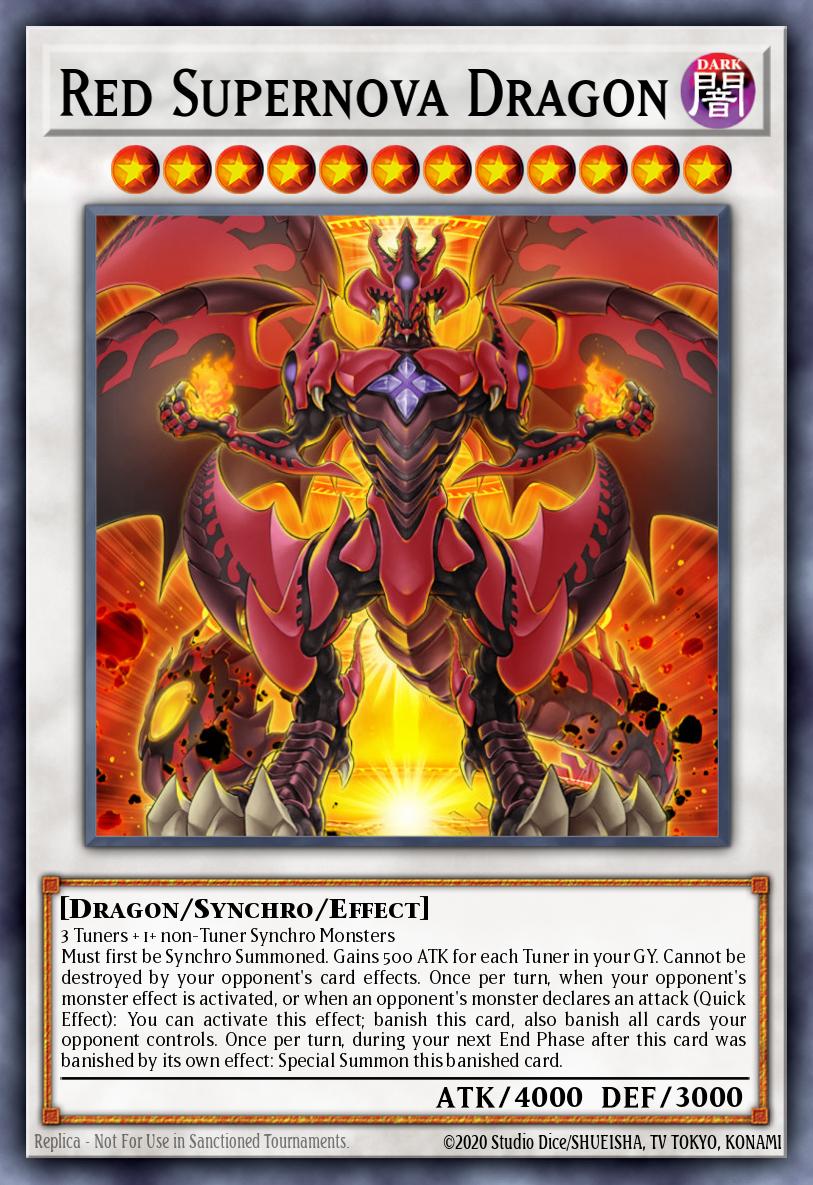
Meanwhile, Synchro Rumble is a resource-exploiting mining tool that Crimson Dragon prioritizes searching for. Using this spell like an endless fuel-pumping machine to revive Tuners such as Cartesia, Ecclesia or even Synchro Level 8 monsters just died. Thanks to the continuous revival loop from Synchro Rumble, the new deck has enough resources to execute crazy Synchro pushes, calling forth both Shooting Quasar Dragon and Red Supernova Dragon simultaneously in one turn.

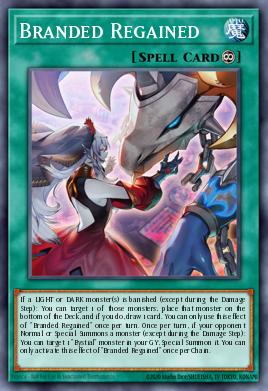
Branded Regained (x1)
N rarity
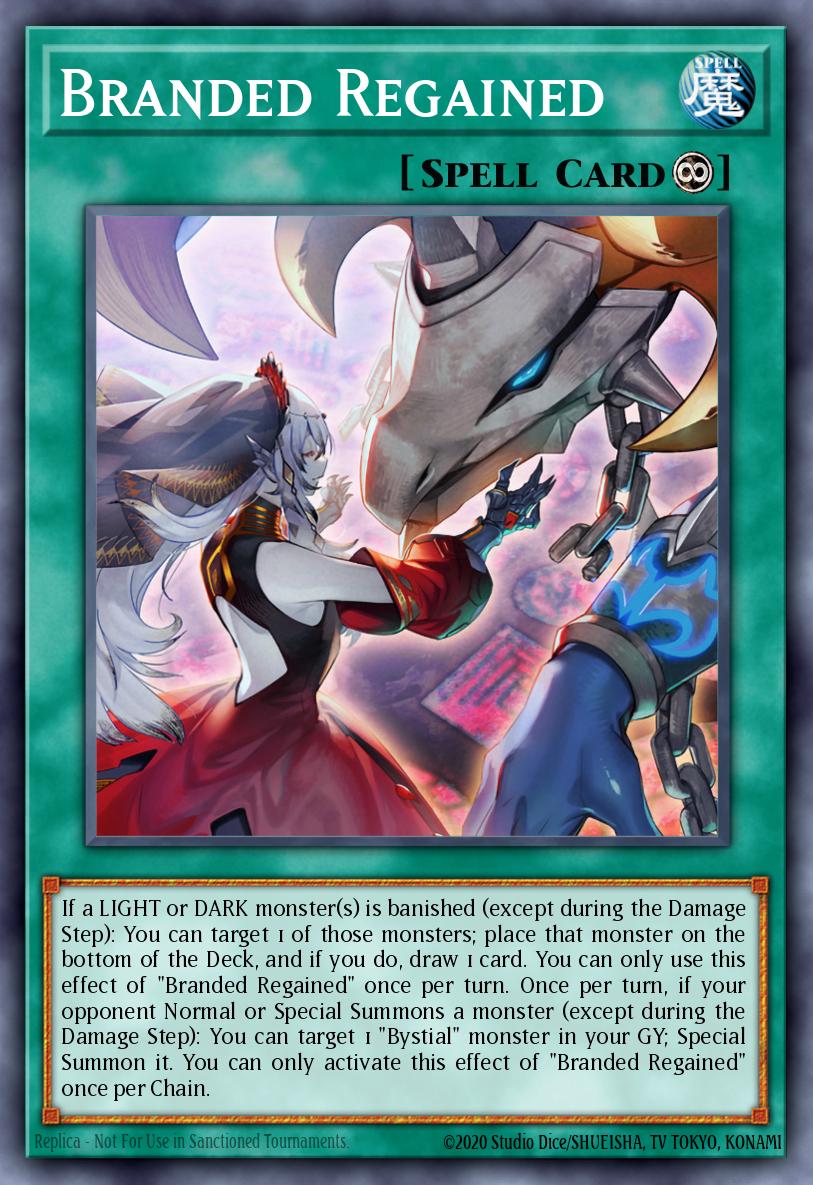
Branded Regained
N rarity
Branded Regained

Usually placed directly from the deck onto the field through the effect of The Bystial Lubellion, Branded Regained functions as an endless resource support station. The core interaction occurs each time Bystial dragons exile a Light/Darkness card to move out; this Spellcard will push the just-exiled target down to the bottom of the deck and draw you an additional card. This not only helps you continuously replenish your hand's firepower but also permanently buries your opponent's key pieces, denying them the ability to recover resources from their exiled zone.

Besides that, this card also creates extremely strong board pressure thanks to its "trap" ability whenever opponents summon monsters. When this condition activates, Regained immediately allows you to summon another Bystial from the Graveyard. Common interactions involve reviving Druiswurm to wait for clearing enemy monsters, or pulling up a Level 6 creature to prepare materials combined with Centur-Ion's Tuner to summon Chaos Angel or Auxila on the next turn. In other words, any enemy monster-summoning efforts by the opponent will directly provide additional defensive and counterattack resources for you.


Extra Deck


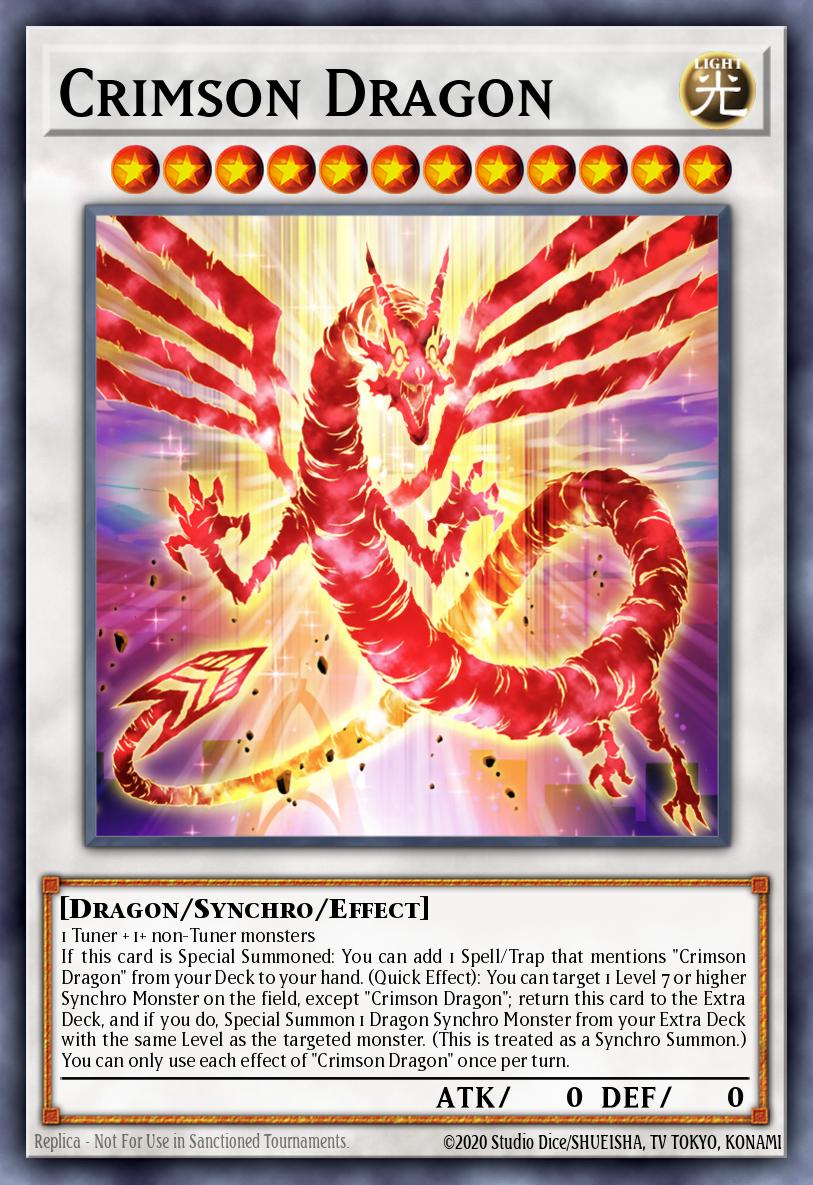
Crimson Dragon (x1)
N rarity
Limited to 1 copy
Crimson Dragon
N rarity
Limited to 1 copy
Crimson Dragon

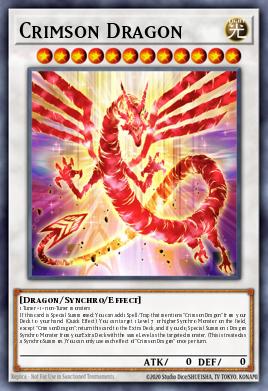
Rather than serving as a battle boss, Crimson Dragon is the "springboard" that lets you jump over the strict Summoning conditions of huge Synchro monsters. The core mechanic here is activating Crimson Dragon's effect, targeting the Auxila (Level 12) that is already on the field to send itself back to the Extra Deck, thereby directly "hacking" into another much more powerful Level 12 boss.

Before executing that "suffering to escape death" phase, Crimson Dragon also serves as a resource farming machine by searching for the Spell Card Synchro Rumble. Obtaining this Spell Card allows you to revive important Tutors (like Cartesia or Ecclesia) from the Graveyard to continue expanding the combo chain. Thanks to the independent power of the Bystial system, you only need to use Crimson Dragon once to finish the turn instead of having to abuse it and constantly recycle it like the original Centur-Ion version, significantly saving space in the Extra Deck.

Centur-Ion Auxila (x1)
Card rarity
Centur-Ion Auxila
Card rarity
Centur-Ion Auxila

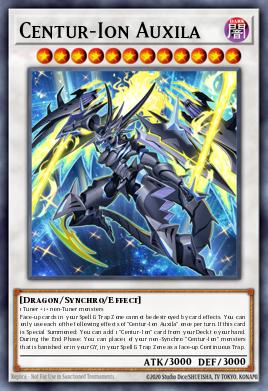
In this deck, Auxila plays the role of the central "control station" connecting the two engines together. You rarely have to struggle to bring it out as you would in a pure deck; instead, you will take advantage of the abundant resources from Bystial (any Level 8) combined with a Level 4 Tuner (Primera or Trudea) to Synchro Summon it directly. As soon as it hits the field, its first task is to search (search) for Centur-Ion Spell/Trap Cards such as Stand-Up to fill the backrow, laying a solid foundation for interrupting your opponent's plays.

However, Auxila's true value lies in its ability to permanently protect your trap system. With this boss monster on the field, important Continuous Traps such as Branded Beast or Centur-Ion monsters in the backrow cannot be destroyed by your opponent's card effects. During the End Phase, Auxila automatically sends Primera from the bottom of the GY back to the Spell & Trap Zone, ensuring you always have a Tuner ready to continue Synchro Summoning or activate traps during your opponent's turn.

Shooting Quasar Dragon and Red Supernova Dragon (x1)
UR rarity
Limited to 3 copies
Shooting Quasar Dragon
UR rarity
Limited to 3 copies
Shooting Quasar Dragon
Card rarity
Red Supernova Dragon
Card rarity
Red Supernova Dragon

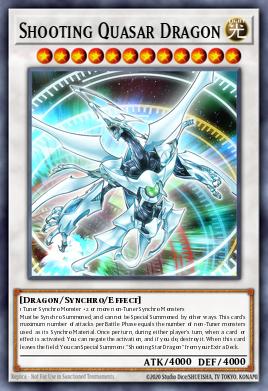
These are two heavy "bombs" thrown straight onto the field through the drain effect of Crimson Dragon. We will often choose Shooting Quasar Dragon when we need an absolute omni-negate to prevent the opponent's activation spell/trap attempts. The safety that Quasar brings is why many people still consider playing both copies in the Extra Deck to double the despair for the opposing side.

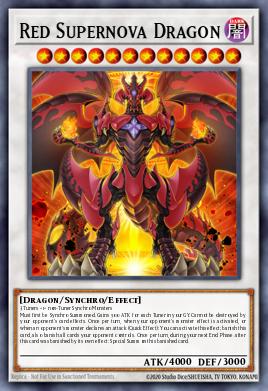
Meanwhile, Red Supernova Dragon is the most brutal wide-scale punishing move. When the opponent has just started building their army, you activate its effect to banish the entire battlefield of the opposing side. This board-clearing machine works perfectly when combined with the Bystial monster lineup: Supernova cleans the field completely, while Bystials (such as Druiswurm or Magnamhut) handle the cleanup and control the Graveyard, leaving the opponent with no chance to recover.

Chaos Angel (x1)
Card rarity
Chaos Angel
Card rarity
Chaos Angel

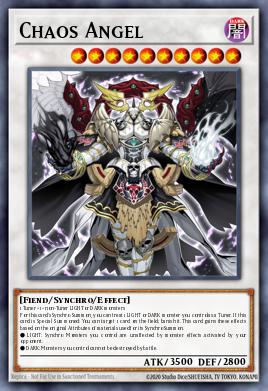
This is an impenetrable fortress and one of the most perfect interactions of this hybrid gameplay. By using a Bystial monster (Dark Archetype, Level 6) and a Tuner of either Centur-Ion or Branded (Light Archetype, Level 4), you Synchronize two elements to summon Chaos Angel. All your opponent's monsters cannot be destroyed by battle, while Chaos Angel itself is completely immune to any monster effects from the opponent.

Not only does it provide passive defense, calling out Chaos Angel also creates a particularly deadly board wipe if you use Druiswurm as material. When Chaos Angel touches the field, it will banish a card from the opponent's hand; immediately, Druiswurm is sent to the Graveyard which triggers an effect sending another monster of the opponent's Special Summoning down to the Graveyard.

Some fusion dragons are utilized in this version
R rarity
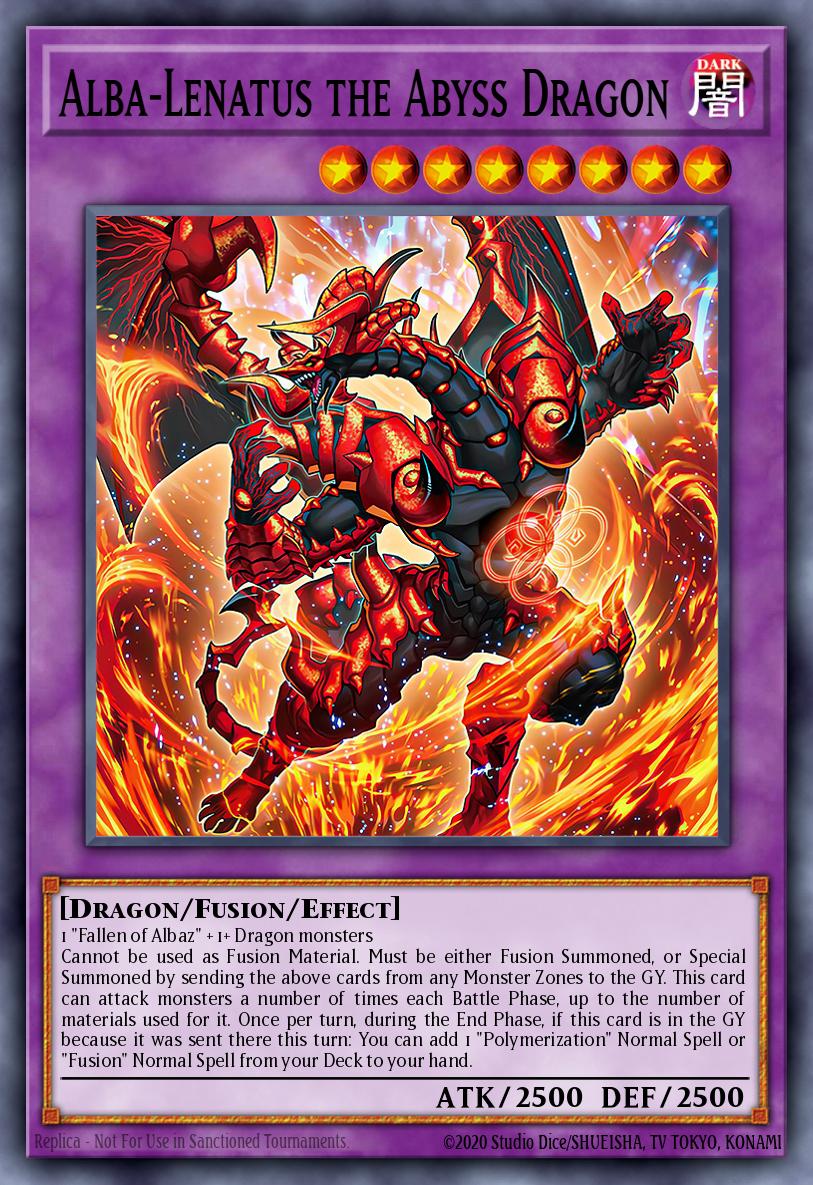
Alba-Lenatus the Abyss Dragon
R rarity
Alba-Lenatus the Abyss Dragon
UR rarity
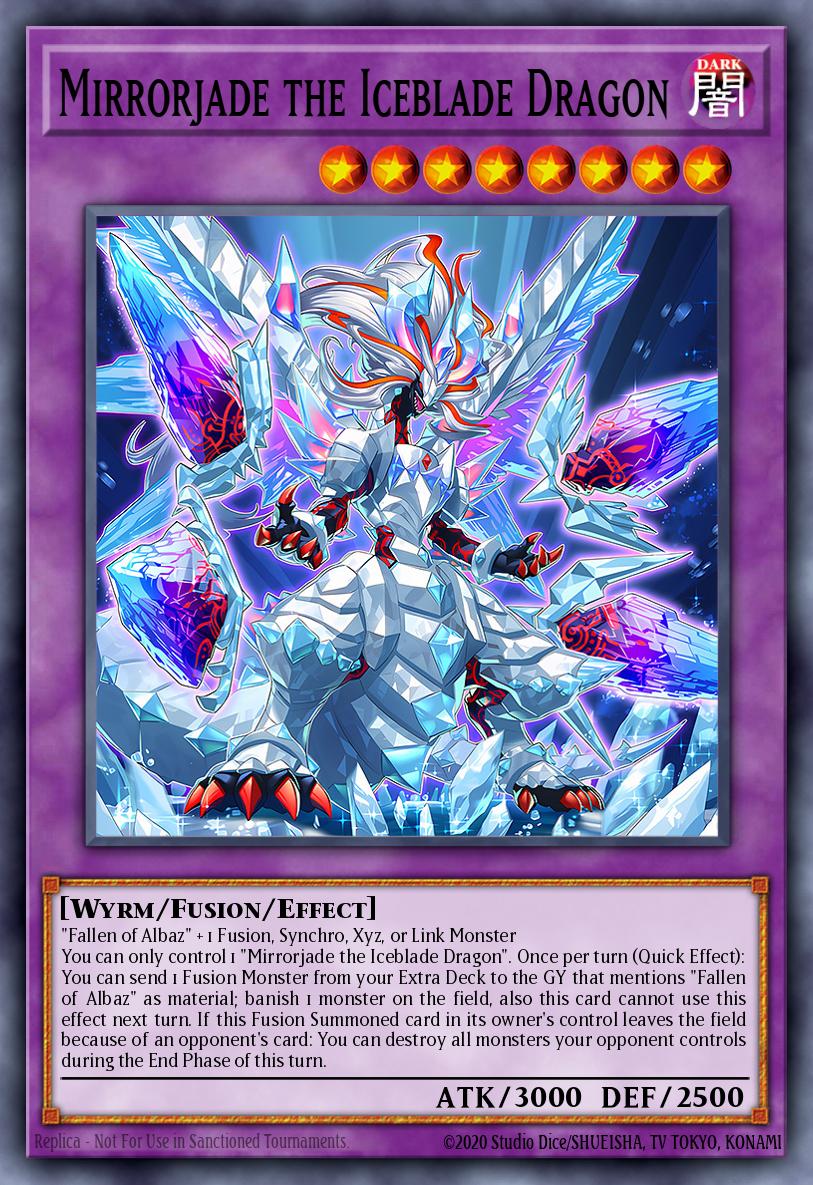
Mirrorjade the Iceblade Dragon
UR rarity
Mirrorjade the Iceblade Dragon
Card rarity
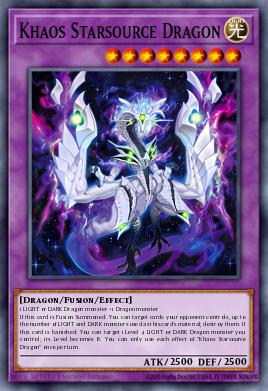
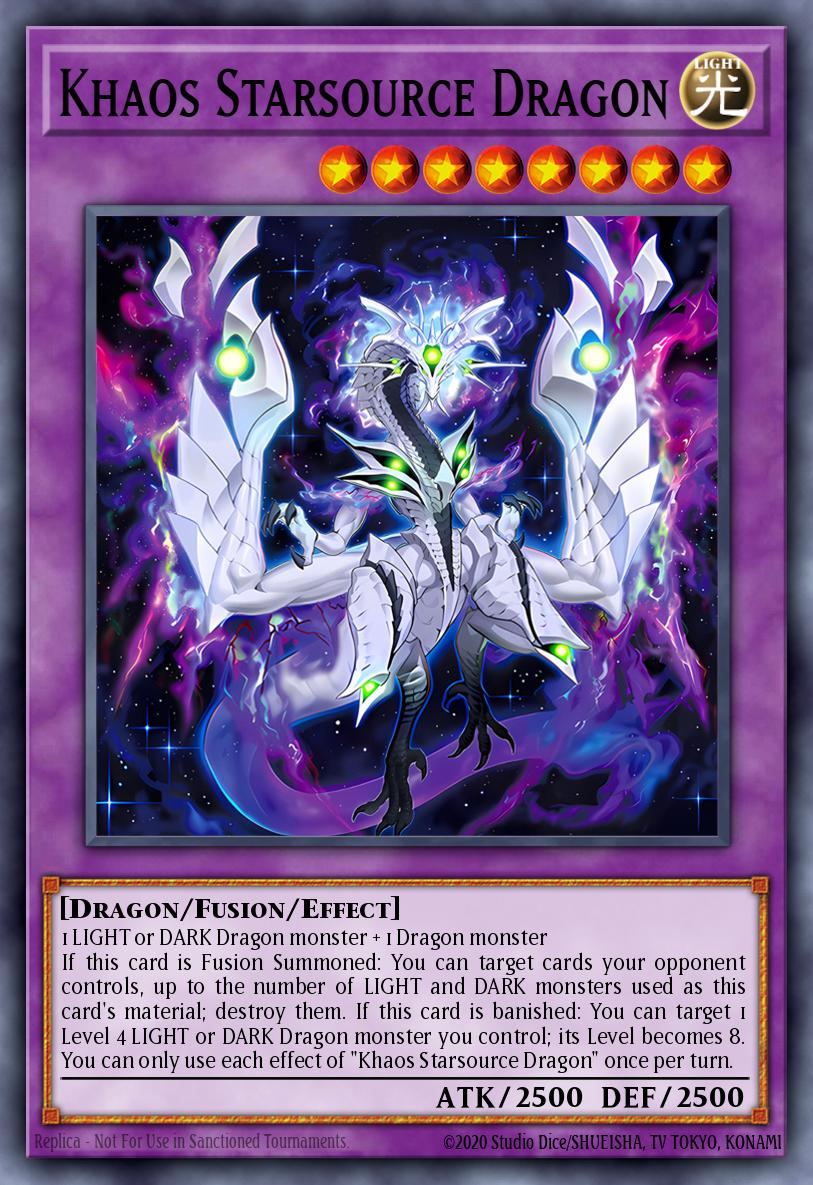
Khaos Starsource Dragon
Card rarity
Khaos Starsource Dragon
SR rarity
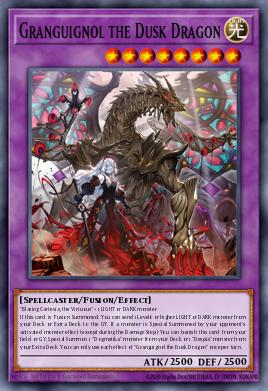
Granguignol the Dusk Dragon
SR rarity
Granguignol the Dusk Dragon
SR rarity
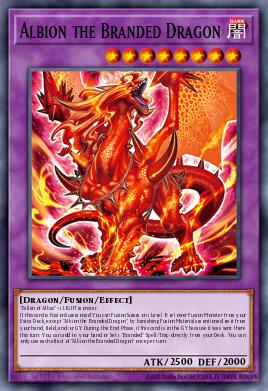
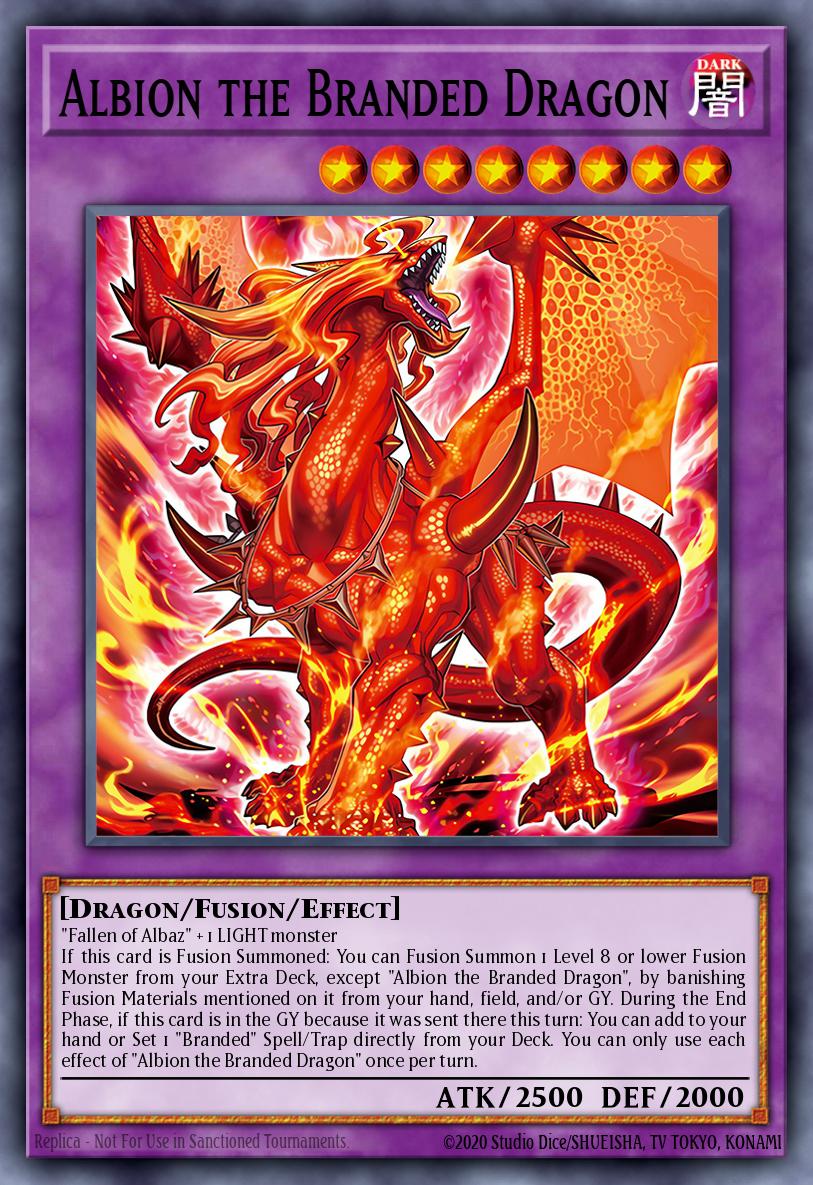
Albion the Branded Dragon
SR rarity
Albion the Branded Dragon

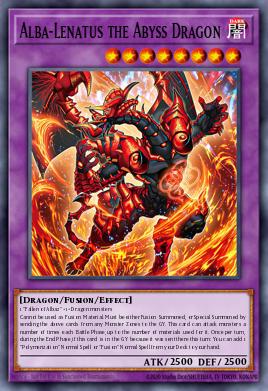
Prioritize using Mirrorjade, Alba-Lenatus, Khaos. The rest can be skipped.


Combo/How to Play

Combo 1: Standard Going-First Combo 

Condition: Any 1 Bystial monster + any 1 card to discard (discard).

  • 1. Activate the Skill (Beast from the Abyss): Reveal a Bystial monster, send Fallen of Albaz directly from the Deck to the GY. Add The Bystial Lubellion and Blazing Cartesia, the Virtuous to the hand.

  • 2. Special Summon Cartesia to the field (the condition is immediately fulfilled thanks to Albaz being in the GY).

  • 3. Activate Lubellion's effect in the hand: Send itself to the GY to search for Bystial Magnamhut from the Deck.

  • 4. Activate Cartesia's effect on the field: Fusion Summon Granguignol the Dusk Dragon (Level 8) using the materials in the hand.

  • 5. Activate Lubellion's effect in the GY: Tribute Granguignol (Level 8) to Special Summon itself to the field.

  • 6. Activate Lubellion's effect on the field: Place the Trap Branded Beast directly from the Deck face-up in the backrow.

  • 7. Synchro Summon Cartesia (Level 4 Tuner) and Lubellion (Level 8) to summon the boss monster Centur-Ion Auxila (Level 12).

  • 8. Activate Auxila's effect: Search for the Field Spell Stand-Up Centur-Ion!. Activate this Spell, discard 1 card to place Centur-Ion Trudea in the backrow as a Trap.

  • 9. Activate Trudea's effect: Special Summon itself to the field, then place itself back in the backrow to search for Centur-Ion Primera from the Deck and place it as a Continuous Trap.

  • 10. Activate Primera's effect: Special Summon itself to the field, search for the Quick-Play Spell Wake Up Centur-Ion!.

  • 11. Activate Wake Up to Special Summon 1 Token. Synchro Summon Primera and the Token to summon Crimson Dragon.

  • 12. Activate Crimson Dragon's effect: Target Auxila, then return itself to the Extra Deck to immediately Special Summon the board clearer Red Supernova Dragon.

  • 13. Proceed to the End Phase: Auxila automatically sends Primera from the GY to the backrow. Magnamhut's effect adds Bystial Druiswurm to the hand. Cartesia returns itself from the GY to the hand (because a Fusion Monster was sent to the GY this turn).

Endboard:

  • Centur-Ion Auxila (protects the backrow) and Red Supernova Dragon (threatens to banish the entire field).

  • Spell/Trap: Stand-Up Centur-Ion!, Branded Beast, and Primera (currently in Continuous Trap form).

  • Hand: Druiswurm, Cartesia (and any extra cards/other Tuners).

  • Interactions (Opponent's Turn): You can summon Primera and Druiswurm to the field at any time. Use the effect of the Spell Stand-Up to immediately Synchro Summon Chaos Angel (banishes 1 card when activated). At that point, Druiswurm, when sent to the GY, will trigger its effect to clear 1 more monster. The backrow has Branded Beast ready to Tribute a Dragon monster to blast away troublesome cards, along with Red Supernova threatening to wipe the entire field if the opponent dares to build their board.

Combo 2: Breakout Going-Second Combo 

Condition: Skill ready to activate + Opponent has a monster on the field 

  • 1. Activate the Skill: Add The Bystial Lubellion and Blazing Cartesia (or Incredible Ecclesia). The Skill sends Albaz to the GY.

  • 2. Special Summon a Level 4 Tuner (Cartesia or Ecclesia) to the field.

  • 3. Banish 1 LIGHT/DARK monster (from your GY or your opponent's GY) to Special Summon Bystial Saronir from the hand.

  • 4. Immediately Synchro Summon the Level 4 Tuner (LIGHT) and Saronir (DARK Level 6) to summon Chaos Angel.

  • 5. Activate Chaos Angel's effect upon reaching the field: Immediately banish the opponent's most dangerous card or key monster.

  • 6. Saronir's effect activates when it is sent to the GY: Send a Branded Trap (such as Branded Retribution or Branded Banishment) to the GY as a resource.

  • 7. Activate Lubellion's effect in the hand to search for Bystial Druiswurm. Banish another monster from the GY to summon Druiswurm to the field, maintaining offensive momentum.

  • 8. Depending on the situation, seize resources: Special Summon Fallen of Albaz (usually by setting up the Trap Branded Banishment at the end of the previous turn or through a retrieval effect), then activate its Fusion effect to "devour" all of the opponent's remaining monsters and summon Mirrorjade the Iceblade Dragon.

Endboard:

  • Opponent's field: Banished and cleanly used for a Fusion Summon (helplessly "stolen" as material without being destroyed).

  • Our monsters: Chaos Angel (unaffected by monster effects and cannot be destroyed by battle) and Druiswurm (ready to rush in for the finish or set a self-destruct mine if the opponent deals with it).

  • Interactions: Creates extremely strong OTK (One-Turn Kill) pressure, completely smashing through all of the opponent's traditional layers of defense with non-targeting effects and non-destruction removal.


duel-links
1475
5


https://ygovietnam.com/
Toparrow_upward